
Are You Taking Your Blood Pressure Wrong? How Arm Position Can Falsely Put You in the “High” Zone
The Surprising Way Arm Position Can Skew Your Blood Pressure Reading
If you’ve ever had a “high” blood pressure reading at the doctor’s office and thought, “That can’t be right,” you might not be imagining it. A new Johns Hopkins study, reported by Earth.com in 2025, found that even a couple of inches of arm drift during a routine blood pressure test can falsely push your numbers into the danger zone. In other words, your heart may be fine—your arm position might not be.
In this guide, we’ll walk through what the study actually showed, why arm position changes your reading, and simple steps you can use at home and at the clinic to get numbers you can trust—without obsessing over every tiny detail.
Why Accurate Blood Pressure Readings Matter
High blood pressure (hypertension) is a leading driver of heart attacks and strokes worldwide. Yet the test we rely on to find it—the simple blood pressure cuff—is surprisingly sensitive to how it’s performed.
A falsely high reading can mean:
- Being told you have hypertension when you don’t.
- Unnecessary anxiety and repeat testing.
- Potentially starting medications you may not actually need.
On the flip side, a falsely low reading can delay treatment when your heart and blood vessels truly need help. That’s why getting it right—down to details like arm position—is so important.
“Blood pressure measurement is one of the most frequently performed procedures in clinical medicine—yet it is also one of the most commonly done incorrectly.”
— American Heart Association scientific statement on blood pressure measurement
What the Johns Hopkins Study Actually Found
The Johns Hopkins team, as covered by Earth.com in 2025, set out to answer a simple question: How much does arm position really matter when measuring blood pressure?
They discovered that:
- Even a small shift—about 2 inches (5 cm) of arm drift—can significantly change the reading.
- When the arm is lower than heart level, the blood pressure reading tends to be falsely higher.
- When the arm is higher than heart level, the reading can be falsely lower.
Their findings line up with earlier research and long-standing recommendations from professional groups like the American Heart Association and European Society of Cardiology, which have warned for years that arm position is a critical part of proper technique.
The Science: Why Arm Position Changes Your Blood Pressure
Blood pressure is usually defined at the level of your heart. When your arm is higher or lower than that level, gravity comes into play.
- Arm lower than the heart
When your arm hangs down or rests too low, the column of blood in your arteries is effectively “heavier” due to gravity. The cuff senses this as a higher pressure, even if the pressure at heart level hasn’t changed. - Arm higher than the heart
When your arm is lifted up, gravity slightly reduces the pressure in the arteries at the cuff level. The monitor may give you a lower reading than what’s actually present at your heart.
Studies suggest that for every 10 cm (about 4 inches) your arm is below heart level, your systolic blood pressure (the top number) can read about 7–8 mmHg higher. Two inches may seem small, but it’s enough to bump someone from a “borderline” reading into the “high” range.

How to Position Your Arm for an Accurate Reading
You don’t need perfection—you just need consistency and a few key rules. Here’s how most expert guidelines recommend measuring blood pressure at home or in the clinic.
Step‑by‑Step Arm Position Checklist
- Sit in a chair with back support
Feet flat on the floor, legs uncrossed. Rest like this for 3–5 minutes before measuring. - Use the correct arm
If your doctor hasn’t told you otherwise, use the arm that tends to give the higher reading (this is often checked during your first few visits). - Support your arm on a flat surface
Rest your forearm on a table, desk, or firm pillow so that you are not holding it up with your muscles. - Align the cuff with your heart
The middle of the cuff (usually marked) should be at the same height as your heart, roughly at the level of your breastbone. - Relax your hand and shoulder
Keep your palm facing upward or slightly inward. Relax your shoulder; don’t shrug. - Stay still and silent during the reading
Don’t talk, text, or move. Even chatting can raise systolic pressure by several points.
A Real-World Example: Before and After Fixing Arm Position
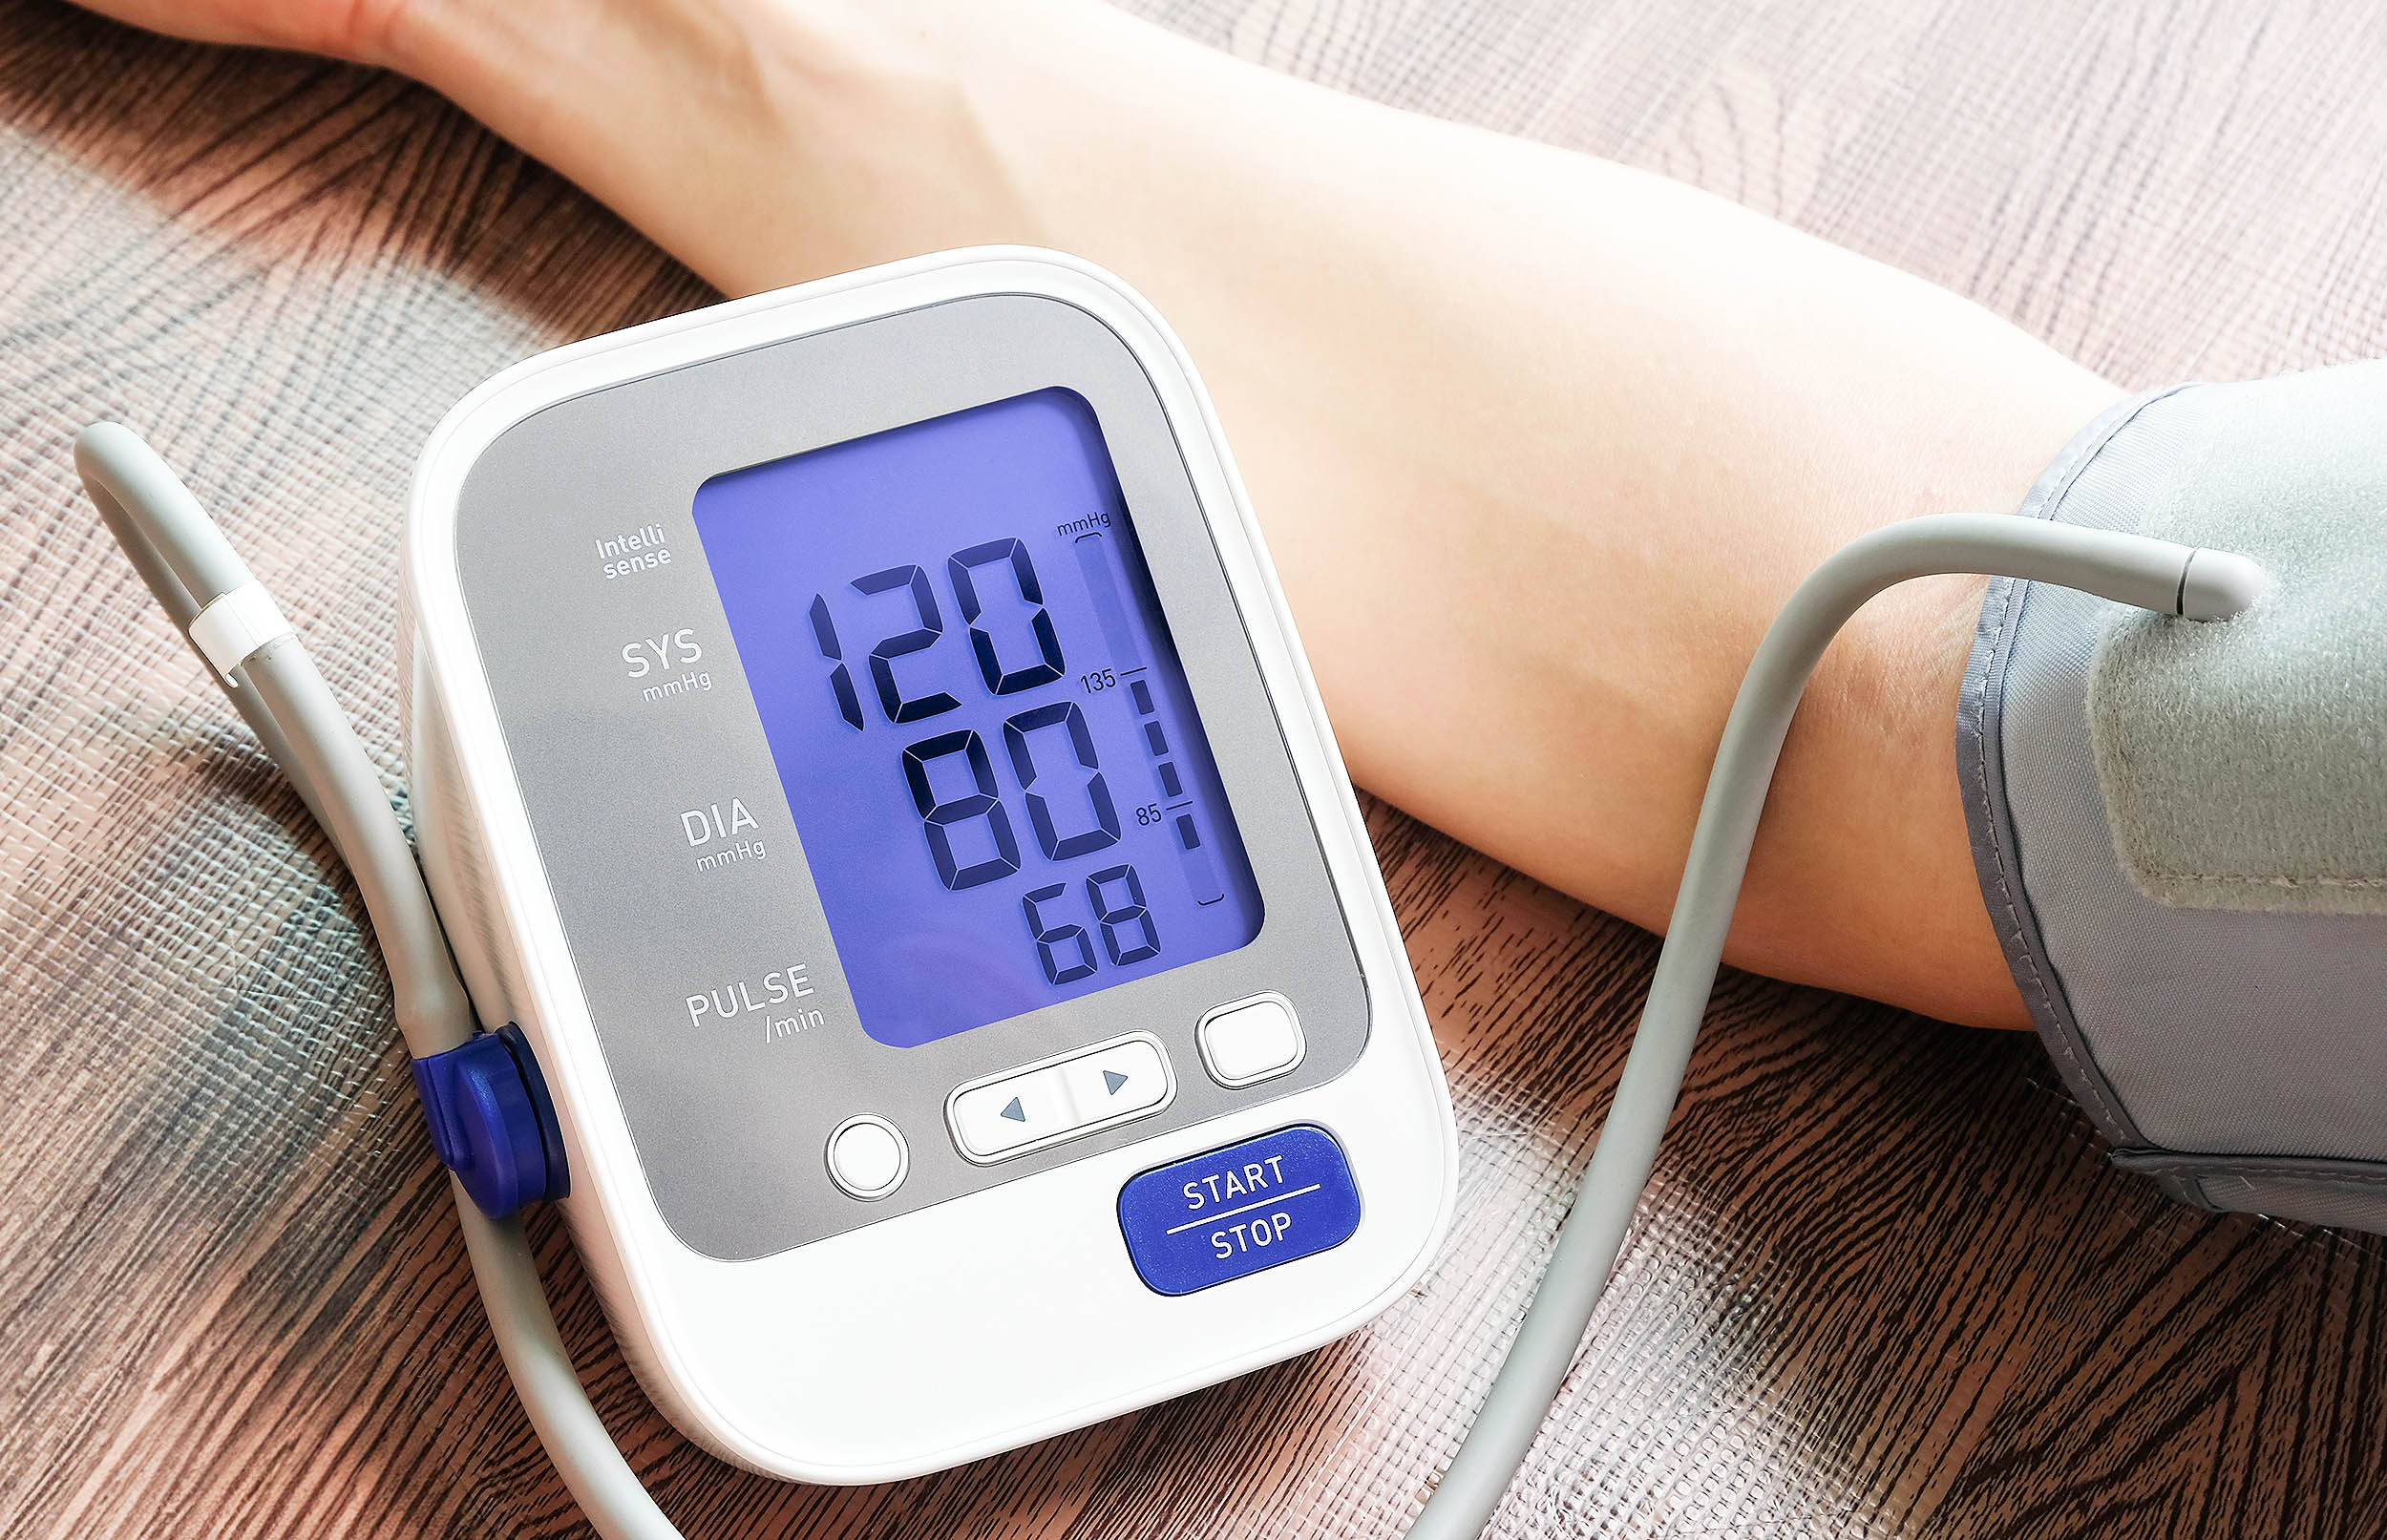
A 55‑year‑old man, who we’ll call Robert, went to his clinic for a routine checkup. His first reading was 148/92 mmHg—squarely in the high range. He felt fine and said his home readings were usually lower.
The nurse noticed his arm was hanging off the side of the chair, cuff well below heart level. She repositioned him: feet flat, back supported, arm resting on a table at heart height. After five minutes of rest and a repeat measurement, his blood pressure came down to 132/84 mmHg.
That’s still something to watch, but it’s a different conversation than immediately starting medication.
Using Home Blood Pressure Monitors the Right Way
Home blood pressure monitors are incredibly useful—if you use them correctly. Research shows that home readings, when done properly, can predict heart risk as well as (or better than) occasional office measurements.
Checklist for Home Monitoring
- Choose an upper‑arm cuff that’s validated for accuracy, rather than a wrist cuff, unless your clinician advises otherwise.
- Measure at the same time each day, usually morning and evening, before caffeine, smoking, or exercise.
- Take two readings, one minute apart, and record the average.
- Log results in a notebook or app, noting any unusual stress, poor sleep, or illness.

Common Obstacles—and How to Overcome Them
Life isn’t a controlled research lab. Here are some real‑world issues that can make proper arm positioning tricky, and realistic ways to handle them.
1. Short exam room tables or no armrest
If the table is too low or missing, your arm may dangle below heart level.
- Ask for a pillow, folded gown, or extra chart to raise your arm.
- If nothing else, scoot your chair closer so you can rest your forearm on your lap at heart height.
2. Busy clinic staff
Nurses and medical assistants are often under time pressure. Technique details can slip.
- Politely say, “Could we redo it with my arm on the table at heart level? I read that position can change the numbers.”
- Ask for a second reading after you’ve rested 3–5 minutes in the correct position.
3. Pain, stiffness, or limited mobility
If you have shoulder problems or arthritis, holding the “ideal” position can hurt.
- Use extra pillows or supports so your arm can rest comfortably without effort.
- Tell your clinician which positions are tolerable; they can work with you to find a repeatable setup.
Other Technique Mistakes That Skew Blood Pressure
Arm position is a big piece of the puzzle, but it’s not the only one. Research and guidelines highlight several common errors:
- Wrong cuff size: A cuff that’s too small can overestimate blood pressure; too large can underestimate it.
- Measuring over clothing: Sleeves create friction and can distort readings. Place the cuff on bare skin.
- No rest period: Walking in from the parking lot and measuring immediately often yields higher numbers.
- Talking during the measurement: Conversation can raise systolic pressure by up to 10 mmHg in some people.
- Full bladder or recent caffeine/nicotine: Both can temporarily elevate blood pressure.
When to Take a High Reading Seriously
Even with perfect technique, some readings will be genuinely high. Here’s a balanced approach that many clinicians use.
- If you get one high reading: Repeat it after 3–5 minutes of quiet rest, making sure your arm is fully supported at heart level.
- If multiple readings are high over several days: Share your home log with your healthcare provider—they may recommend further evaluation or treatment.
- If you see very high numbers (for example, 180/120 mmHg or higher) with symptoms like chest pain, shortness of breath, severe headache, or vision changes—seek urgent care or emergency evaluation.
Remember, no article can diagnose you. These steps are meant to help you and your clinician make more informed decisions, not to replace medical advice.
Bringing It All Together: Your Next Best Steps
The Johns Hopkins study underscores something empowering: small actions—like how you rest your arm—can meaningfully improve the quality of your blood pressure information. Better information leads to better decisions, fewer scares, and, when needed, more timely treatment.
You don’t have to become obsessed with every millimeter. Focus on these three habits:
- Always support your arm so the cuff is at heart level.
- Give yourself 3–5 quiet minutes before measuring.
- Repeat any surprising reading rather than reacting to a single number.
Consider this your next step: at your very next reading—whether at home or the clinic—pause, check your arm position, and make the small adjustments you now know can make a big difference. Then, share your questions and your home readings with your healthcare provider so you can work as a team to protect your heart health.
