
DIY Limewash Magic: How to Give Your Walls a Five-Star Hotel Glow on a Thrift-Store Budget
Textured Walls on a Takeout Budget: Meet Your New DIY Obsession
Somewhere between “I’m bored of my beige walls” and “I cannot afford a full renovation” lives a glorious middle ground: DIY limewash and plaster-effect walls. Think soft, cloudy, European-villa vibes… minus the villa, the airfare, and the inheritance.
Over the last year, social feeds have turned into a parade of before-and-after wall glow-ups. Flat builder-grade paint is being replaced by textured, moody finishes that look like they wandered out of a Roman apartment or a boutique hotel lobby. The best part? You can do it over a weekend, with moderate skill, some patience, and a playlist that makes you feel like you own a design studio.
Today we’re diving deep into DIY limewash, Roman clay, and plaster-effect walls—what they are, how to choose the right one, and how not to panic halfway through and declare your wall ruined (it’s probably not).
Why Everyone’s Suddenly Flirting With Limewash & Plaster
If you feel like limewash is “that thing that keeps popping up on my FYP,” you’re not wrong. It has quietly crashed several major trends at once:
- Quiet luxury & minimalist decor: Textured walls add depth without needing loud colors or a gallery wall the size of a movie theater screen.
- Budget-friendly glow-up: A couple buckets of specialty paint or plaster can transform a living room accent wall for less than replacing one sad sofa cushion.
- Highly forgiving: Unlike flat paint, these finishes love imperfection. Heavy hand? Patchy strokes? Congratulations, it’s called “character.”
- Extremely content-friendly: The transition from “plain drywall sorrow” to “moody Mediterranean moment” makes for addictive Reels and TikToks.
Translation: it looks expensive, feels cozy, and doesn’t expose every tiny roller mark you’ve ever made. Design win.
Limewash vs Roman Clay vs Faux Plaster: Choose Your Wall Adventure
All textured walls are not created equal. Here’s the cheat sheet so you don’t end up buying concrete when you meant to buy paint.
1. True Limewash Paint
What it is: A mineral-based paint (often lime + pigment) that dries to a chalky, matte, cloudy finish.
What it looks like: Soft, layered, slightly streaky in a good way—like watercolor on a wall. Perfect for those “ancient stone but make it clean” vibes.
Best for: Bedrooms, living rooms, and accent walls where you want mood and movement, not shine. It shines in quiet luxury and minimalist spaces.
2. Roman Clay & Plaster Products
What it is: Thicker, putty-like materials applied with a trowel, spatula, or drywall knife. You’re essentially sculpting your wall a new little outfit.
What it looks like: Stone-like, velvety, occasionally with a subtle sheen if you burnish it (press and polish the surface once it’s partly dry).
Best for: Feature walls, fireplace surrounds, headboard walls, and anywhere you want serious texture and that “custom home” whisper.
3. Faux Techniques with Regular Paint
What it is: Regular interior paint used with tricks—sponging, rag rolling, or mixed with joint compound—for a budget plaster dupe.
What it looks like: Depends on your technique: “cloudy and soft” to “slightly chaotic but charming.” With practice, it can pass for the more expensive stuff on camera and in person.
Best for: Renters (check your lease), budget projects, and experimental walls you’re not emotionally attached to… yet.
Prep Talk: How to Get Your Walls Ready (So They Don’t Betray You)
Textured finishes are like dewy makeup: stunning, but only if the canvas underneath isn’t silently falling apart. A little prep makes a major difference.
- Check your wall’s health.
Look for peeling paint, hairline cracks, nail pops, and mystery bumps. Patch with spackle or joint compound, sand smooth, and wipe away dust. - Degloss if needed.
Super glossy paint can make limewash or plaster slide around like Bambi on ice. Lightly sand or use a deglosser if your walls are shiny. - Prime thoughtfully.
Many limewash and plaster products recommend a specific primer. Follow that advice unless you enjoy adhesion anxiety. Uniform color underneath also helps your final shade look intentional, not blotchy. - Test a patch.
Always test a one to two foot square area. Watch it dry in morning and evening light before committing. This is the wall version of “try before you dye” for your hair.
A single afternoon of prep can save you from a week of muttering at your wall later.
Choosing Colors: Neutrals With a Personality
Trending limewash and plaster palettes are all about warm, grounding tones that play nicely with almost everything you already own.
- Warm beiges & greiges: Ideal for bedrooms and living rooms. They photograph beautifully and don’t fight your sofa.
- Soft grays & stone tones: Great for modern, minimalist spaces, especially paired with black metal, oak, and linen.
- Earthy clays & terracotta: Perfect for boho or farmhouse decor with rattan, rustic wood, and vintage finds.
- Deep moody hues: Charcoal, inky blue, or olive green turn a plain wall into a dramatic backdrop for art and warm lighting.
Tip: hold your paint swatch or sample board next to your floors, sofa, and wood tones. If they look like they could be in the same family photo, you’re on the right track.
How to Apply Limewash Without Losing Your Cool
Limewash has a reputation for looking terrifying mid-process—streaky, patchy, and like you immediately regret your life choices. Stay calm. The dry-down is where the magic happens.
- Mix & dilute (if required).
Follow the brand instructions. Many mineral limewashes are diluted with water for the first coat for better absorption. - Use the right brush.
A big masonry or limewash brush with natural bristles helps create those signature soft, cloudy strokes. - Work in organic, overlapping strokes.
Think big X and W motions, not neat up-and-down stripes. Imperfection = texture and depth. - Keep a wet edge.
Work in sections so one area doesn’t fully dry next to a freshly brushed one. This helps avoid hard stop lines. - Layer up.
Most projects need two to three coats. Each layer adds depth. Don’t judge the wall until at least the second coat has dried.
By the end, your wall should look softly mottled and matte, like your home just came back from a semester abroad.
Roman Clay & Plaster: For When You Want Serious Texture
Ready for a slightly spicier project? Roman clay and plaster products are the “main character energy” of wall finishes—more work, more drama, more payoff.
- Gather your tools.
A flexible trowel or drywall knife, mud pan or tray, sanding sponge (fine grit), and your chosen plaster or Roman clay. - Apply thin coats.
Scoop a small amount on your trowel and spread it in thin, sweeping motions. Random directions are good; thick clumps are not. - Let it dry between layers.
Follow product timing—usually several hours. Lightly sand any sharp ridges if you prefer a softer look. - Burnish for sheen (optional).
Once nearly dry, press the trowel firmly and glide over the surface. This compresses the plaster, creating a soft, stone-like sheen. - Seal if needed.
In higher-traffic or splash-prone areas (entryways, near kids, not full showers), a compatible sealer can protect your hard work.
The result is a tactile, stone-inspired finish that makes flat drywall feel like it just got a custom passport.
Fake It Till You Make It: Faux Plaster with Regular Paint
On a tighter budget or just testing the waters? You can still get a textural look with basic supplies and a little DIY enthusiasm.
- Joint compound mix: Skim a thin layer of premixed joint compound on the wall with a drywall knife, let it dry, then sand lightly and paint over with a flat or matte finish for a soft plaster look.
- Two-tone sponge or rag method: Use a base coat, then dab on a slightly lighter or darker tone with a damp sponge or cloth, blending as you go for movement and depth.
- Glaze technique: Mix a clear glaze with a bit of paint and lightly brush or rag it over a base color for gentle, translucent variation.
Is it identical to true limewash or Roman clay? No. Will your guests still say “Wait, did you hire someone?” Quite possibly.
Where to Use Textured Walls: Room-by-Room Ideas
Now for the fun part: matchmaking your new skill with the perfect spot in your home.
- Living Room: Create a limewashed accent behind the sofa or TV. Pair with neutral furniture, simple art, and soft lighting. Your Netflix queue has never had a nicer backdrop.
- Bedroom: Go for a Roman clay headboard wall in warm beige, taupe, or greige. Add linen bedding and low, warm lamps for an instant boutique-hotel feel.
- Entryway & Hallways: These often-forgotten spaces gain major personality from a limewashed or plaster-effect wall. Add a slim console and a mirror and your front door practically starts greeting people itself.
- Farmhouse & Boho Spaces: Earthy clay, sand, and terracotta tones play beautifully with rattan, vintage rugs, and wood beams. Finish built-in shelves or arched niches with the same product for a cohesive, custom look.
Start with one accent wall. Once you see the transformation, resisting the urge to limewash the whole house will be the real challenge.
Styling Your New Textured Wall: Let It Be the Star (But With Great Supporting Cast)
After all that effort, don’t bury your masterpiece behind clutter. Style it in a way that shows off the texture.
- Keep art simple: One large piece or a small, curated grouping beats a busy gallery wall. Think simple frames, neutral mats, or even unframed canvas for a relaxed look.
- Use contrast wisely: Light limewash with darker furniture or vice versa. Contrast is what makes the wall texture pop instead of disappearing.
- Layer natural materials: Linen, wool, jute, wood, stone, and ceramics all complement textured walls and emphasize that “elevated yet cozy” feel.
- Mind your lighting: Wall sconces, table lamps, and picture lights grazing across the surface will highlight every nuance of the texture you worked so hard for.
Think of your new wall as the lead actor; everything else is there to support the performance, not compete for the spotlight.
Common Mistakes (and How to Fix Them Without Crying)
Even the pros have “oh no” moments. Here’s how to dodge the big ones—or repair them gracefully.
- Patchy, uneven color:
Sometimes caused by inconsistent absorption or too-dry edges. Solution: add another diluted coat, working in broader sections and keeping a wet edge. - Too much texture in one spot:
With plaster or joint compound, sand down the offending area, wipe clean, and reapply a thin layer to blend. - Color looks darker than expected:
Most textured finishes deepen as they dry. If it’s still too dark after fully curing, a thin, lighter topcoat (limewash or paint, depending on the system) can soften it. - Not loving it at all:
The nuclear option: sand any heavy texture, prime, and repaint. Fortunately, most limewash and plaster products are compatible with future repainting, so you’re not making a forever decision.
Remember: half the charm of these finishes is their lived-in, organic feel. A little irregularity is literally the look.
From Flat to Fabulous: Your Walls Are Ready for Their Close-Up
DIY limewash and plaster-effect walls are trending for good reason: they offer huge visual impact, cozy texture, and that “designer did this” feeling on a very real-world budget. Whether you go full Roman clay on your bedroom headboard wall or test a single limewashed corner in the hallway, you’re giving your home a layer of personality that plain paint just can’t match.
So pick your product, put on your favorite playlist, and embrace the brush strokes, trowel marks, and little imperfections. By the end of the weekend, your walls will look like they spent a summer in Europe—and you’ll have the before-and-after photos to prove it.
And if anyone asks who your designer is, feel free to smile mysteriously and say, “We’re very close.”
Image Suggestions (for Publisher Use)
Below are strictly relevant, royalty-free image suggestions that visually reinforce key sections of this blog.
Image 1
- Placement: Immediately after the section titled “Limewash vs Roman Clay vs Faux Plaster: Choose Your Wall Adventure.”
- Image description: Realistic photo of an interior wall divided into three vertical panels or adjacent sections. Left section shows a soft, cloudy limewashed wall in a warm beige with visible brush strokes. Middle section shows a Roman clay or plaster wall with subtle trowel marks and a slight sheen. Right section shows a faux finish created with paint, with gentler texture and a slightly more uniform look. At the bottom, a simple, light wood baseboard and neutral floor; no furniture or people, just the wall comparison.
- Supports sentence/keyword: “All textured walls are not created equal. Here’s the cheat sheet so you don’t end up buying concrete when you meant to buy paint.”
- Alt text: “Comparison of limewash, Roman clay plaster, and faux paint plaster finishes on a single interior wall.”
- Example royalty-free URL: https://images.pexels.com/photos/4792490/pexels-photo-4792490.jpeg
(Use cropping or editing to focus on the textured wall surfaces while keeping the three distinct finishes visible.)
Image 2
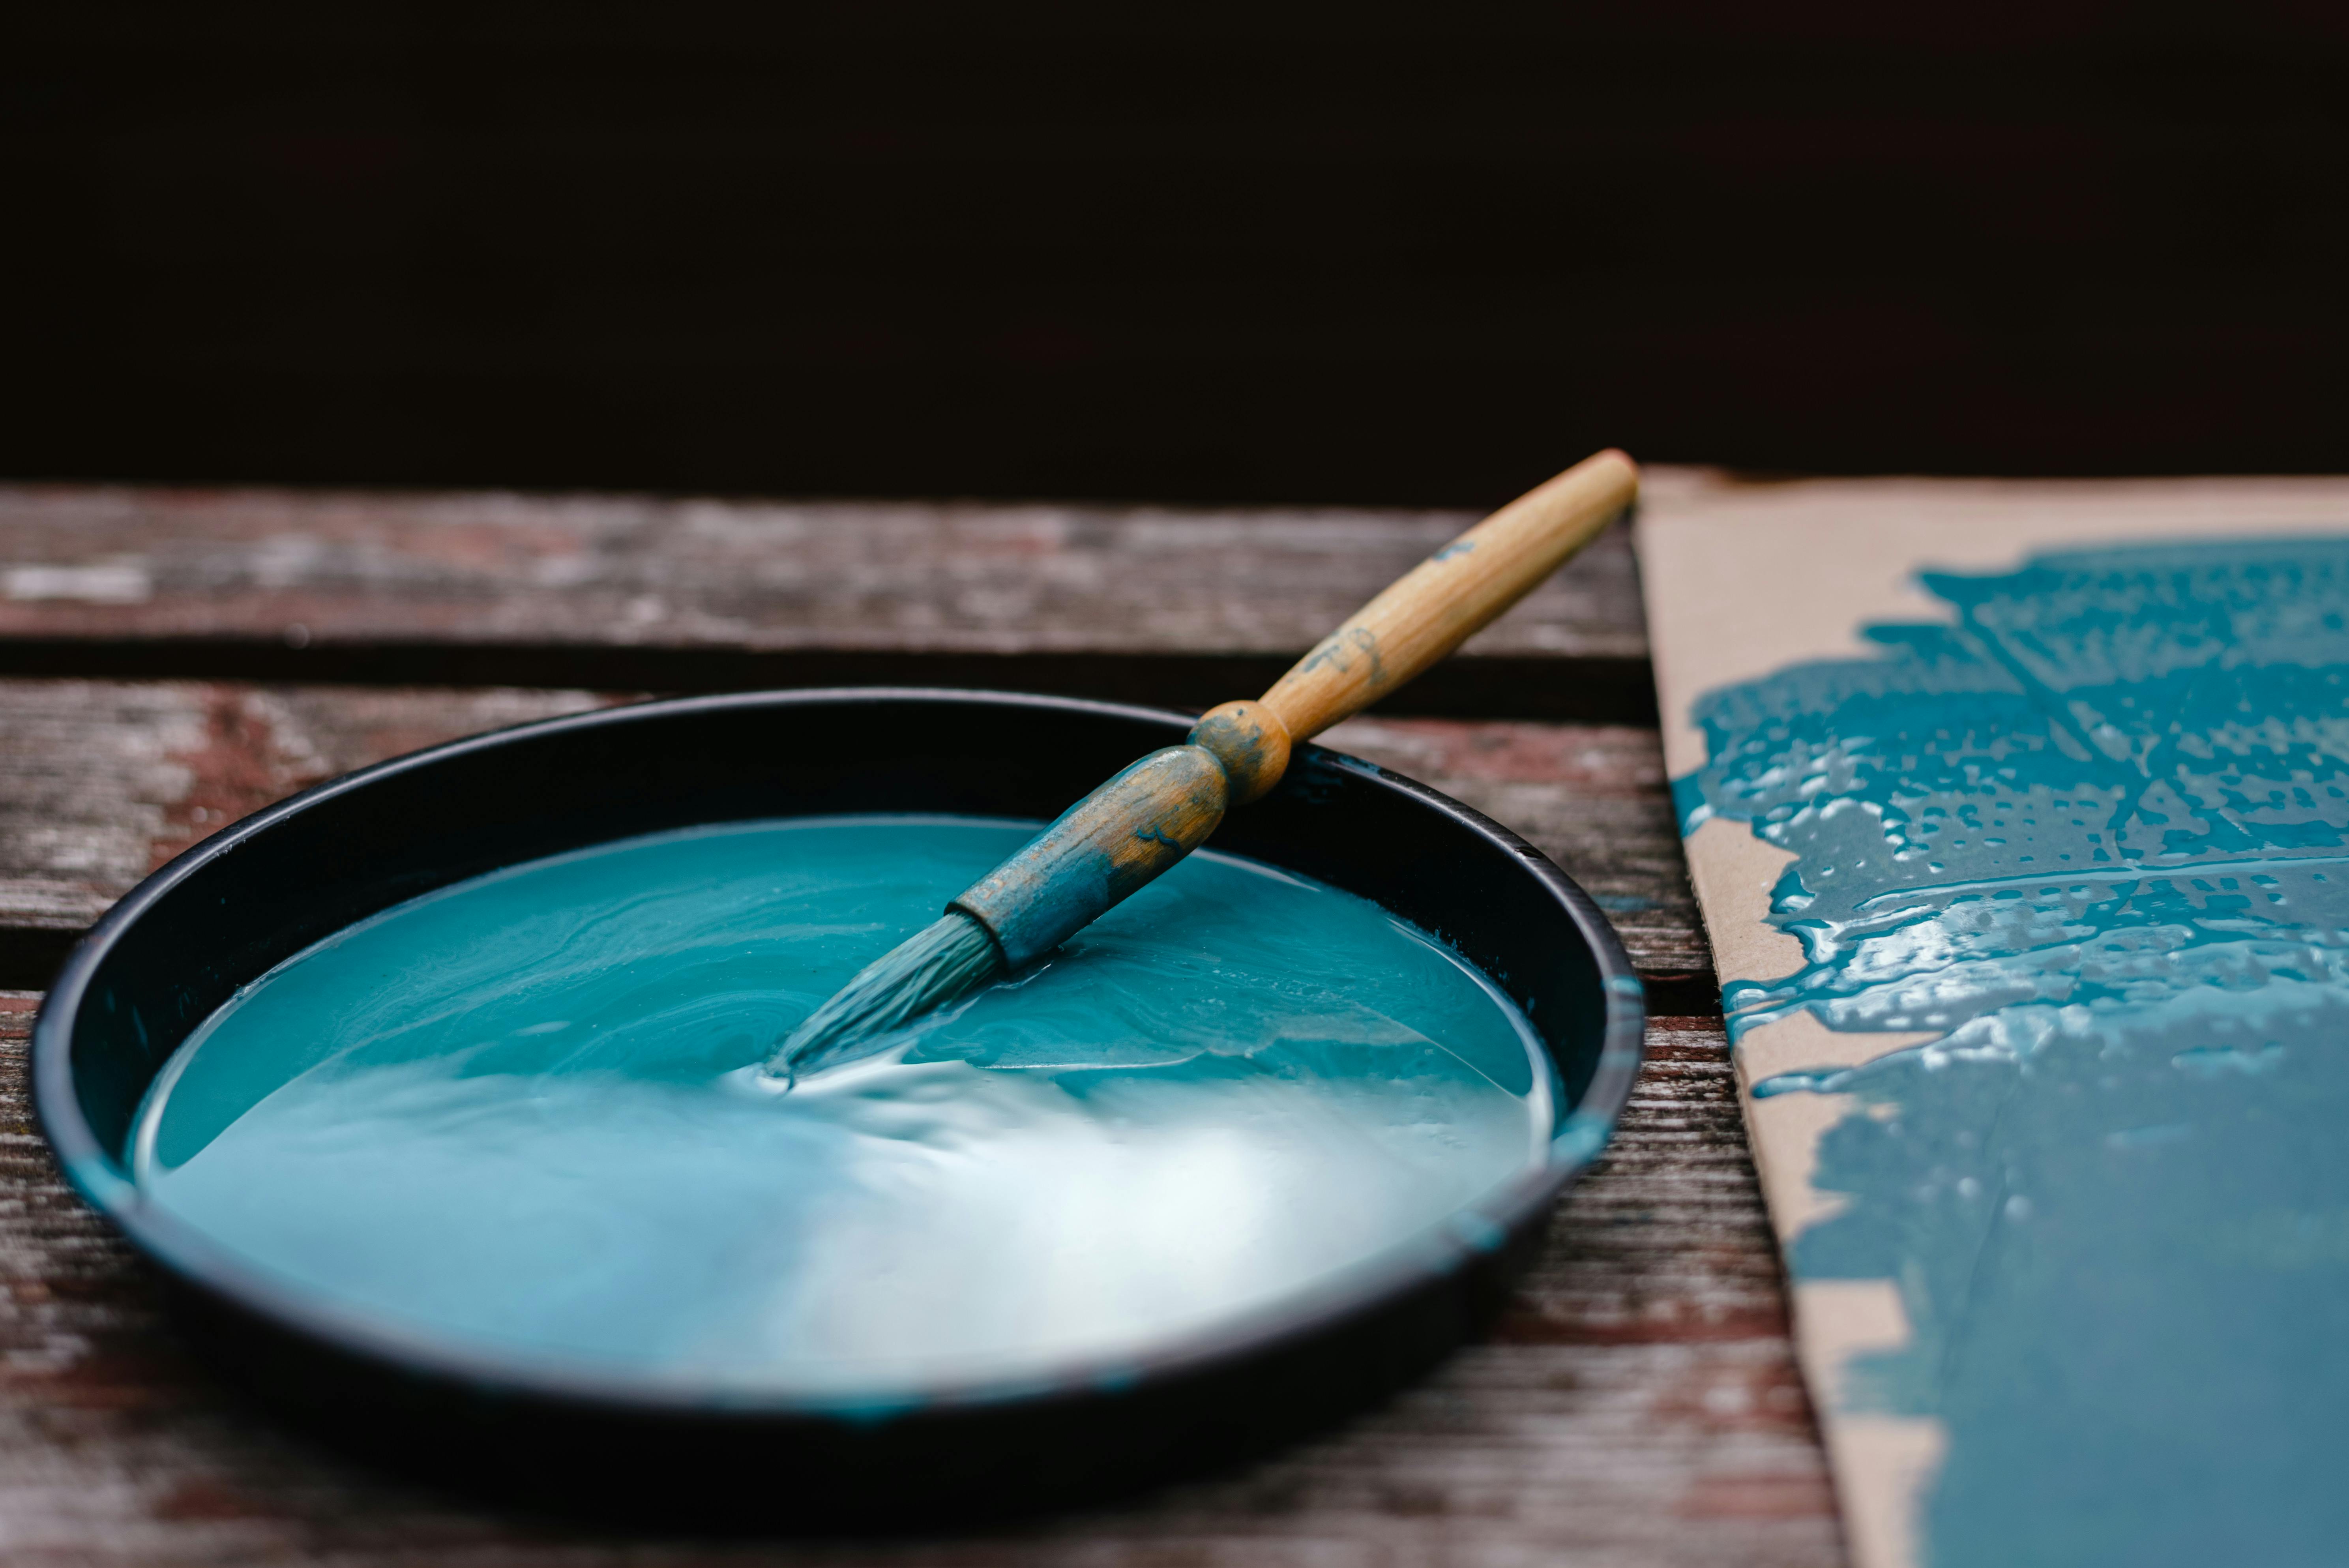
- Placement: After the section “How to Apply Limewash Without Losing Your Cool.”
- Image description: Close-up, realistic photo of a hand holding a large limewash or masonry brush applying a cloudy, light-colored limewash onto a prepared interior wall. Visible overlapping strokes and wet edge; no face or full person visible. The focus is on the brush, the paint, and the textured effect developing on the wall. Neutral surroundings; no distracting decor.
- Supports sentence/keyword: “Think big X and W motions, not neat up-and-down stripes. Imperfection = texture and depth.”
- Alt text: “Hand applying limewash paint with a large brush in overlapping strokes on an interior wall.”
- Example royalty-free URL: https://images.pexels.com/photos/6476584/pexels-photo-6476584.jpeg
(Use framing that clearly shows the brushstroke texture and matte finish of the limewash.)
Image 3
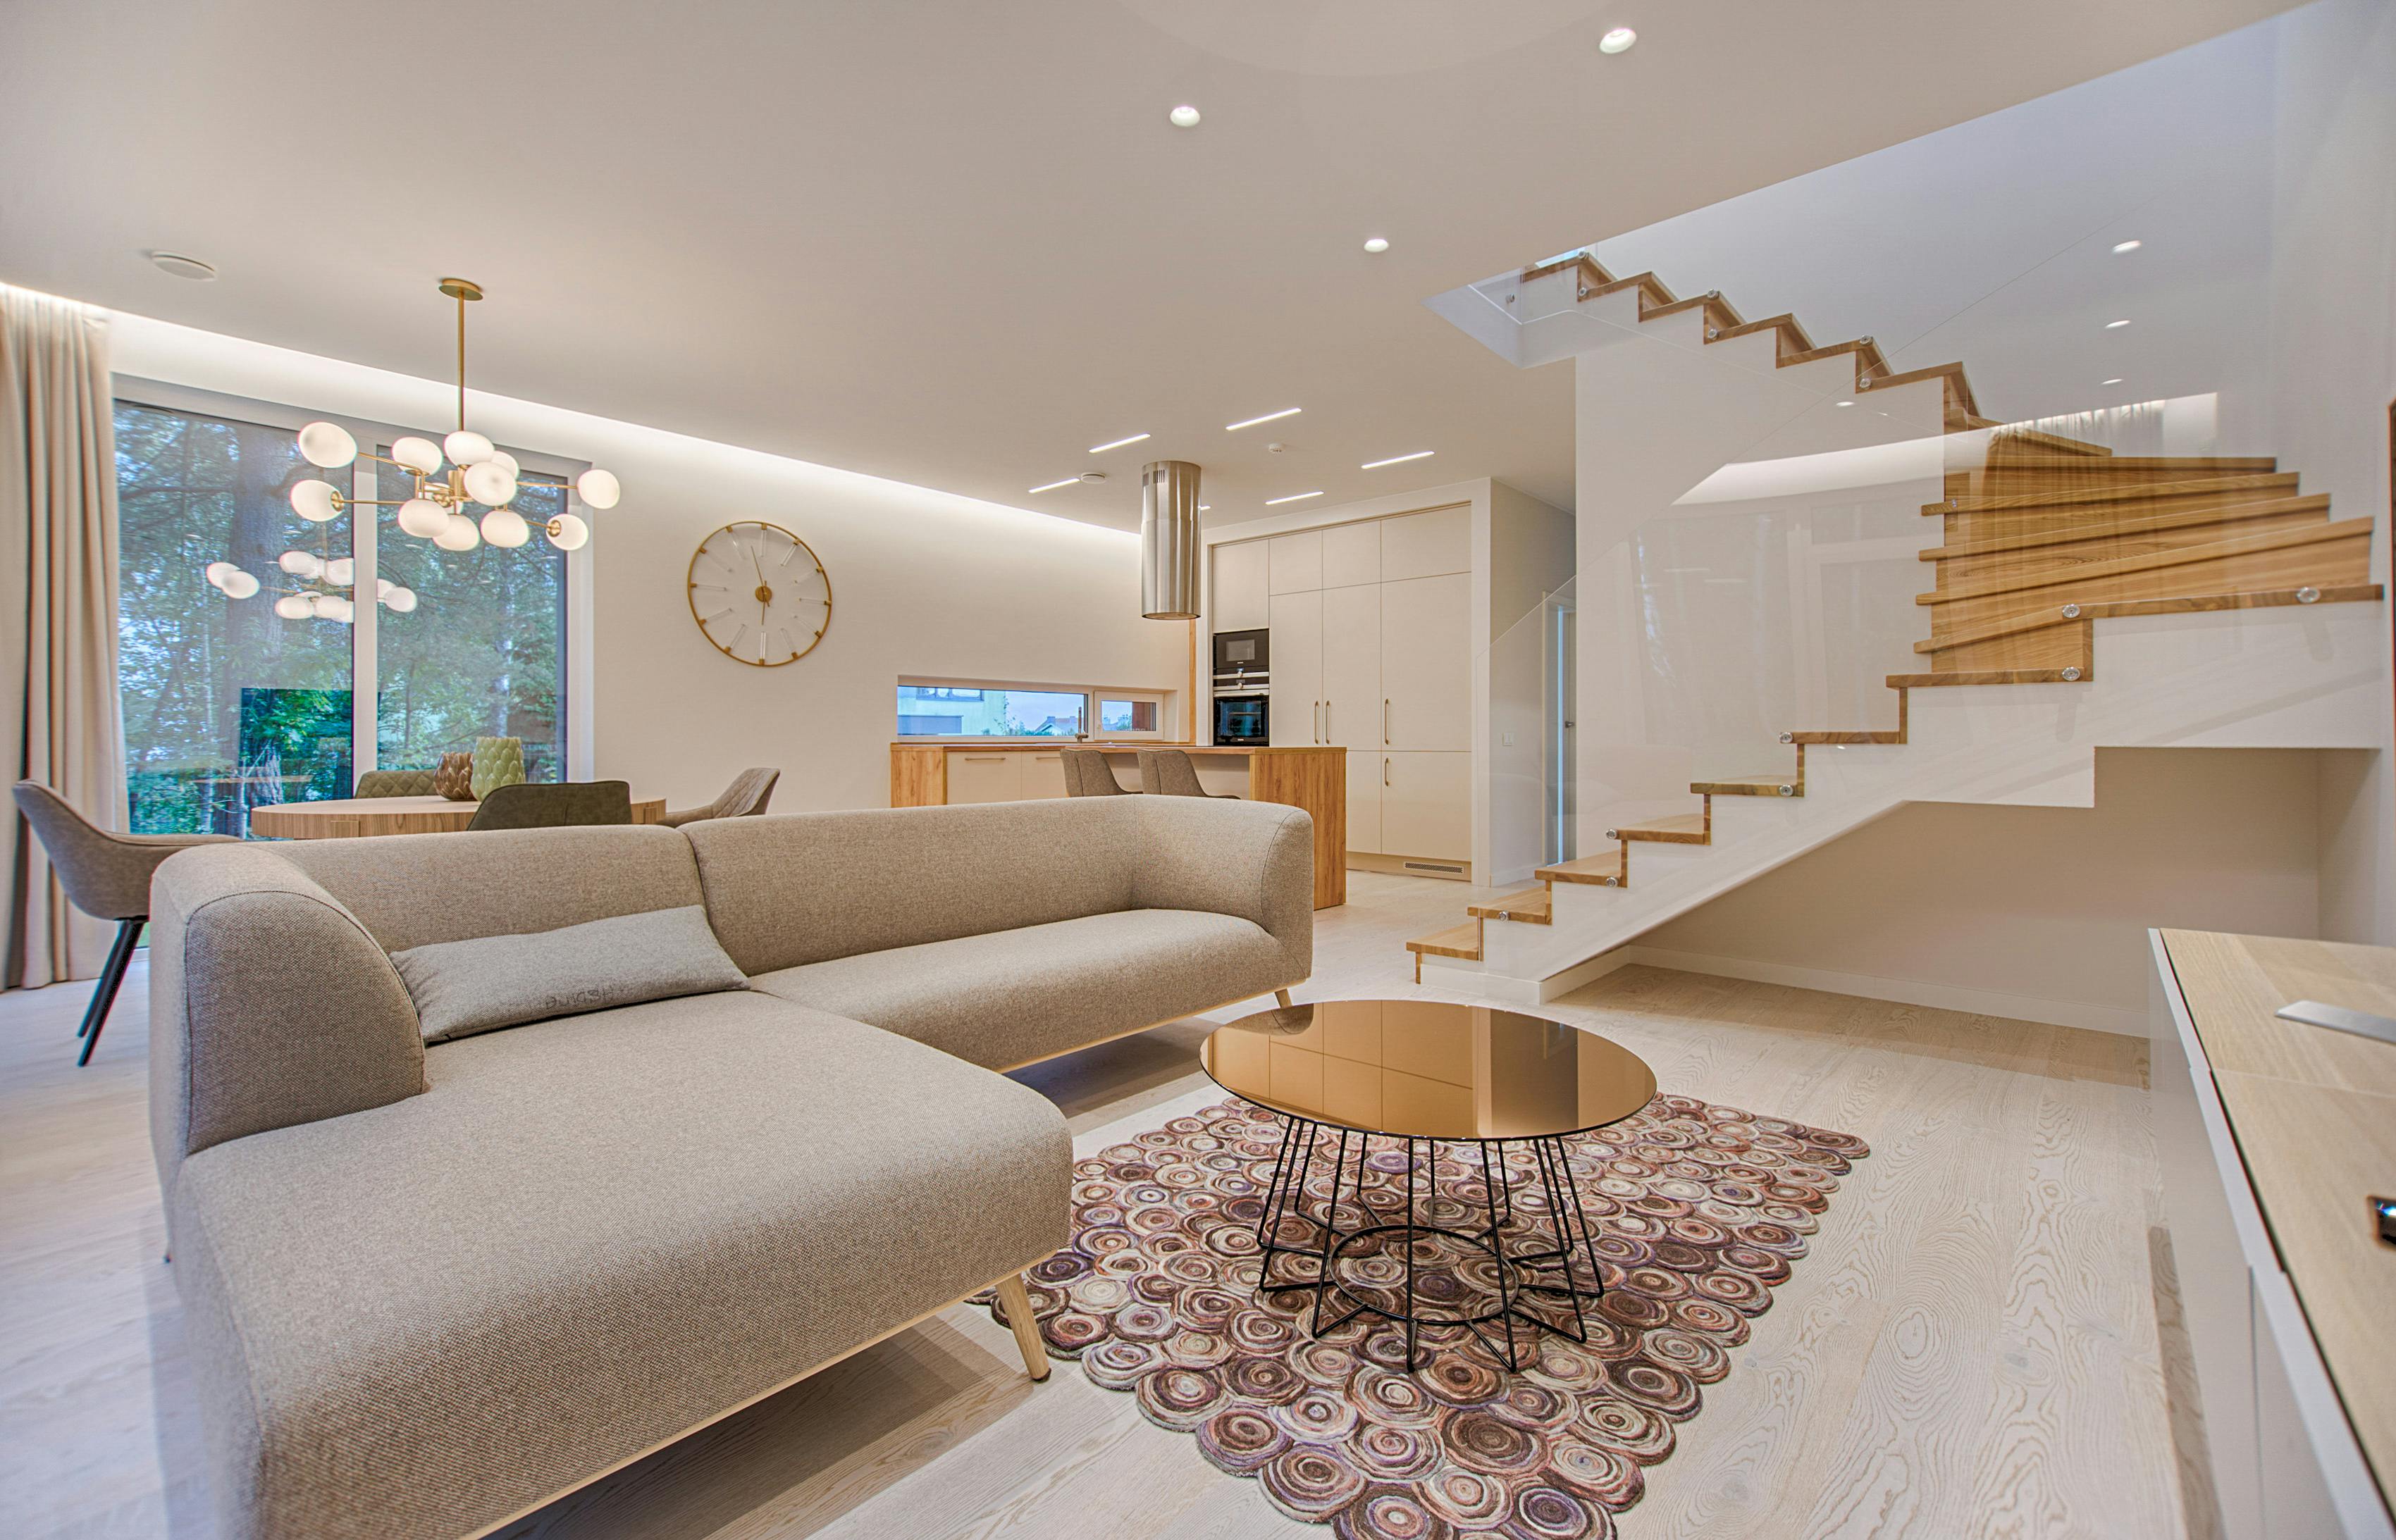
- Placement: After the “Where to Use Textured Walls: Room-by-Room Ideas” section.
- Image description: Realistic, wide shot of a living room featuring a limewashed or plaster-effect accent wall behind a simple neutral sofa. The wall has a soft, cloudy texture in a warm neutral tone. Styling is minimalist: a small side table, one or two simple decor objects, and warm ambient lighting that grazes the wall to highlight the texture. No visible people, pets, or busy clutter.
- Supports sentence/keyword: “Create a limewashed accent behind the sofa or TV. Pair with neutral furniture, simple art, and soft lighting.”
- Alt text: “Living room with a limewashed accent wall behind a neutral sofa and simple minimalist decor.”
- Example royalty-free URL: https://images.pexels.com/photos/1571460/pexels-photo-1571460.jpeg
(Ensure the chosen crop clearly shows the textured wall surface and how it works as an accent behind the seating area.)
