
Your Walls Called: They Want Limewash, Not Another Beige Breakdown
DIY limewash and plaster-effect walls are the new secret weapon for turning basic rooms into soft, luxurious spaces without hiring a contractor. In this playful guide, we’ll walk through what limewash, Roman clay, and plaster-effect finishes are, why they’re trending, and exactly how to use them to elevate your wall decor with texture, depth, and a high-end look on a realistic budget.
Your flat, builder-grade walls have had a good run. They’ve watched your pandemic sourdough phase, your mid-life “let’s buy a standing desk” moment, and that one questionable gallery wall. But as of right now, walls everywhere are asking for a little… texture. Not another coat of flat beige, but something with personality and movement—enter DIY limewash, Roman clay, and plaster-effect walls, currently exploding across TikTok, YouTube, and every “I just did this in my rental” reel known to humankind.
If you’ve ever wanted your home to feel like a quiet luxury boutique hotel, a chic Mediterranean villa, or the calm corner of a Japandi Pinterest board, this trend is your new best friend. And the best part? You don’t need a trust fund or a professional plasterer—just some patience, a brush or trowel, and a willingness to look mildly ridiculous while making giant X-shapes on your wall.
Limewash, Roman Clay, Plaster: What Are We Even Putting on These Walls?
Let’s decode the buzzy terms you keep seeing under #walldecor, #minimalisthomedecor, and every “DIY limewash wall” tutorial that now owns your algorithm.
- Limewash paint: A mineral-based paint made with lime that creates a soft, cloudy, layered finish. It has natural tonal variation and looks almost stone-like, especially in lighter, earthy colors.
- Roman clay: A clay-based product that goes on thicker than paint and dries to a smooth, velvety, plaster-like surface. Think: old-world plaster meets modern, matte luxury.
- Plaster-effect / faux plaster walls: The DIY remix. This is where people mix matte paint with joint compound or plaster to get the look of plaster without specialized products or pro tools.
All three give you what standard paint can’t: movement, depth, and visible texture. In daylight, they subtly shift and glow; at night, they make lamplight feel moodier and more intentional. It’s like putting a soft-focus filter on your entire room, but in real life.
“Flat paint says, ‘I tried.’ Limewash and plaster walls say, ‘I soft-launched my quiet-luxury era.’”
Why Is Everyone Suddenly Smearing Mud on Their Walls?
On social media, DIY limewash wall and Roman clay accent wall videos regularly rake in millions of views. People watch a very average drywall situation transform into what looks like a boutique hotel lobby in about 30 seconds of time-lapse magic, and suddenly their roller and flat paint feel… insufficient.
Here’s why this trend has such a grip on current home decor:
- It looks expensive, but isn’t. A feature wall can often be done with a couple of buckets and a free weekend. The ROI in “wow, you did that?” compliments is off the charts.
- It forgives imperfect walls. Tiny dings, patched areas, and minor texture inconsistencies are less obvious when the finish itself is irregular and intentionally organic.
- It pairs perfectly with today’s styles. From modern Mediterranean and Japandi to elevated farmhouse and calm minimalist spaces, textured walls act like a quietly dramatic backdrop for simple furniture and natural materials.
- It photographs beautifully. The tonal shifts catch light in a way flat paint never will, which is why these walls dominate reels, shorts, and Pinterest saves.
If your space feels flat, cold, or strangely unfinished no matter how many pillows you buy, the issue might not be your decor—it might just be your walls begging for a little tactile upgrade.
Step 1: Choose Your Wall Like You Choose Your Main Character Energy
Before you start enthusiastically slapping product onto every vertical surface, pause. The key to elevated wall decor is intentional placement, not “I got excited and now my hallway looks like a cave.”
Great candidates for limewash, Roman clay, or plaster-effect:
- Behind your sofa – Turns a basic living room into a styled, grounded space where the wall itself acts as decor.
- Behind your bed – Creates a built-in headboard vibe, especially in calm neutrals like mushroom, clay, or warm greige.
- Dining room or breakfast nook – Makes simple tables and chairs look thoughtfully curated rather than “I assembled this at 11:30 p.m.”
- Entryway – One textured wall plus a simple bench or console can make a first impression that says “welcome to my curated lair.”
If you’re nervous, start with one feature wall. Think of it as a test relationship with texture—no commitment to every room yet, just seeing how it feels in different light throughout the day.
Step 2: Tools & Materials (A.K.A. Your Wall-Glow Starter Pack)
Here’s a practical, no-gatekeeping list of what you’ll usually need for these trending wall finishes:
For Limewash Paint
- Limewash paint (pre-tinted or tintable in your chosen color)
- Primer appropriate for your wall (often mineral or matte primer recommended by the brand)
- Wide, soft masonry or limewash brush (not a roller)
- Painters tape, drop cloths, and a paint tray or bucket
For Roman Clay / Plaster-Effect
- Roman clay product or joint compound / plaster mixed with matte paint
- Flexible trowel or wide putty knife
- Fine sanding sponge (optional, for smoothing after it dries)
- Sealer (especially for higher-moisture or high-touch areas)
Whichever route you choose, always check the product instructions—some want a very specific primer or drying time. This is not the moment to freestyle like you’re on a cooking show.
Step 3: How to Limewash Like You Live in a Modern Mediterranean Villa
Think of limewash as watercolor for your walls. Instead of one opaque, flat coat, you’re building soft, cloudy layers.
- Prep the wall.
Fill any major holes, lightly sand bumps, and clean off dust or grease. Apply the recommended primer and let it dry fully. - Thin your limewash (if required).
Many limewash products like a splash of water to help them move and layer—follow your brand’s ratio. - Use irregular brush strokes.
This is where the magic happens. Work in small sections, using X-shaped or cross-hatch strokes. Overlap while the product is still damp so you don’t get harsh edges. - Layer, don’t chase perfection.
The first coat might look patchy. Breathe. Let it dry, then add a second or third coat, adjusting pressure and direction for soft movement. - Step back often.
Texture reads differently from far away. Take breaks to see the wall from across the room before committing to more layers.
The result? Walls with visible depth that catch the light and make your space feel considered, calm, and quietly luxurious. Pair with simple wood furniture, linen fabrics, and neutral decor so the walls can be the star.
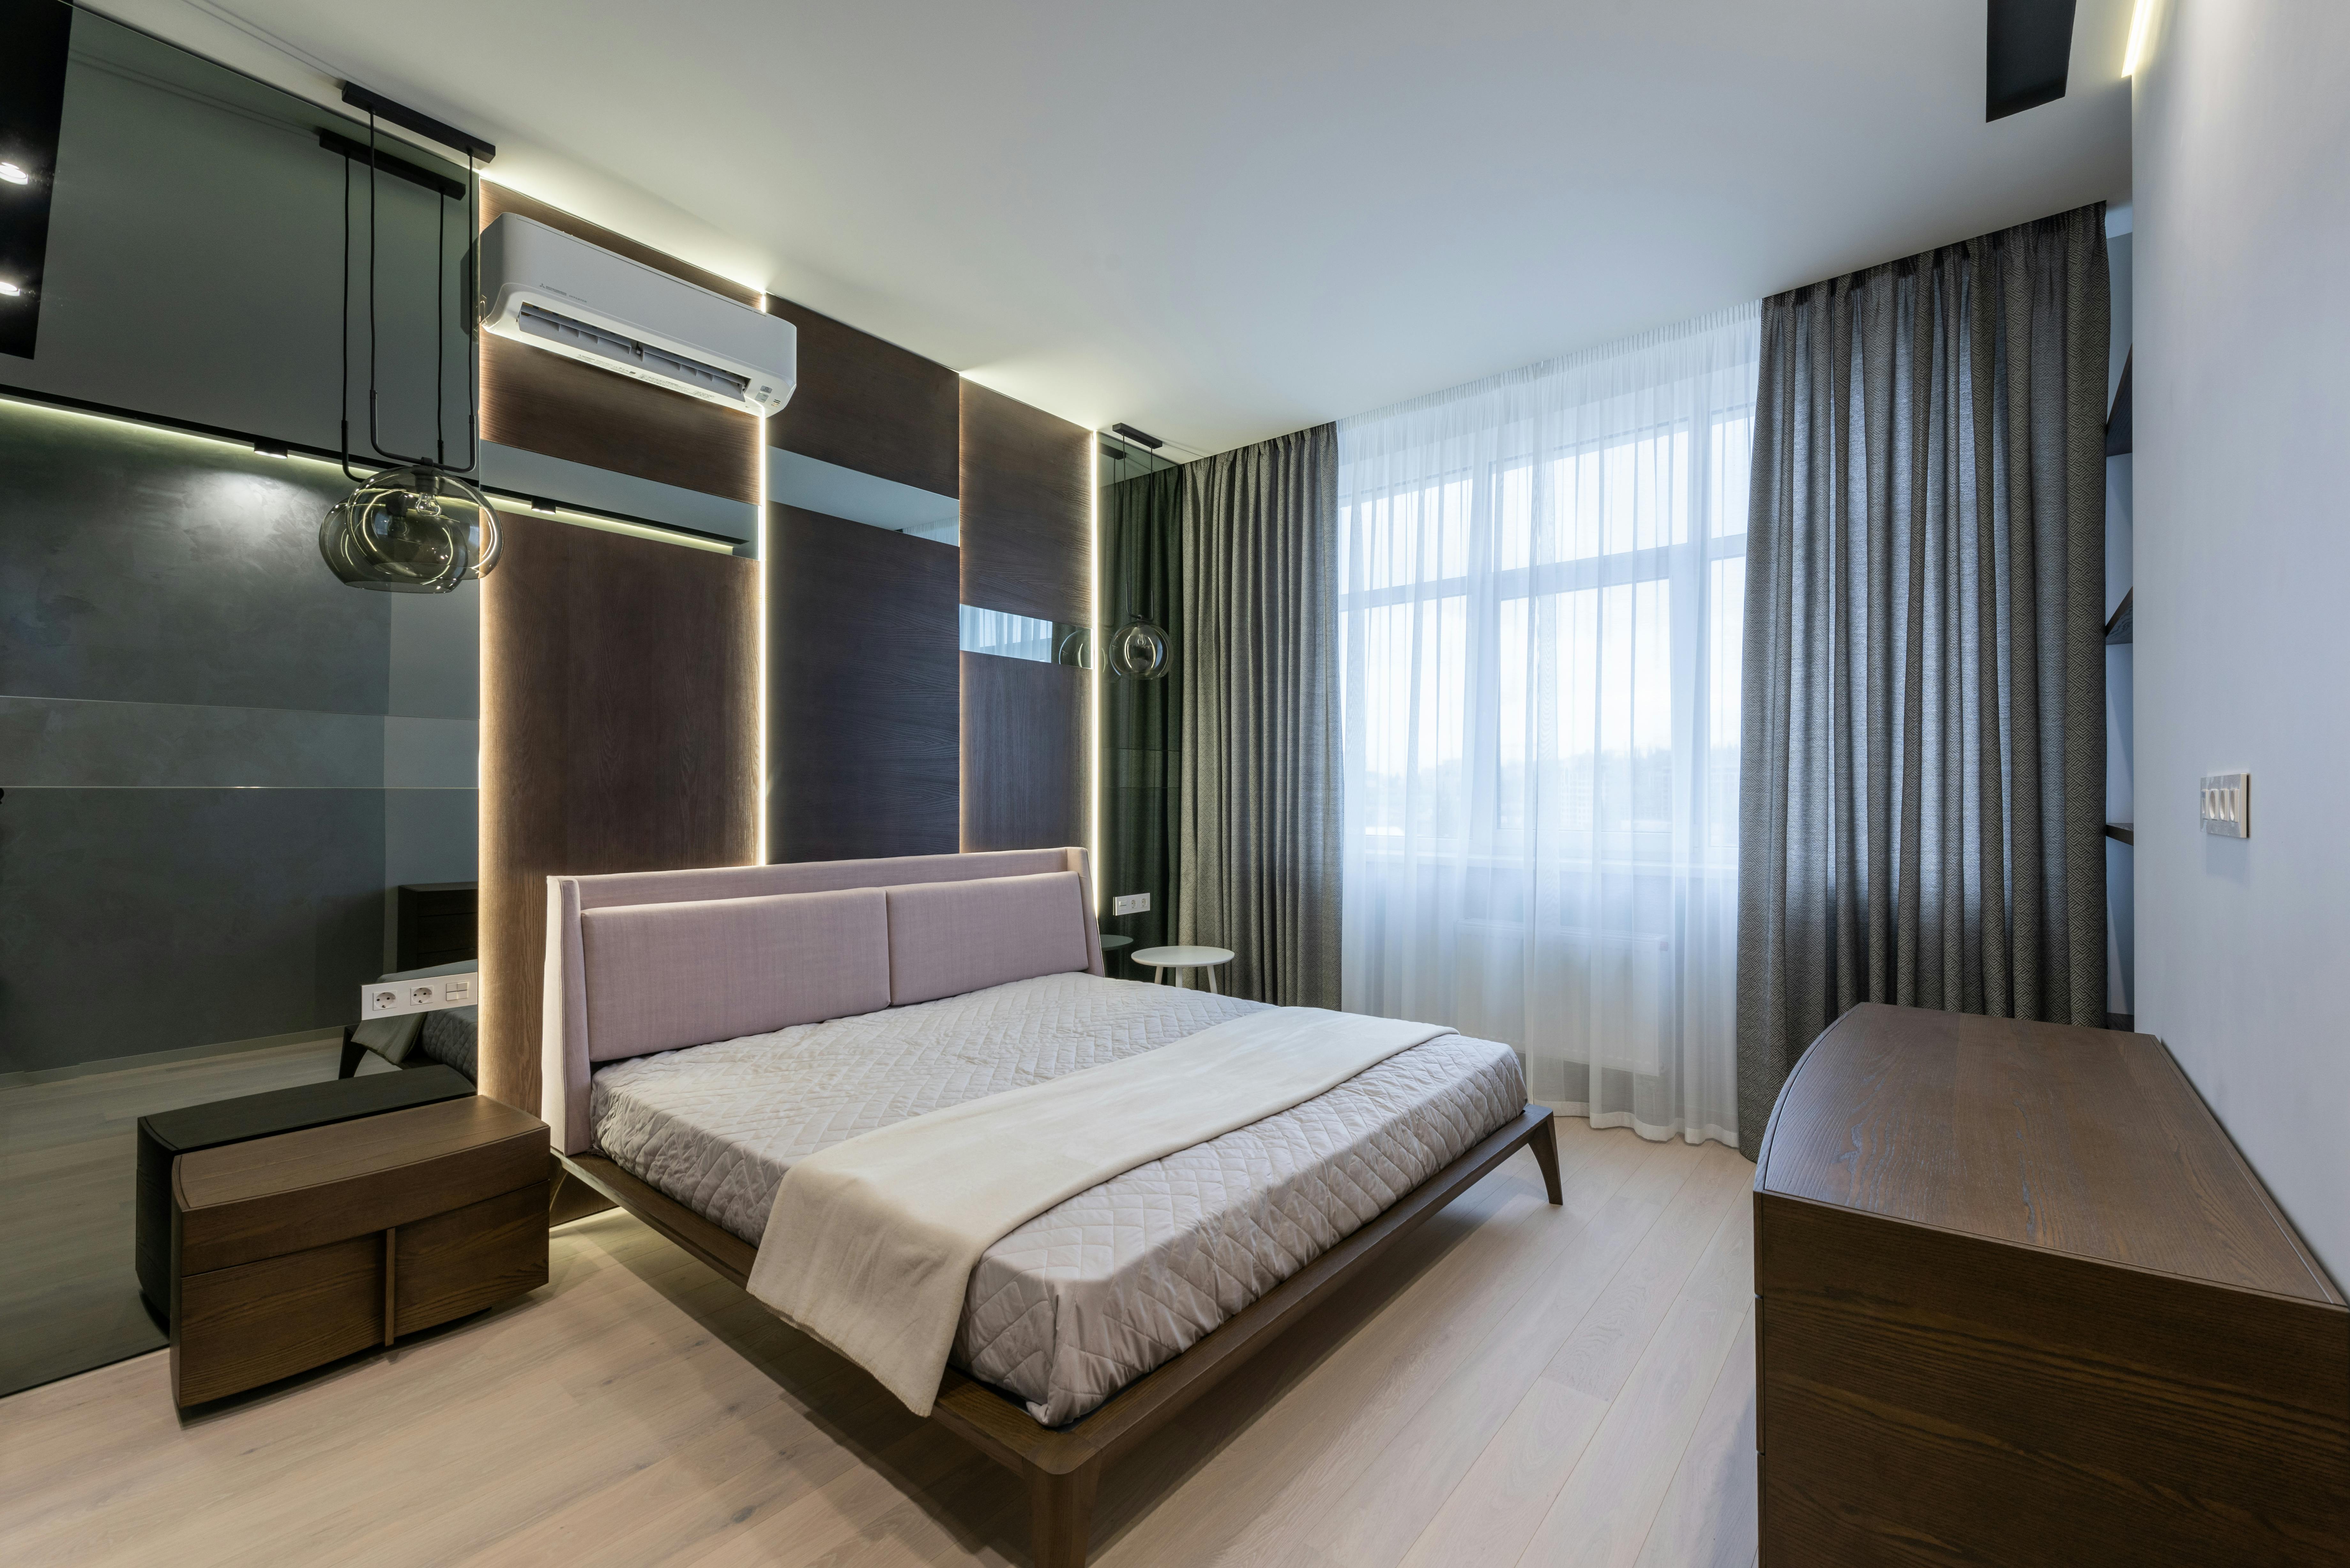
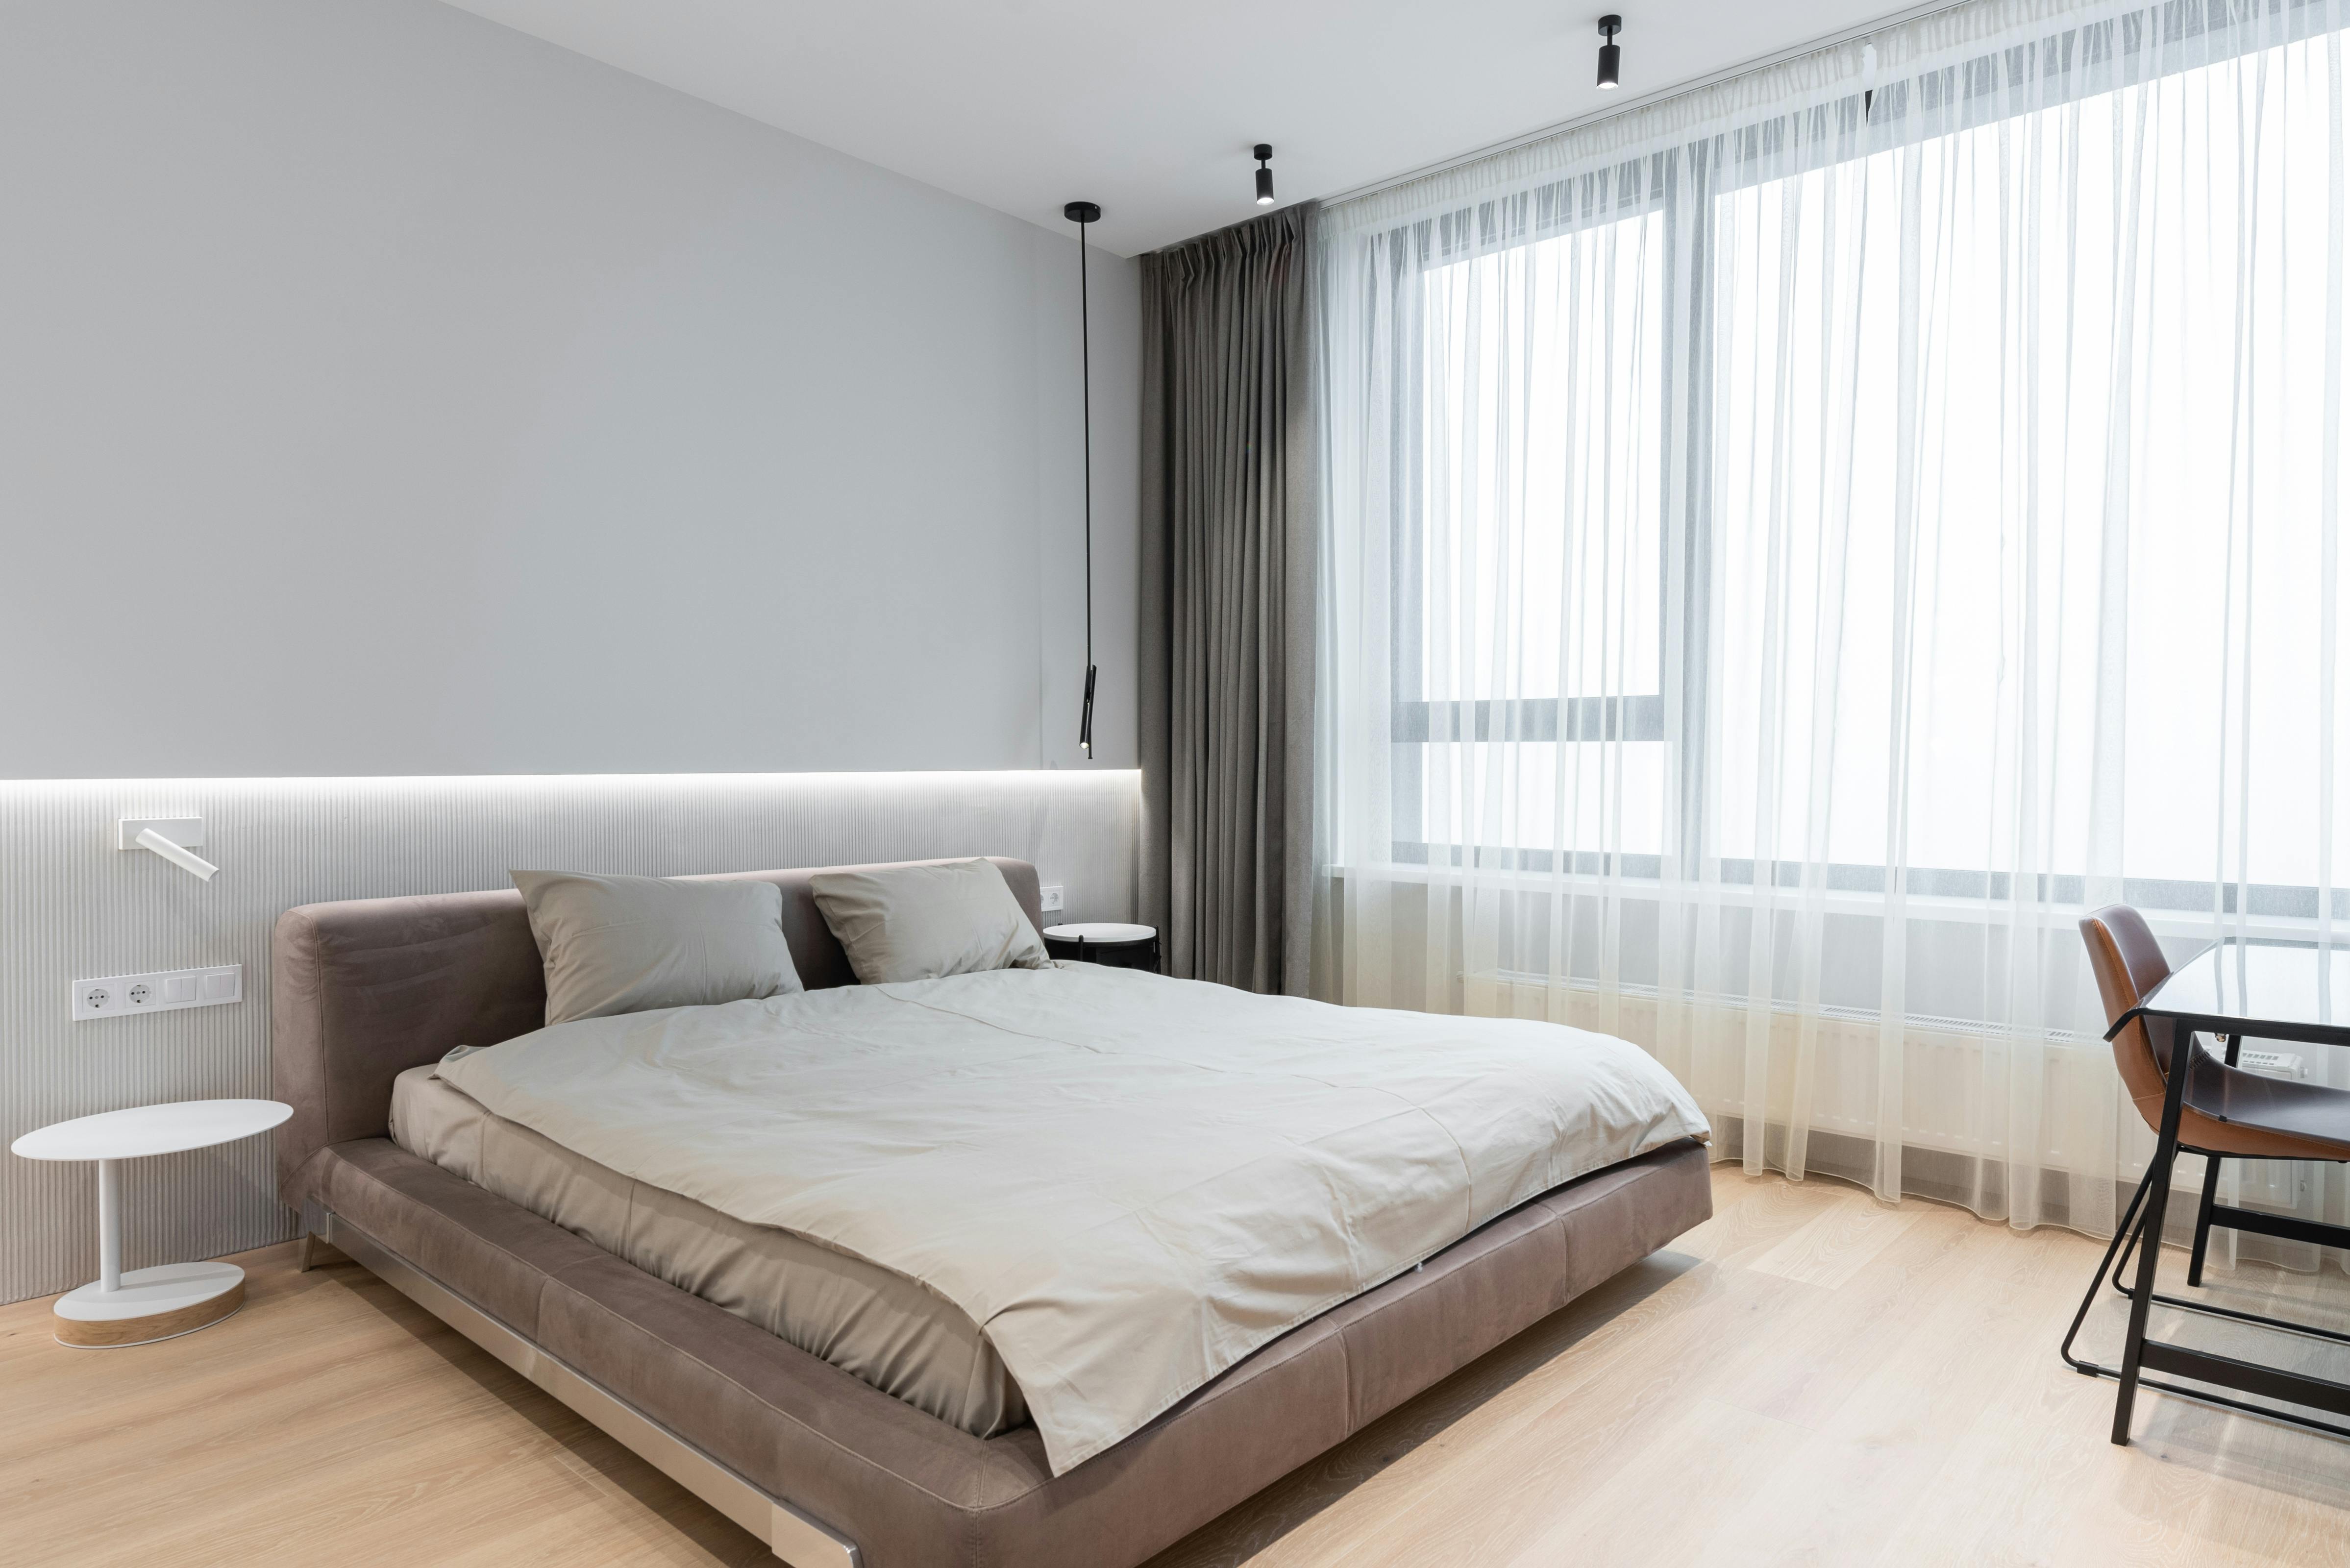
Step 4: Roman Clay & Plaster-Effect Walls for Peak Quiet Luxury
If limewash is watercolor, Roman clay and plaster-effect finishes are like smoothing frosting onto your wall—deeply satisfying and slightly dangerous if you like instant gratification.
- Prep again (sorry, but yes).
Fix cracks, sand major texture, and prime with a product suited to clay or plaster. Smooth-ish walls make these finishes look higher end. - Apply thin layers with a trowel.
Scoop a bit of material onto your trowel or knife and spread in random, sweeping motions. Think “organized chaos,” not “spackle every inch flat.” - Vary your pressure.
Press harder in some areas so more of the underlayer shows through, lighter in others for thicker, richer patches. This is how you get tonal variation and “movement.” - Dry, then lightly sand (optional).
Once fully dry, use a fine sanding sponge to knock down any sharp ridges if you want that signature velvety look. - Seal where needed.
In spaces like dining rooms, hallways, or near light switches, a suitable sealer can help protect from scuffs and fingerprints.
Roman clay and plaster-effect walls work beautifully in bedrooms, living rooms, and dining spaces where you want that soft, cocooning feel. A single oversized artwork or sculptural sconce is often all you need on top—the texture is the main wall decor.
How to Style Your New Textured Walls (So They Look Editorial, Not Accidental)
Once your limewash or plaster-effect wall is done, styling is where you turn “nice wall” into “this whole room suddenly makes sense.”
1. Modern Mediterranean & Japandi Calm
- Choose warm neutrals like sand, stone, clay, or soft taupe on the wall.
- Layer in light wood furniture, linen curtains, and simple, sculptural decor.
- Keep wall decor minimal: one large-scale art piece or a single long shelf is plenty.
2. Farmhouse & Boho with Texture
- Pair limewash with rustic wood beams, woven baskets, terracotta, and vintage frames.
- Stick to a warm, earthy palette so the textures feel cohesive, not chaotic.
- Use your textured wall as a backdrop for natural fiber wall hangings or a collected gallery wall.
3. Minimalist & Quiet Luxury
- Choose a restrained color, like warm greige, mushroom, or soft putty.
- Let the wall itself be the decor—no need to cover it in art.
- Add one or two high-impact pieces: a statement light fixture, a simple stone side table, or a clean-lined sofa in a solid neutral.
Practical Tips, Budget Reality, and “Wish I’d Known That” Moments
Trending doesn’t always mean practical, but limewash and plaster-effect walls can absolutely be budget-friendly and realistic if you go in prepared.
- Test first. Always do a sample board or smaller area before committing to a full wall. Texture + color can surprise you in different light.
- Consider your climate and room use. Bathrooms or very humid spaces may need special products or sealers to handle moisture.
- Plan your edges. Where the textured wall meets a regular painted wall, use painter’s tape and work carefully so the transition looks intentional, not abrupt.
- Check product reviews & tutorials. Google Trends and social content show tons of side-by-side comparisons, cost breakdowns, and real-life results for limewash and Roman clay brands—use them.
- Budget guidelines. Expect to spend more than a gallon of big-box paint, but less than hiring a pro plasterer. Start with one feature wall to stretch your budget and still get major impact.
Think of this as a high-impact, medium-effort project: more involved than a quick paint job, but far less commitment than a full renovation. Perfect for a weekend where you’re ready to reject chaos and embrace intentional texture.
Your Walls, But Make Them Main Character
Limewash, Roman clay, and plaster-effect walls are trending for a reason: they turn the largest surface in your home—the walls—into functional art. Instead of fighting your space with more stuff, you upgrade the backdrop and let everything else breathe.
So next time you scroll past a “DIY limewash wall” transformation video and feel personally attacked by how good it looks, take it as a sign. Pick your wall, choose your texture, embrace a bit of mess, and let your home lean into its quiet-luxury, high-texture era—no Mediterranean villa required.
And when your friends inevitably ask, “Who did your walls?” you can smile and say, “Oh, just me, some lime, and a few existential brush strokes.”
Image Suggestions (Implementation Guide)
Below are carefully selected, non-duplicate, royalty-free images that directly support key concepts in this article.
Image 1: Limewash Living Room Feature Wall
1. Placement location: After the paragraph in the section “Step 3: How to Limewash Like You Live in a Modern Mediterranean Villa” that ends with “Pair with simple wood furniture, linen fabrics, and neutral decor so the walls can be the star.”
2. Image description: A realistic photo of a living room featuring a large limewash accent wall in a soft, warm neutral (e.g., light beige or stone). The wall shows visible, cloudy texture and movement from brush strokes. In front of the wall is a simple light-colored fabric sofa, a minimal wood coffee table, and perhaps a neutral rug. Lighting is natural, coming from a side window (window may be partly visible but no outdoor landscape is emphasized). No people, no abstract art—only one or two simple decor pieces like a ceramic vase or book stack. The focus is clearly on the texture of the limewash wall and how it interacts with the furnishings.
3. Supported sentence/keyword: “Pair with simple wood furniture, linen fabrics, and neutral decor so the walls can be the star.”
4. SEO-optimized alt text: “Limewash living room feature wall in warm neutral tones with simple wood furniture and linen sofa.”
Example image URL (verify 200 OK before use):
https://images.pexels.com/photos/6585619/pexels-photo-6585619.jpeg
Image 2: Plaster-Effect Bedroom Accent Wall
1. Placement location: In the section “Step 4: Roman Clay & Plaster-Effect Walls for Peak Quiet Luxury,” after the paragraph that begins “Roman clay and plaster-effect walls work beautifully in bedrooms, living rooms, and dining spaces…”
2. Image description: A realistic bedroom scene with a plaster-effect or Roman clay accent wall behind the bed. The wall is in a soft, earthy tone (e.g., mushroom, taupe, or clay), with visible trowel texture and subtle variation. The bed has a simple upholstered or wood headboard, layered neutral bedding, and perhaps a single piece of minimal artwork or a sconce on the wall. No people are present; the room styling is clean, calm, and slightly luxurious but not overdecorated.
3. Supported sentence/keyword: “Roman clay and plaster-effect walls work beautifully in bedrooms, living rooms, and dining spaces where you want that soft, cocooning feel.”
4. SEO-optimized alt text: “Bedroom with plaster-effect accent wall in warm neutral color behind a minimalist bed.”
Example image URL (verify 200 OK before use):
https://images.pexels.com/photos/6588582/pexels-photo-6588582.jpeg
Image 3: Tools and Materials for Textured Walls
1. Placement location: After the “Step 2: Tools & Materials (A.K.A. Your Wall-Glow Starter Pack)” section.
2. Image description: A realistic, overhead or neatly arranged view of DIY wall-finishing tools and materials laid out on a drop cloth or work surface. Visible items should include: a wide limewash brush, a trowel or wide putty knife, a sanding sponge, painter’s tape, and at least one open can or bucket of paint or plaster-like material. No people, no unrelated tools. The setup should clearly communicate preparation for a limewash or plaster wall project.
3. Supported sentence/keyword: “Here’s a practical, no-gatekeeping list of what you’ll usually need for these trending wall finishes.”
4. SEO-optimized alt text: “DIY limewash and plaster wall tools including brush, trowel, sanding sponge, and paint on a drop cloth.”
Example image URL (verify 200 OK before use):
https://images.pexels.com/photos/6476583/pexels-photo-6476583.jpeg
