DIY Wall Paneling Magic: Turn Boring Walls into Bougie Backdrops in One Weekend
Your Walls Are Bored. Let’s Fix That.
Your walls called. They’re tired of being giant beige napkins soaking up all the personality in the room. The good news? With the current craze for DIY wall paneling and slat walls, you can turn those “meh” surfaces into certified main characters over a single weekend—no reality TV crew required.
From vertical slat walls that scream minimalist spa hotel to board-and-batten grids that whisper modern farmhouse poetry, decorative wall paneling is one of the most-shared projects under hashtags like #wallpaneling, #slatwall, #boardandbatten, and #accentwall. Why? Because it’s the rare home upgrade that’s:
- Relatively low cost
- Beginner-DIY friendly
- Ridiculously photogenic (hello, social media flex)
Let’s walk through the hottest wall paneling trends right now—and how to pull them off without losing your sanity, your savings, or your stud finder.
Why DIY Wall Paneling Is Everywhere Right Now
Scroll TikTok or YouTube Shorts for five minutes and you’ll likely see a plain wall transform into a dramatic accent wall in under 60 seconds—bonus points if there’s satisfying nail-gun sounds. The algorithm loves a glow-up, and wall paneling delivers a before and after
that even your skeptical uncle will be impressed by.
But beyond the clout, there are some very practical reasons this trend is exploding:
- Designer look, IKEA budget: Panels and trim (especially MDF) are often cheaper than replacing furniture, yet they make a room look custom and intentional.
- DIY accessibility: You can do most projects with a saw, construction adhesive, a level, and either a nail gun or old-school hammer and nails.
- Flexible style: Minimalist, farmhouse, boho, quiet luxury—paneling plays nicely with almost any aesthetic.
- Renter hack (sometimes): Certain designs can be installed on removable battens or panels if you’re creative and careful.
Translation: High-impact drama, low-ish risk. Like cutting bangs, but for your house—and much easier to fix.
Vertical Slat Walls: The Pinterest-Famous Texture Trick
Vertical slat walls are the cool kid of wall decor right now. Thin wood or MDF strips are installed floor-to-ceiling, usually with a tiny gap between each slat. The result? A wall that looks like it meditates, drinks oat milk, and reads Scandinavian design books.
These work brilliantly:
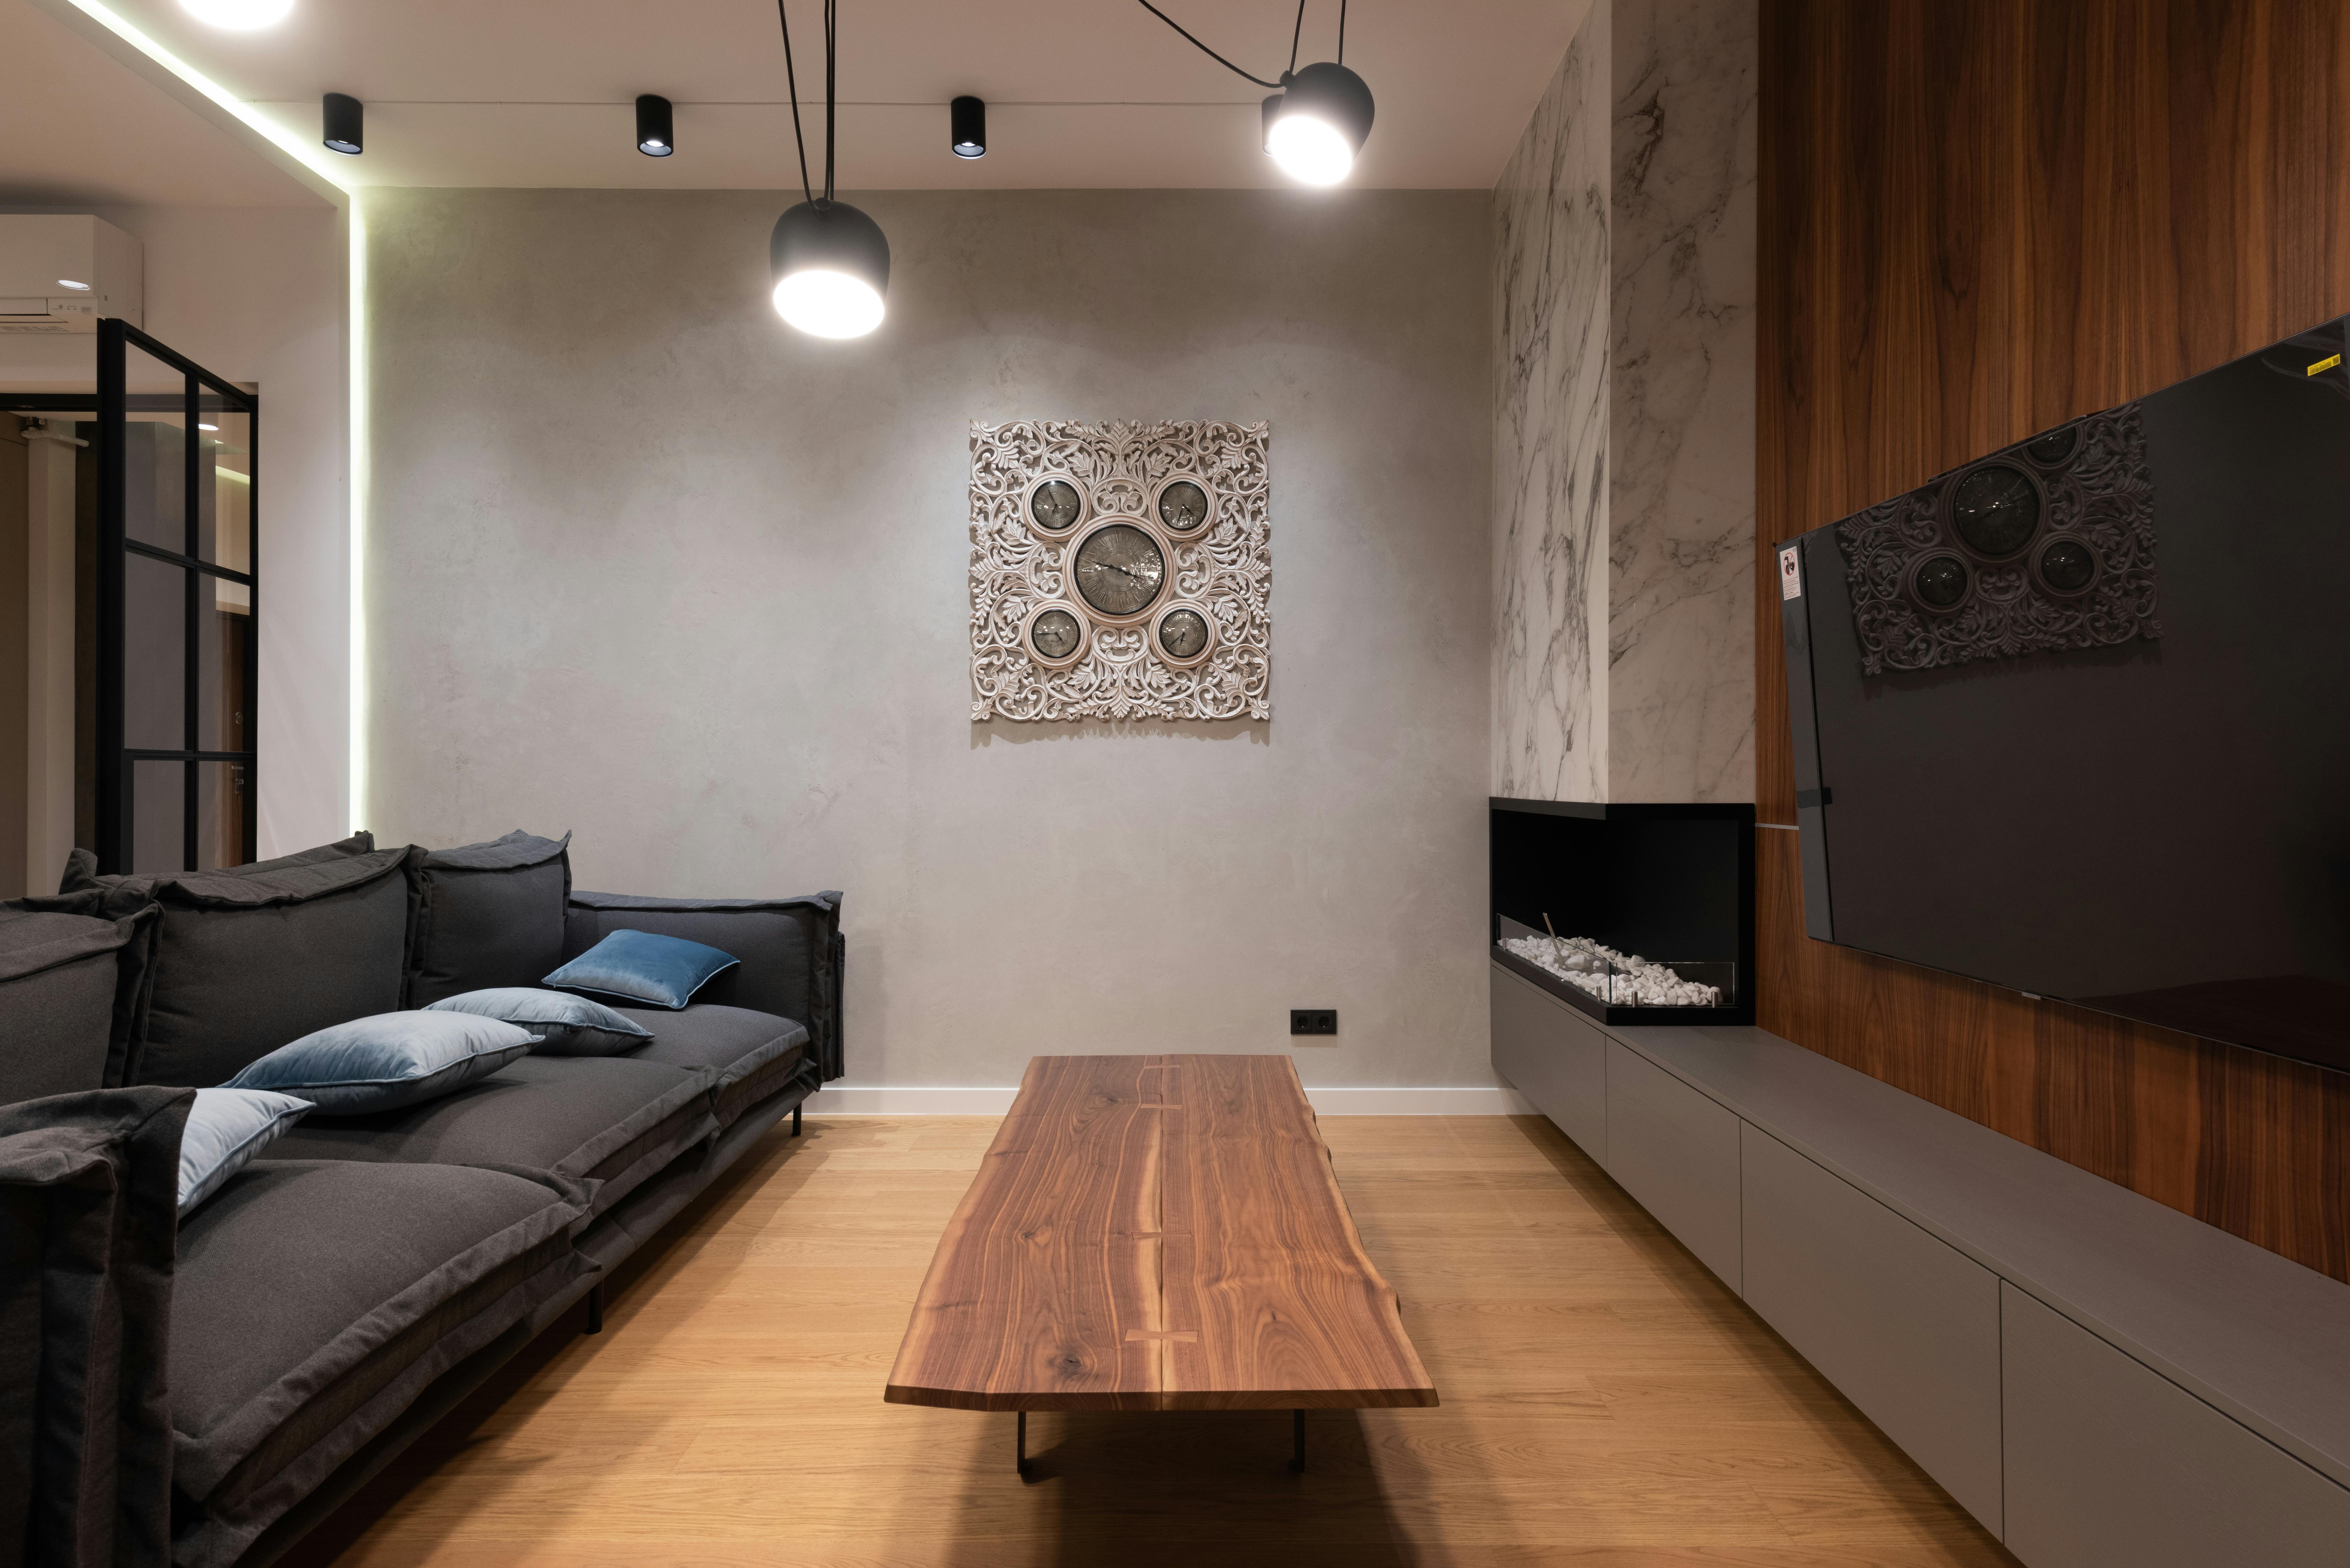
- Behind a TV in the living room to frame your media area
- Behind the bed as a faux headboard or full accent wall
- In an entryway or hallway to give a narrow space some rhythm and texture
For a warm, modern vibe, mid-tone wood stains are trending—think honey oak, walnut, or a light smoked finish. If your heart beats for minimalist home decor, keep the slats clean-lined, slim, and evenly spaced, and pair them with simple furniture and neutral textiles.
How to Pull Off a Slat Wall Without Tears
- Measure like you’re being graded.
Measure the wall width and height, then decide your slat width and gap size. Use a calculator (or a spreadsheet, you overachiever) to figure out how many slats you actually need. Nothing humbles a DIYer faster than realizing they’re three slats short at 11:30 p.m. - Pre-finish your slats.
Sand, stain or paint, and seal your slats before installing. Finishing them on the wall is a fast track to drips, splotches, and existential dread. - Use a spacer for consistent gaps.
Scrap wood or a stack of paint stirrers makes a great DIY spacer. Consistent gaps are the secret to that high-end, “yes, an architect touched this” look. - Plan your outlets and TV mount.
Decide in advance where your TV, outlets, or sconces will go. Cut slats to fit neatly around them rather than discovering the chaos mid-install.
Pro tip: Add a skinny LED strip behind a slat feature near the ceiling or behind a TV. Soft backlighting turns your wall into a boutique hotel moment without the resort fees.
Board and Batten: Grid Patterns for Cozy Drama
If slat walls are Scandi spa, board and batten is your charming-but-make-it-modern farmhouse friend. This style uses trim pieces to create rectangular or square grids on the wall, then everything is painted one cohesive color.
The current moodboard: moody, hug-a-mug shades like deep forest green, inky navy, and soft charcoal, or warm neutrals like greige and mushroom beige. These colors work especially well in:
- Living rooms that want to feel cocoon-like
- Bedrooms craving hotel-level coziness
- Dining rooms that double as “fancy-ish when guests come over” spaces
Designing Your Grid (So It Doesn’t Look Like Math Class)
Start by deciding how tall your paneling will go. You have two main personalities here:
- Partial wall (wainscoting style): Often 36–48 inches high. Great for hallways, dining rooms, and kids’ rooms.
- Full wall: From baseboard to ceiling. Drama, but in a good way.
Then, sketch your ideal layout. Proportion is everything—too many skinny rectangles and it looks busy; too few and it looks unfinished. Blue painter’s tape is your best friend here: tape out your intended design on the wall and live with it for a day before you commit.
Board & Batten Mistakes to Avoid
- Ignoring existing trim: Make sure your new boards either align with, or deliberately contrast, your baseboards and crown molding.
- Skipping caulk and filler: Gaps at the edges and nail holes will scream “DIY” in a bad way. Caulk the seams, fill the holes, then lightly sand for a smooth finish.
- Choosing the wrong sheen: Satin or eggshell is usually the sweet spot for walls with dimension—enough to show depth, not so glossy that every bump is a celebrity.
Picture Frame Molding: Quiet Luxury on a Budget
If you’ve ever wanted your home to feel vaguely Parisian or like a chic boutique hotel without selling a kidney, picture frame molding is your move. This involves simple trim pieces arranged as rectangles or squares on the wall, usually in symmetrical patterns.
This style is blowing up in quiet luxury and boho-adjacent spaces, especially when combined with:
- Soft, textured paint (limewash, plaster-look, or matte finishes)
- Light neutrals like warm white, stone, or greige
- Curvy furniture and layered textiles
Where Picture Frame Molding Shines
It’s particularly dreamy in:
- Bedrooms behind the bed for a subtle, elevated headboard wall
- Living rooms flanking a fireplace or TV wall
- Hallways and entryways that need a little “Oh wow, okay” moment
You can keep it classic by painting the molding and wall the same color, or go bold by painting the inner area a different shade or adding wallpaper inside the frames. Think of each frame as a mini stage and your decor as the lead actor.
Planning Your Accent Wall: The 10-Minute Reality Check
Before you grab a nail gun and a dream, pause for a 10-minute planning session. Your future self—covered in paint and sawdust—will thank you.
- Choose the right wall.
Pick a wall you naturally face or walk toward: behind the sofa, behind the bed, at the end of a hallway, or around your TV. Avoid walls with five doors, three vents, and a random soffit unless you love chaos. - Check for weird stuff.
Look for things like uneven walls, bulging drywall, or awkwardly placed outlets. You can work around almost anything—it just might change which style makes the most sense. - Set a realistic budget.
Remember to include: boards or slats, adhesive, nails, caulk, filler, primer, and paint. Then add a small cushion for “Oh, that’s not what I thought it cost” surprises. - Audit your tools.
Bare minimum: a saw (miter saw is ideal, but a miter box and hand saw work), a level, tape measure, caulk gun, sander or sanding block, and a way to put nails in things.
If you’re brand new to DIY, consider starting with a smaller wall or a half-height project before tackling the entire living room. Confidence is built one successful accent wall at a time.
Match Your Paneling Style to Your Decor Personality
Think of your wall paneling as your home’s haircut. It should match its personality, not fight with it. Here’s a cheat sheet:
- Minimalist & Scandinavian: Vertical slat walls in light or mid-tone woods, clean lines, and soft neutral textiles.
- Modern Farmhouse: Board and batten in warm whites or deep greens, layered with rustic woods and metal accents.
- Boho & Eclectic: Picture frame molding with textured paint, mixed with woven lighting, plants, and patterned rugs.
- Quiet Luxury: Subtle picture frame molding or full-height panels in tonal neutrals, paired with plush upholstery and minimal clutter.
If your current furniture is loud and colorful, consider a simpler panel style and neutral paint so your decor and walls aren’t competing like two lead singers. If your furniture is more understated, a bolder wall color or more dramatic grid can bring the energy.
Level It Up: Lighting, Shelves, and Smart Add-Ons
Wall paneling is the cake; lighting and accessories are the frosting. And we are absolutely pro-frosting here.
- Sconces on panels: Adding wall sconces on either side of a bed or sofa creates a custom, built-in feel. Run wiring before you install your boards or slats if you’re going hardwired.
- Floating shelves between panels: In a living room or office, build shallow shelves into or between panel sections for books, art, or plants.
- Backlighting slat walls: LED strip lights tucked behind a slat or at the perimeter of the wall make the texture pop, especially at night.
- TV integration: Mount your TV on a slat or paneled wall and plan cable routes in advance. A tidy TV setup on a textured wall is peak “I have my life together” energy.
Remember accessibility and usability: avoid creating ledges or protruding trim right at shoulder height in narrow hallways, and ensure switches and outlets remain easy to reach.
Common DIY Paneling Oopsies (So You Can Dodge Them)
A quick list of “don’t be that person” moments:
- Skipping primer on MDF: MDF drinks paint like it’s been through something. Prime first, especially on cut edges, to avoid rough, fuzzy finishes.
- Misaligned lines: Vertical slats slightly out of plumb or horizontal lines not level will haunt you forever. Use a level obsessively.
- Forgetting about furniture scale: A super busy pattern behind a very busy sofa can overload the space visually. Leave some room for your eyes to breathe.
- Cutting before double-checking measurements: The oldest cliché is also the truest: measure twice, cut once. Or measure thrice if caffeine is involved.
When in doubt, mock it up. Blue tape, cardboard, or lightweight trim temporarily tacked in place will give you a realistic preview before you fully commit.
From Blank Wall to “Wait, Did You Hire a Designer?”
Decorative wall paneling, slat walls, and molding upgrades are popular for a reason: they’re the shortcut to making your home look pulled-together, intentional, and a little bit fancy—without needing a trust fund or a full renovation.
Whether you’re building a vertical slat wall behind your TV, a moody board-and-batten headboard wall in your bedroom, or quiet-luxury picture frame molding in the living room, the formula is simple: thoughtful planning, careful measuring, and just enough bravery to pick up that nail gun.
Your walls don’t have to stay boring. Give them something to say—and then enjoy every “Wow, you did that yourself?” that follows.