
DIY Wall Paneling Magic: Turn Boring Walls into Bougie Backdrops on a Budget
DIY wall paneling and slat walls are the makeover equivalent of a good haircut: your home is technically the same, but suddenly it looks more expensive, more intentional, and like it absolutely has its life together. In 2026, high-impact wall decor on a budget is everywhere—YouTube, TikTok, Instagram, Pinterest—and your plain drywall is starting to feel… a little naked.
If your living room feels like a beige cereal box or your bedroom has the personality of a conference room, it’s time to join the wall treatment revolution: vertical and horizontal slat walls, classic board-and-batten, picture frame molding, and fluted or reeded paneling. They’re renter‑friendly (with planning), budget‑friendly (with math), and very “I flip homes in my spare time” without you actually needing a camera crew or a sponsor code.
Below, we’ll walk through how to choose the right wall treatment for your style, plan and install it without losing your sanity (or your security deposit), and style it so your home looks like it belongs in a “house tour” reel—not a “before” photo.
Why Everyone on the Internet Is Suddenly Attacking Their Walls (In a Good Way)
Scroll under tags like #walldecor, #DIYhome, #boardandbatten, and #accentwall, and you’ll see the same story on repeat: blank wall goes in, architectural masterpiece comes out—usually in a single weekend and on a “please don’t cry, bank account” budget.
- High impact, low chaos: No moving walls, no demo days, just trim, panels, and paint.
- Budget-friendly: A few hundred dollars in pine or MDF can mimic a custom millwork job.
- Beginner-approved: Power tools have gone mainstream, and tutorials are everywhere.
- Resale-friendly: Real estate listings love to name-drop “custom accent wall” for that luxe feel.
Best of all, wall paneling works across aesthetics: modern minimalism, Japandi, modern farmhouse, warm neutrals, even soft boho when you bring in texture and earthy tones. Your walls become the quiet overachievers of the room—no shouting, just subtle “I know what I’m doing” energy.
Step 1: Pick Your Wall Personality
Before you run to the lumber aisle and start adopting random boards, decide what vibe your room is going for. Think of these as wall “characters” you can cast in your home drama.
1. Vertical or Horizontal Slat Walls
The trend darling of 2026. Thin strips of pine or MDF, spaced evenly (often 1"–1.5" apart), painted or stained for a sleek, modern look. They’re perfect behind TVs, sofas, or beds.
- Best for: Modern, Japandi, Scandinavian, minimal, or “I own at least one linen shirt” style.
- Pro: Adds height (vertical) or width (horizontal) visually—great for awkward room proportions.
- Con: Slightly more tedious because: slat, gap, slat, gap… times 40.
2. Board-and-Batten
The classic wall paneling hero. Flat boards create a grid or vertical layout, usually on the bottom two‑thirds of a wall, topped with a ledge or cap.
- Best for: Bedrooms, entryways, hallways, and any room that secretly wishes it were in a boutique hotel.
- Pro: Great for hiding minor wall imperfections and adding instant architecture.
- Con: Requires a bit of layout math to avoid sad, uneven spacing.
3. Picture Frame Molding
Thin trim that creates framed “boxes” on the wall—very Parisian apartment, very “I drink espresso and have opinions about candles.”
- Best for: Formal living rooms, dining rooms, elegant bedrooms.
- Pro: Huge style payoff with relatively little material.
- Con: Demands precision; crooked rectangles are not a personality trait.
4. Fluted & Reeded Paneling
The current “it” texture, moving from furniture onto walls. Think evenly spaced half-rounds or reeded panels creating a soft ribbed effect—great for half walls, fireplace surrounds, or behind beds.
- Best for: Minimal spaces craving texture, modern organic, warm contemporary.
- Pro: Looks extremely high-end when color-matched to the wall paint.
- Con: More time-consuming and usually pricier than flat trim.
Step 2: Plan It Like a Pro (So You Don’t Cry Later)
Gorgeous accent walls on TikTok start with something deeply unsexy: planning. But this is where you save money, time, and your weekend mood.
Measure Twice, Screenshot Once
- Measure wall width and height in inches.
- Note obstacles: outlets, switches, vents, doors, windows.
- Decide how far your feature wall extends—full wall, half wall, or just a section behind furniture.
Pro move: Use painter’s tape to “draw” your design right on the wall. This is especially helpful for board-and-batten and picture frame molding. If the tape layout looks weird, the real thing will too.
Do the Spacing Math (Promise, It’s Not Scary)
Slat walls and batten layouts live or die by spacing. For a vertical slat wall:
- Pick a slat width (e.g., 1.5" or 2.5").
- Pick a gap size (often 1"–1.5").
- Use your wall width to calculate how many full slat + gap pairs you’ll need.
If math is not your love language, use an online “slat wall spacing calculator” or sketch it on grid paper. Your goal: avoid one sad, skinny gap at the end of your wall that screams “I gave up.”
Set a Realistic Budget
Pro tip: Multiply your material estimate by 1.15. That extra 15% covers mistakes, warped boards, and “oh, I forgot that corner.”
MDF is usually cheaper and smoother for painted projects; pine or oak are better if you want a stained, natural wood look. Don’t forget:
- Primer and paint (or stain + sealer)
- Construction adhesive (if allowed) and brad nails
- Caulk and wood filler
- Sandpaper and any tool rentals you need
Step 3: Grab the Right Tools (Your Future Self Thanks You)
You don’t need a full workshop to pull this off, but a few key tools turn “DIY nightmare” into “honestly, that was fun.”
Basic Materials
- MDF or pine boards / trim for slats, battens, or picture frame molding
- Flexible fluted panels or half-round dowels for fluted walls
- Construction adhesive (check your wall type and rental rules)
- 1.25"–2" brad nails (size depends on board thickness)
- Primer + paint or stain + topcoat
Helpful Tools
- Brad nailer (corded, cordless, or compressor-based)
- Miter saw or miter box and hand saw
- Level (a long one is best), tape measure, pencil
- Stud finder and safety goggles
- Caulk gun, sanding block or sander
Renting saves a ton if you’re not planning to become the neighborhood millwork dealer. Many big box stores rent saws and nailers by the day for less than takeout for two.
Step 4: Installation, But Make It Not Terrifying
Different wall treatments have their own dance steps, but the basic choreography is the same: prep, attach, fill, finish, paint, admire dramatically.
1. Prep Your Wall
- Remove nails, hooks, and old anchors.
- Lightly sand any rough spots; wipe down dust.
- Mark studs with a pencil (especially important for heavier panels).
2. Cut & Pre-Paint (Your New Secret Weapon)
For slat walls, fluted panels, and board-and-batten, painting or priming before installation can save hours. Lay your boards flat, prime, and give them at least one coat of paint or stain. Touch up after they’re installed.
3. Start with the Edges and Key Lines
On most projects, you’ll want to:
- Install your top and bottom horizontal boards first (for board-and-batten or half walls).
- For slat walls, start with the first slat at one end, using a level to keep it straight.
- Use a spacer (a scrap of wood cut to your gap size) to keep spacing consistent.
Attach each piece with a small bead of construction adhesive, then brad nails into studs where possible. Wipe away any glue that squeezes out immediately—dried blobs are not the texture trend we’re going for.
4. Navigate Outlets, Corners, and Chaos
- Outlets & switches: Turn off power, remove the cover, cut boards to fit around the box, and later use box extenders if needed so covers sit flush.
- Inside corners: Either butt boards into each other or slightly overlap; caulk will forgive minor sins.
- Outside corners: Miter your trim for a crisp, professional look.
5. Caulk, Fill, and Sand
This is where “DIY project” quietly becomes “did you hire someone?”:
- Fill nail holes with wood filler or spackle; sand smooth when dry.
- Caulk gaps where trim meets wall and inside corners.
- Wipe caulk lines with a damp finger or tool for a clean finish.
6. Paint Like It’s a Spa Day for Your Wall
Use a brush for grooves and edges, then a small roller for flat areas. Many trending looks right now use:
- Deep greens and charcoals for cozy, quiet luxury bedrooms.
- Warm beiges and greiges for modern farmhouse and soft minimal spaces.
- Color-matched fluted panels to create subtle, tonal texture.
Try a matte or eggshell finish for walls, and satin if you want a slightly more wipeable surface in high-traffic zones.
Step 5: Style It So It Looks Intentionally Fancy
Now that your wall is a certified scene-stealer, style it in a way that says “I’m curated” not “I got excited at the home store and blacked out.”
Behind the Sofa or TV
- Keep furniture lines simple so the wall remains the star.
- Use a low-profile media console with clean lines in front of a slat or fluted TV wall.
- Choose art with fewer, larger pieces instead of a gallery wall that competes with the paneling.
Bedroom Feature Walls
In bedrooms, board-and-batten and fluted half walls are having a serious main-character moment under #bedroomdecor:
- Center the bed on the feature wall for maximal drama.
- Use soft, textured bedding (linen, bouclé, cotton) to contrast with the structured lines.
- Add sconces or plug-in lights mounted directly on the paneled area for that boutique hotel glow.
Entryways & Hallways
Picture frame molding and taller board-and-batten make an entry feel like an intentional “moment” rather than a dumping ground for mail and coats.
- Incorporate a small bench or console that aligns with the paneling height.
- Use hooks or peg rails mounted within the panel design for sneaky storage.
- Keep wall decor simple—a single mirror, a couple of framed prints, or a small shelf.
Step 6: Renter & Maintenance Hacks
Living that rental life or just commitment-phobic about your walls? You still have options.
Renter-Friendly Ideas
- Build a freestanding slat panel that leans behind a bed or sofa instead of attaching to the wall.
- Use thin MDF panels attached with removable adhesive strips (test first!) for small accent zones.
- Create picture frame molding with lightweight foam trim and removable mounting tape.
Keeping It Looking Fresh
- Dust slat and fluted walls periodically with a microfiber duster or vacuum brush.
- Keep a small jar of leftover paint for quick touch-ups.
- For real wood, refresh with a light cleaning and re-seal every few years in high-use areas.
Remember: the point of these projects is to make your space feel better, not more high-maintenance. Choose materials and finishes that match how you actually live, not how you think a magazine lives.
Your Walls Are Ready for Their Close-Up
DIY wall paneling, slat walls, and fluted features have gone from niche hobby to one of the most-shared home upgrades online—and for good reason. With a free weekend, a bit of planning, and a willingness to be on a first-name basis with your caulk gun, you can turn flat, uninspired drywall into a custom-feeling backdrop that makes your whole home look upgraded.
Whether you go for clean vertical slats, moody board-and-batten, elegant picture frame molding, or touchable fluted texture, your walls are about to stop whispering “builder basic” and start confidently announcing “architectural masterpiece.” And the best part? You made it happen—no film crew, no dramatic reveal music, just you, a nail gun, and a very smug sense of satisfaction.
When you’re done, don’t forget to join the internet brag-fest. Post those before-and-afters under #DIYhome and #accentwall. Your walls have earned their moment.
Image Recommendations (for Editor Use)
Below are strictly relevant, informational image suggestions that visually reinforce key sections of this blog.
Image 1: Modern vertical slat wall in living room
Placement: After the paragraph in the section “Step 1: Pick Your Wall Personality” under the subheading “Vertical or Horizontal Slat Walls.”
Supports sentence/keyword: “Thin strips of pine or MDF, spaced evenly (often 1"–1.5" apart), painted or stained for a sleek, modern look. They’re perfect behind TVs, sofas, or beds.”
Required image description: A realistic photo of a contemporary living room featuring a vertical wood slat accent wall behind a low-profile TV console. The slats should be evenly spaced narrow strips of stained wood or painted MDF (1–2 inches wide), running from floor to ceiling. The rest of the room should be minimal and neutral (sofa, coffee table) to clearly highlight the slat wall itself. No people visible, no abstract decor, just a clean, modern space where the slat wall is the obvious focal point.
SEO-optimized alt text: “Vertical wood slat accent wall behind TV console in modern neutral living room”
Example source URL (verify 200 OK): https://images.pexels.com/photos/4792479/pexels-photo-4792479.jpeg
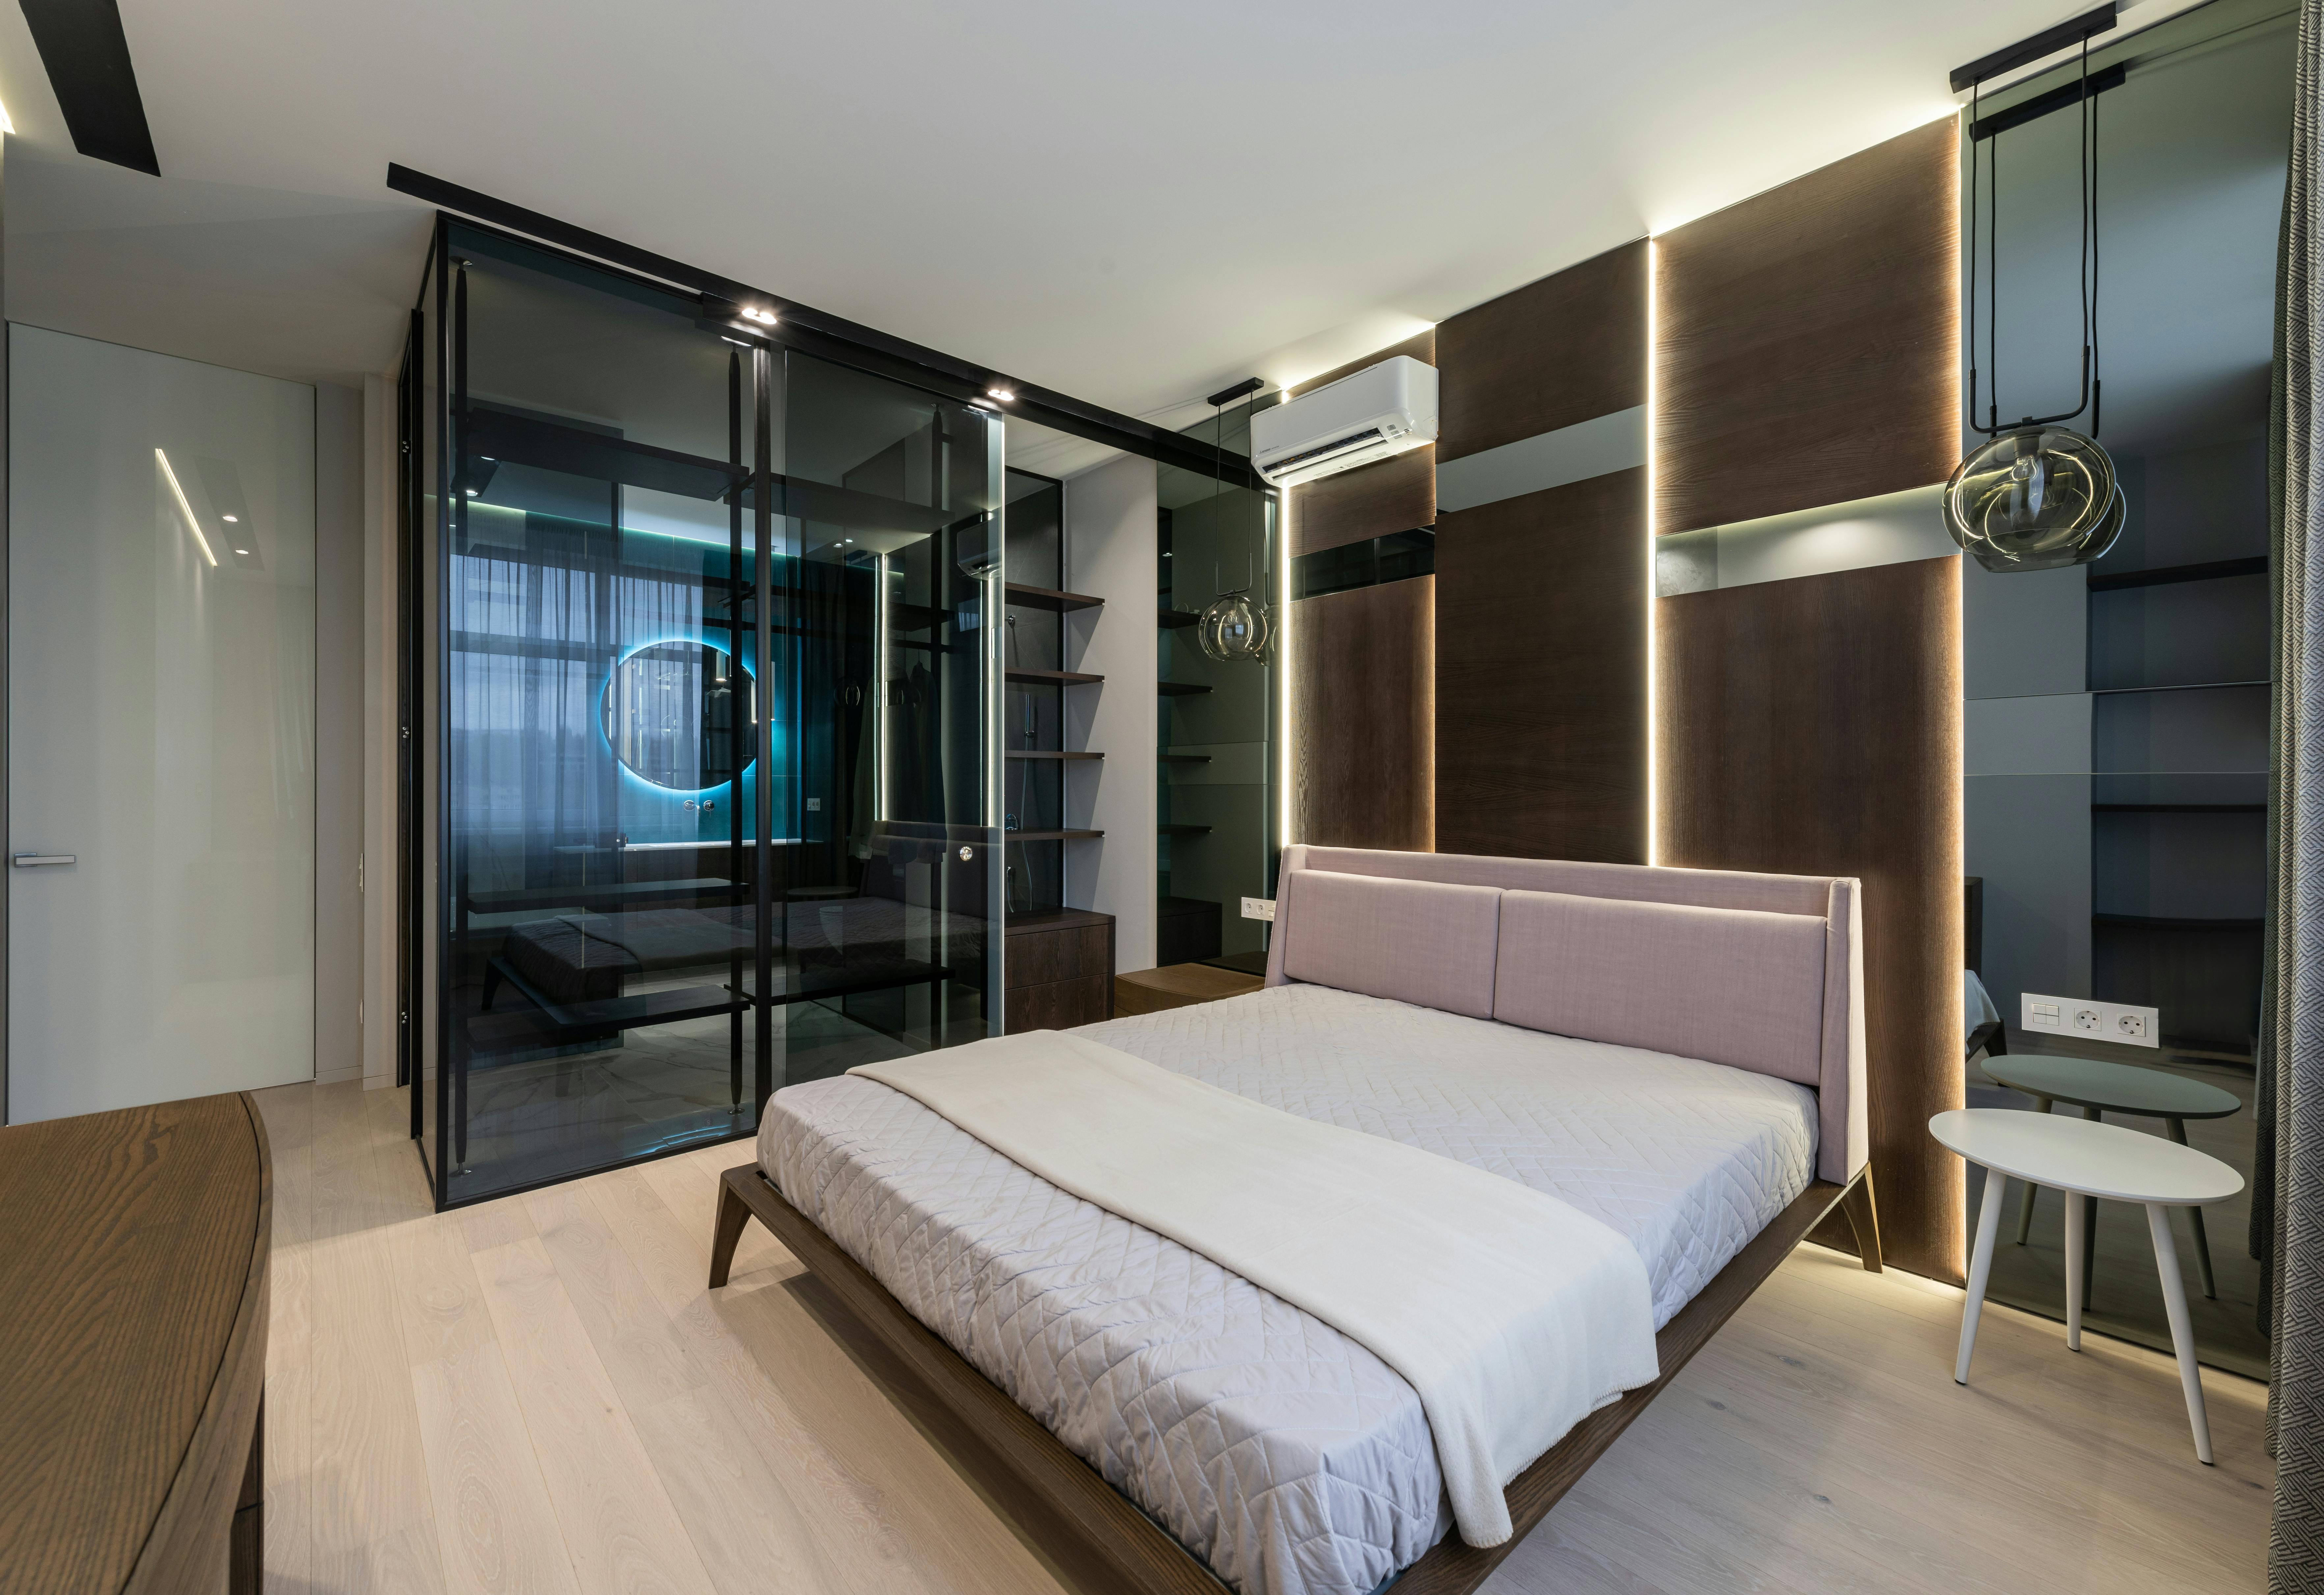
Image 2: Board-and-batten bedroom feature wall
Placement: In the “Step 5: Style It So It Looks Intentionally Fancy” section, right after the subheading “Bedroom Feature Walls.”
Supports sentence/keyword: “In bedrooms, board-and-batten and fluted half walls are having a serious main-character moment under #bedroomdecor.”
Required image description: A realistic bedroom featuring a painted board-and-batten feature wall behind a neatly made bed. The wall should show a clear grid or vertical batten pattern, painted in a rich, trending color such as deep green, charcoal, or warm beige. The bed is centered against the wall, with simple nightstands and minimal decor (e.g., a pair of lamps or sconces). The focus must be on how the board-and-batten elevates the bedroom—not on people or unrelated accessories.
SEO-optimized alt text: “Deep green board-and-batten accent wall behind bed in modern cozy bedroom”
Example source URL (verify 200 OK): https://images.pexels.com/photos/6585613/pexels-photo-6585613.jpeg
Image 3: Simple diagram-style view of board-and-batten layout planning
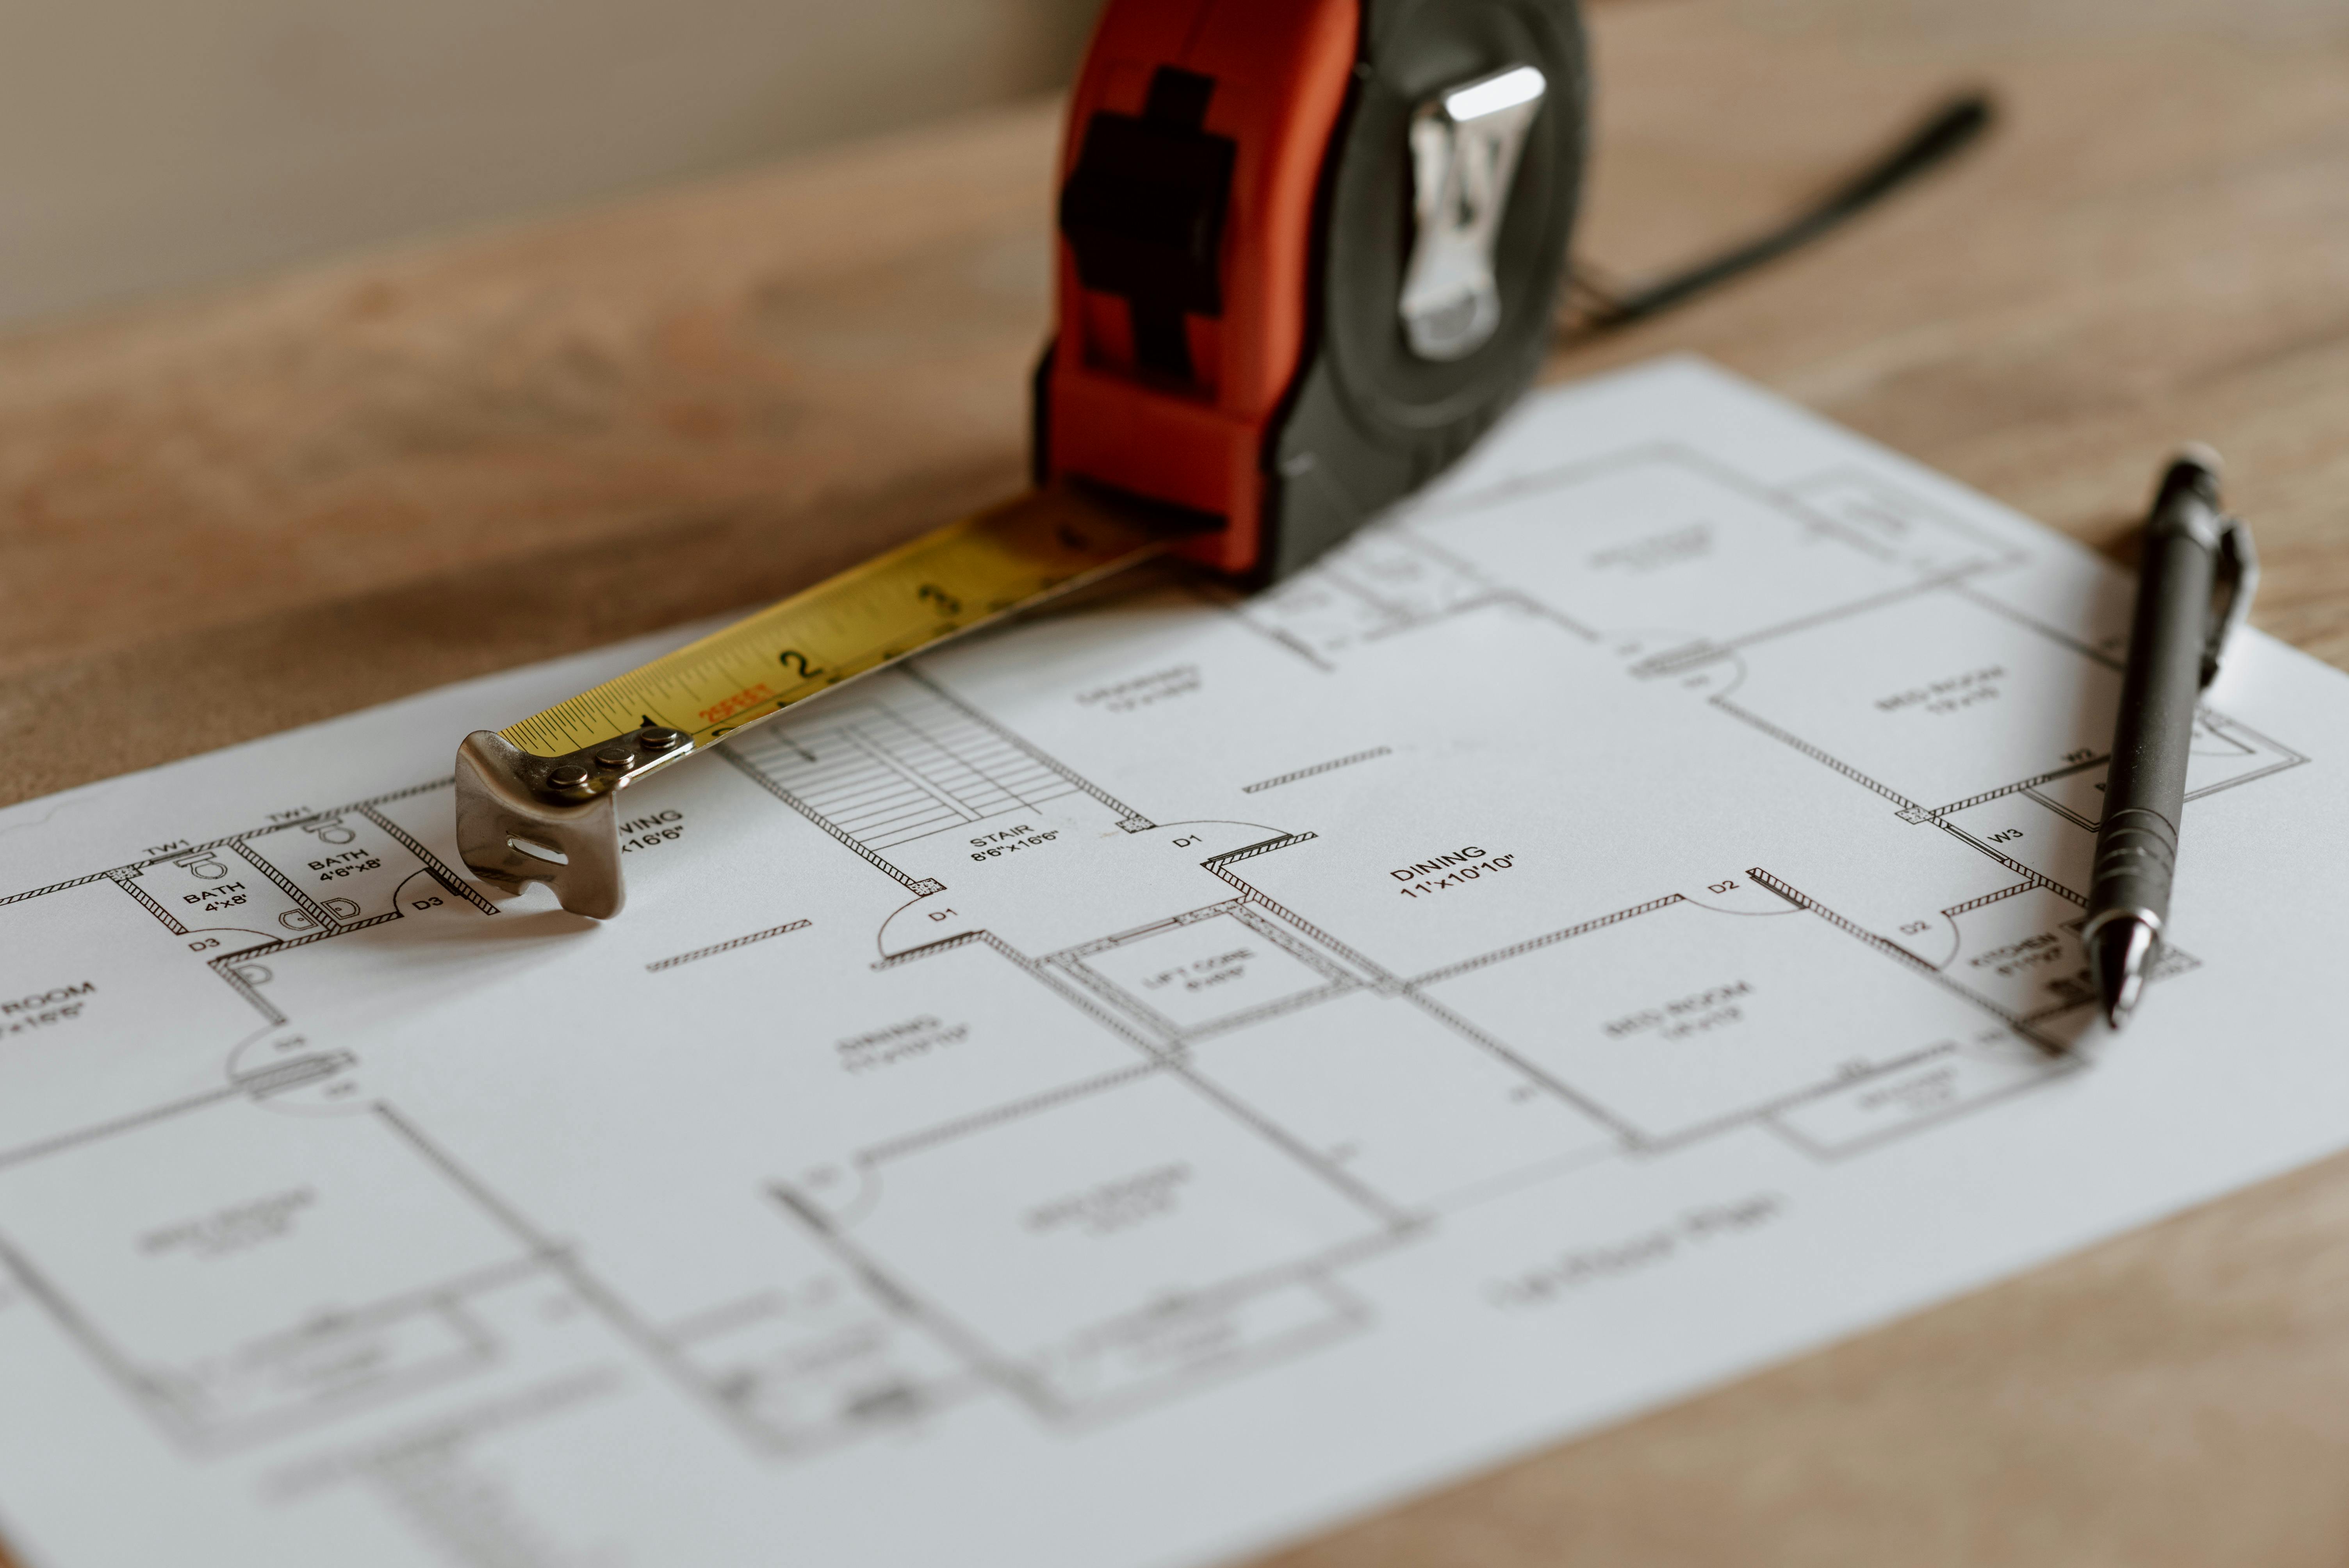
Placement: In the “Step 2: Plan It Like a Pro (So You Don’t Cry Later)” section, after the “Do the Spacing Math” subsection.
Supports sentence/keyword: “Your goal: avoid one sad, skinny gap at the end of your wall that screams ‘I gave up.’”
Required image description: A clean, realistic diagram-style image (not heavily stylized) showing a flat wall with overlay lines representing a board-and-batten or slat layout. It should include evenly spaced vertical battens or slats across the wall, plus simple dimension labels or spacing markers that clearly show equal gaps. No people, no decorative furniture—just the wall and the measured layout to visually explain how spacing planning works.
SEO-optimized alt text: “Diagram showing evenly spaced battens on a wall for DIY board-and-batten layout planning”
Example source URL (verify 200 OK): https://images.pexels.com/photos/6476584/pexels-photo-6476584.jpeg
