DIY Textured Walls: Limewash, Plaster & Slat Magic for Instant Quiet-Luxury Vibes
Your Walls Are Bored. Let’s Fix That.
Somewhere in your home, a sad builder-grade wall is staring into the middle distance, wondering why the gallery wall era got all the attention. Meanwhile, TikTok, Pinterest, and YouTube are throwing a nonstop party for limewash, Roman clay, DIY plaster art, and wood slat accent walls. The message is clear: flat walls are out; textured drama is in.
The good news? You don’t need a renovation budget, a design degree, or a personality that enjoys sanding for twelve hours straight. These trending DIY wall treatments are all about high impact, low chaos: weekend projects that can make your living room or bedroom look like it was styled by a quiet-luxury-obsessed interior designer who also happens to love a bargain.
Let’s walk through today’s most-shared DIY wall upgrades—limewash and Roman clay, plaster art, wood slat walls, and 3D/peel-and-stick paneling—with practical tips, laugh-through-the-chaos honesty, and enough inspiration to make your paint roller feel like a magic wand.
1. Limewash & Roman Clay: Cloud Walls for Quiet-Luxury Vibes
If “quiet luxury” were a wall finish, it would be limewash or Roman clay: soft, chalky, and just textured enough to whisper, “this home has taste and also a decent Pinterest board.”
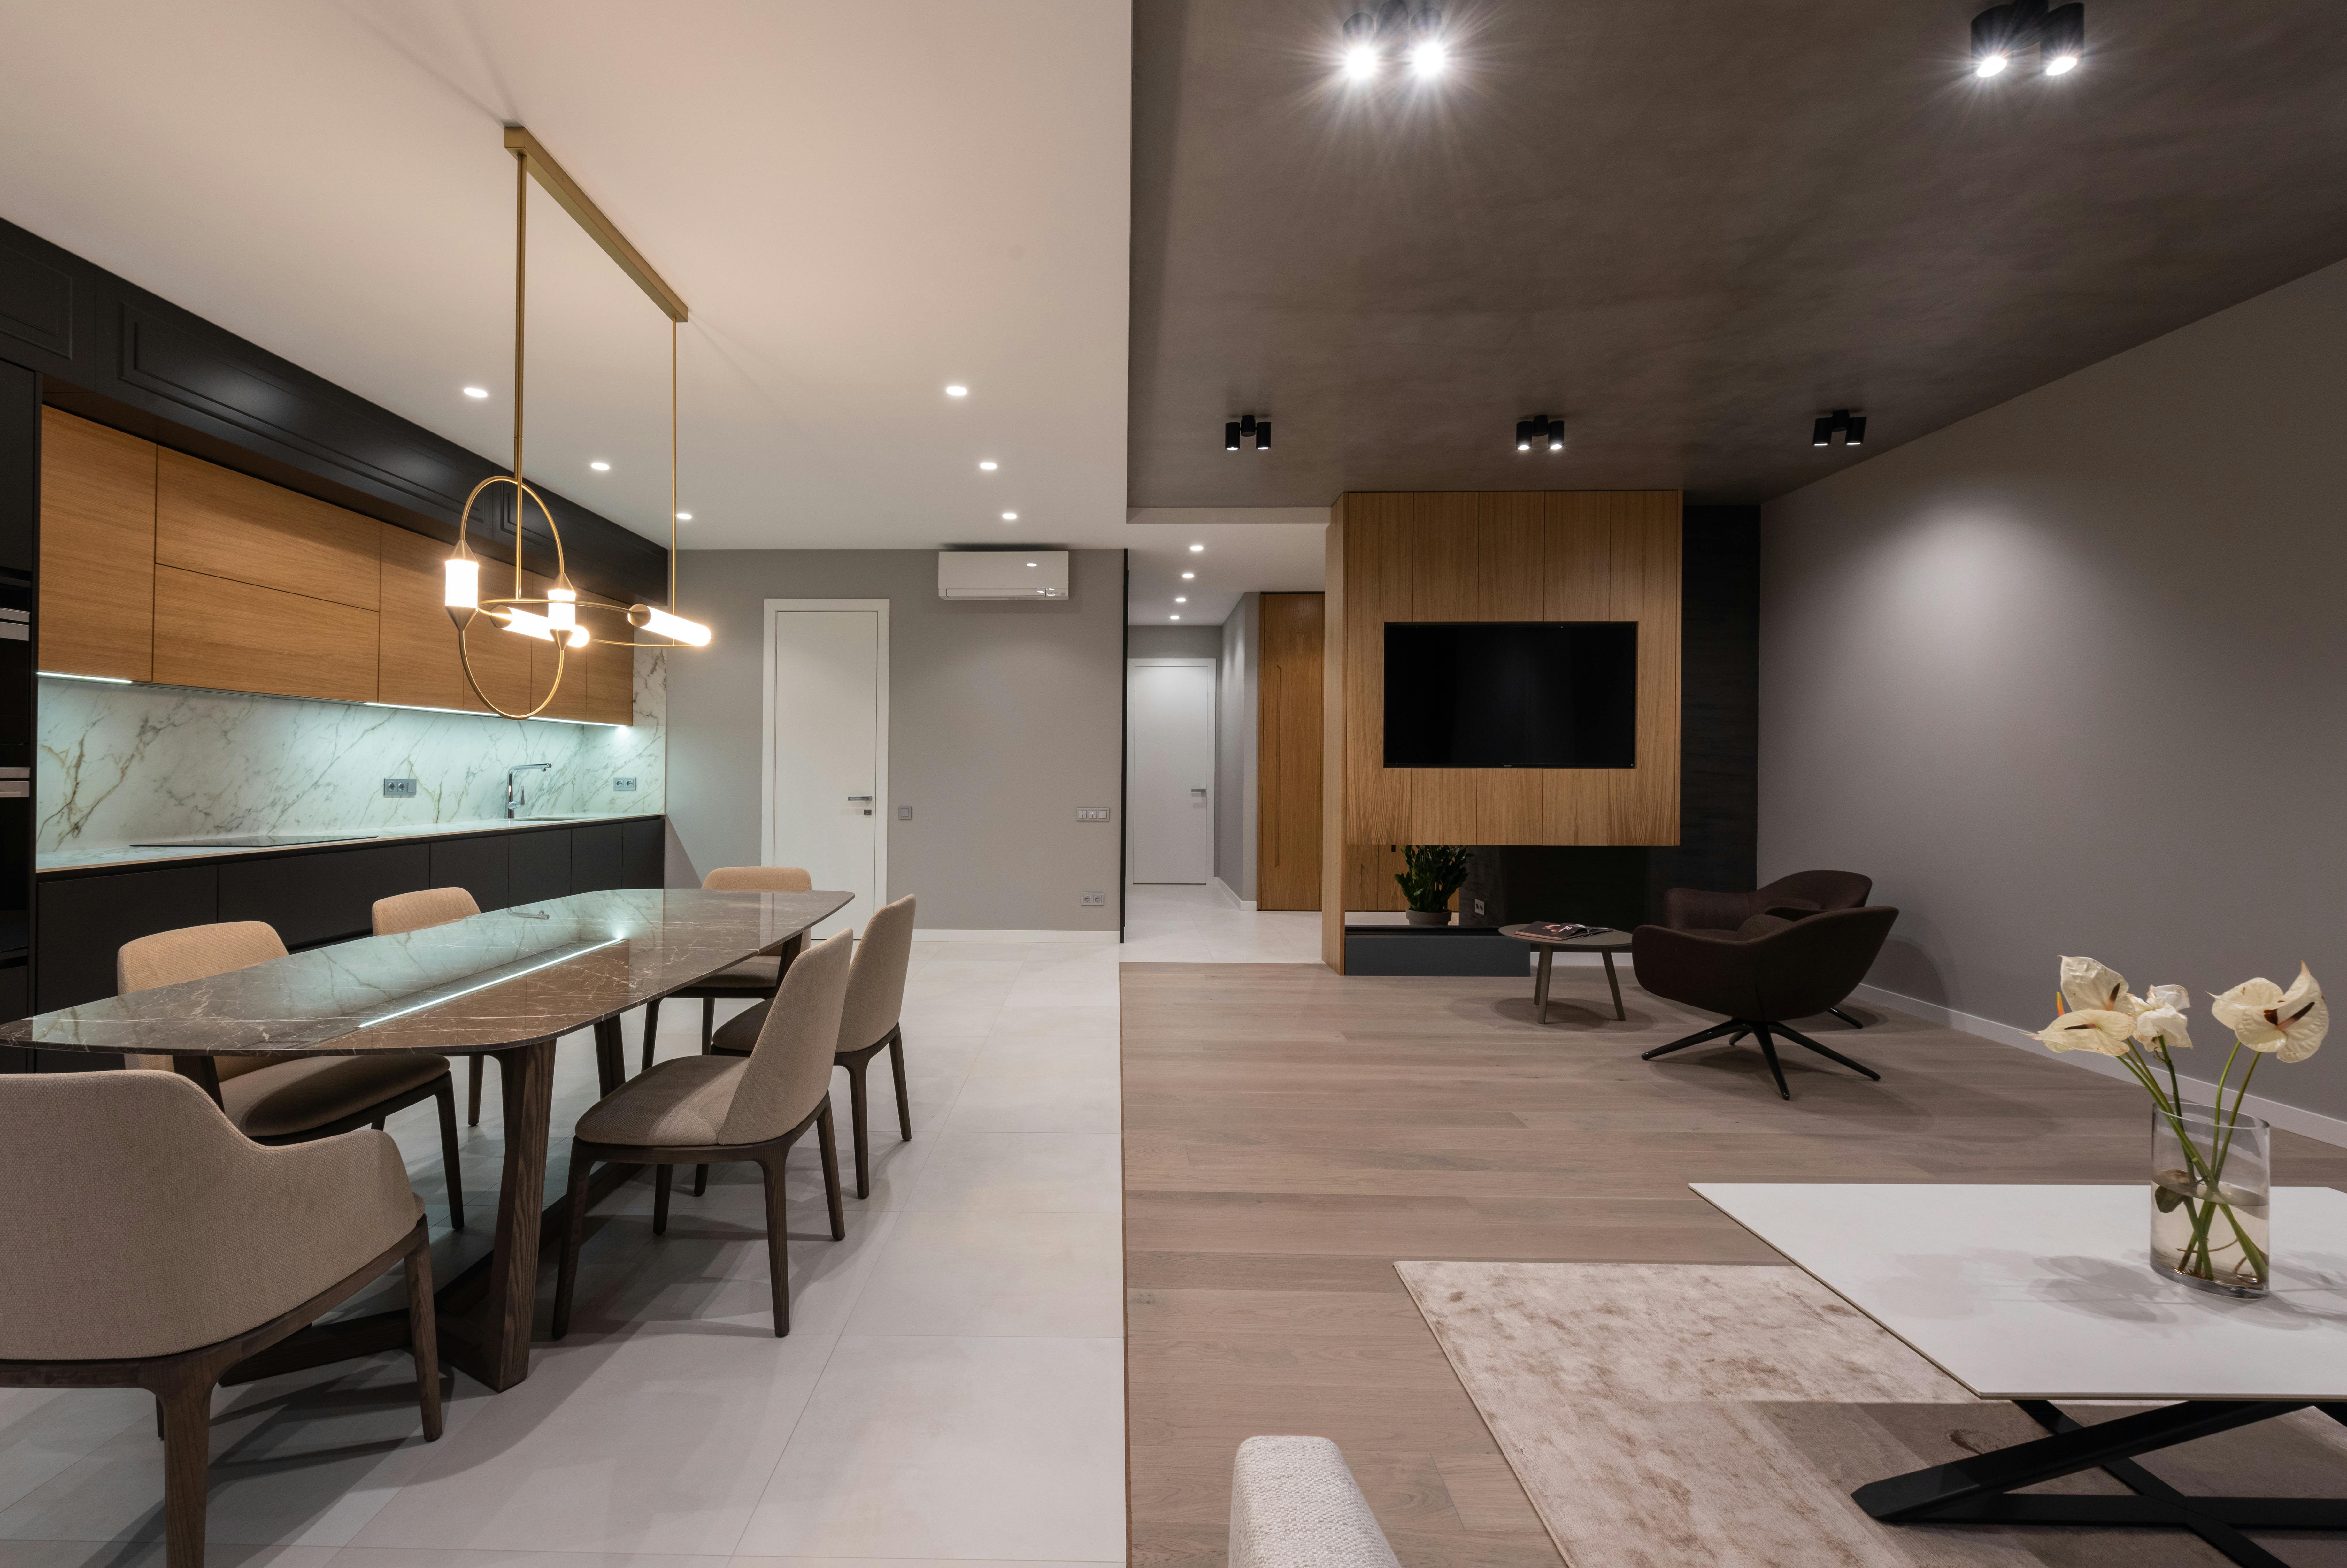
These finishes are exploding across #livingroomdecor and #bedroommakeover because they turn a basic wall into a subtle, cloud-like backdrop—no statement color required. Think: a cozy, slightly mottled texture that looks like expensive plaster, but can usually be pulled off in a day with the right tools and a little patience.
What’s the difference?
- Limewash: Mineral-based, breathable, matte, and slightly variegated. Great for that “European villa but I still pay rent” feeling.
- Roman clay: Smoother, more velvety, with richer movement. Often used for moody bedrooms and minimalist living rooms.
How to pull it off without panic
- Pick your wall wisely. Start with one accent wall—behind your sofa, bed, or dining table. Avoid highly textured or glossy walls unless you’re ready to prime and lightly sand first.
- Choose a soft, forgiving color. Warm whites, greige, stone, and clay tones are trending and more forgiving than dark colors while you’re learning the technique.
- Use the right brush. A big masonry or limewash brush lets you do that signature “X” or sweeping stroke that creates depth. Rollers are for your regular paint, not this diva.
- Embrace imperfection. The beauty is in the variation. If your first coat looks patchy, congratulations—it’s supposed to. The second and third passes are where the magic happens.
Styling tip: pair limewash or Roman clay with simple, clean-lined furniture, natural materials (linen, wood, stone), and fewer but larger decor pieces. The wall is already doing the talking; let your accessories nod along politely.
Textured paint likes calm company. Think: fewer throw pillows, more quiet “ahhh” energy.
2. DIY Plaster Art: Big, Bougie Art on a Small, Sensible Budget
Large-scale artwork can be terrifying—for your wallet, mostly. That’s why DIY plaster art (using joint compound, spackle, or plaster on canvas or MDF) is dominating #walldecor and #DIYhomedecor. It’s sculptural, chic, and just abstract enough that no one can tell if it “turned out wrong.”
What you need
- Inexpensive large canvas or MDF board
- Joint compound or pre-mixed spackle
- Putty knives or an old credit card (sorry, loyalty points)
- Primer and paint or pigment to tint the plaster
Simple approach that always looks intentional
- Prime your base. Especially if using raw canvas or MDF, so the moisture doesn’t warp it.
- Spread the plaster. Use sweeping, imperfect motions. Overlap strokes, create arcs or subtle waves—this is the “abstract” part.
- Add a focal moment. Try a raised arch, circle, or off-center band. Tone-on-tone designs are especially on trend for minimalist and modern farmhouse interiors.
- Let it dry fully. Resist the urge to poke it every hour. Once dry, you can leave it white, paint it, or glaze it for extra depth.
Styling ideas:
- Hang a large piece above the sofa to echo your limewashed wall without competing with it.
- Lean a tall, narrow plaster art panel on a console in the entry for an instant “custom gallery” feel.
- Create a trio of smaller pieces for a bedroom wall instead of a traditional gallery wall.
Pro tip: If you’re nervous, stick to one color family—warm whites, creams, or soft beiges. The texture does the drama; the color does the calming.
3. Wood Slat Accent Walls: Instant Architecture, No Architect Required
If limewash is the soft-spoken introvert, wood slat walls are the charismatic extroverts of the DIY world. They’re everywhere—behind TVs, beds, entryway benches—looking suspiciously custom for something a determined human can install in a weekend with pine boards, an afternoon playlist, and possibly some snacks.
Why they work so well
- Vertical lines make ceilings feel taller, which is excellent for low or boxy rooms.
- They add instant “architecture,” especially in modern, Scandinavian, or modern-farmhouse spaces.
- You can customize the color: natural, stained, or painted to match your decor.
Getting the look (without losing your mind)
- Decide on spacing. Most DIYers use a consistent small gap (e.g., 1/2 inch) between slats. Use a spacer block so your lines stay satisfyingly straight.
- Pre-finish your slats. Stain or paint them before installing to save yourself a neck workout and prevent drips on the wall.
- Mark your studs. Attach slats securely, especially if they’re heavy or going behind a TV or headboard.
- Frame the edges. Add a trim piece on each side or at the top to give the look a polished, built-in feel.
If saws give you anxiety, check out peel-and-stick wood slats and lightweight MDF options—trending hard for renters and tool-shy DIYers. They’re not as robust as real wood, but for a feature wall behind a bed or in a hallway, they can look impressively high-end.
Color ideas:
- Natural oak or pine for Scandinavian or Japandi-inspired spaces.
- Warm walnut for modern farmhouse or mid-century vibes.
- Painted black or deep charcoal for a bold TV wall in a minimalist living room.
4. 3D & Peel-and-Stick Panels: Drama on a Deadline
For those who want maximum transformation with minimal chaos, 3D wall panels and peel-and-stick paneling are having their moment. They’re showing up in one-day makeover videos where plain walls become fluted, ribbed, or subtly geometric faster than you can say, “Was that really only one coat?”
Where they shine
- Rentals: When you need impact that can (mostly) come back off again.
- Bedrooms: Behind the headboard for a soft, textural focal point.
- Home offices: Behind your desk for a Zoom background that screams “promotion-ready.”
How to choose the right panel
- Match the pattern to your style. Fluted or ribbed for modern, square or rectangular grids for transitional, and subtle organic waves for boho or soft contemporary.
- Check the material. Foam is super light and renter-friendly; MDF and PVC are sturdier and better for long-term installations.
- Plan your seams. Dry-fit panels on the floor first so you’re not surprised halfway up the wall with a weird half-pattern.
Finish with a unifying paint color (warm white, soft greige, or gentle taupe are very now), and suddenly your once-forgettable wall looks like custom millwork.
5. How to Mix Textured Wall Trends Without Visual Chaos
Social feeds are full of gorgeous spaces that combine these trends—a limewashed wall behind a minimalist sofa, styled with DIY plaster art and a slim console, maybe even a wood slat moment across the room. The trick is to layer textures like an outfit: some pieces are statement, others are supporting actors.
Think: one diva per view
- If your TV wall is a bold wood slat feature, keep adjacent walls calmer—limewash or simple paint.
- If your bedroom headboard wall has 3D panels, choose simple, tone-on-tone plaster art instead of colorful gallery walls.
- If your living room has a heavily textured limewash, balance it with smooth fabrics (linen, cotton, boucle) and simple furniture silhouettes.
Use a tight color palette
Most “quiet luxury” spaces that go viral stick to 3–4 main colors:
- One main wall color (warm white, greige, or stone)
- One wood tone (light oak, medium walnut, or dark espresso)
- One accent color (muted clay, sage, charcoal, or inky blue)
- Optional metallic (black, bronze, or brushed brass for hardware/lighting)
Keep your walls and large furniture pieces within that palette, then let texture do the interesting work instead of piling on more colors.
6. Planning Your Own Weekend Wall Glow-Up
Before you dash off to buy every textured product the internet has ever seen, plan your project like a pro (who occasionally gets paint in their hair, but still a pro).
Step 1: Choose your “star wall”
Ask: Where will this be most appreciated—and most photographed? Common winners:
- The wall you see first when you walk into the living room
- The headboard wall in your bedroom
- The TV wall (if it doesn’t already have enough going on)
Step 2: Match the treatment to the room’s personality
- Cozy, calm bedroom? Limewash or Roman clay in soft hues.
- Design-forward living room? Wood slat wall or subtle 3D paneling.
- Rental or commitment issues? Peel-and-stick panels and removable slats.
- Blank large wall on a budget? DIY plaster art cluster.
Step 3: Budget with honesty and snacks
Factor in:
- Materials (paint, plaster, slats, panels)
- Tools (brushes, levels, spacers, caulk, filler)
- Prep work (patching, priming, possibly bribing a friend with pizza)
Most of these projects can be done for a fraction of new furniture—and the visual payoff is often bigger.
7. Let Your Walls Do the Talking (You Just Hold the Brush)
Today’s biggest home decor trend isn’t more stuff—it’s better backdrops. Limewash, Roman clay, DIY plaster art, wood slat walls, and 3D or peel-and-stick paneling are all about turning your walls into quiet show-offs: textured, interesting, and camera-ready, without screaming for attention.
Start small if you need to. Make one plaster art piece for that weird empty corner. Try limewash on half a wall behind your bed. Add a modest slat detail in your entry. As you experiment, you’ll learn what your home loves wearing—and what makes you smile every time you walk in.
Your walls are ready for their makeover montage. The only question is: are you starting with cloud-soft limewash, sculptural plaster art, or a slat wall that looks like it came with the house?
Image Suggestions (for editor use)
Below are carefully selected, real, royalty-free image URLs along with placement and accessibility details. Each image directly reinforces a specific section of the blog.
Image 1: Limewash / Roman Clay Cloud Wall
Placement: After the paragraph ending with “The wall is already doing the talking; let your accessories nod along politely.” in section 1 (Limewash & Roman Clay).
Image URL: https://images.pexels.com/photos/6585763/pexels-photo-6585763.jpeg
Supports sentence/keyword: “These finishes are exploding across #livingroomdecor and #bedroommakeover because they turn a basic wall into a subtle, cloud-like backdrop—no statement color required.”
Required visual content: A realistic living room with a soft, slightly mottled, limewash- or plaster-style wall in a neutral tone behind a simple sofa. Minimalist furniture, neutral textiles, and natural materials (wood/linen). Wall surface must clearly show subtle, cloudy texture rather than flat, uniform paint. No visible people.
Alt text: “Neutral living room with a soft textured limewash-style accent wall behind a simple sofa, showcasing a cloud-like quiet luxury backdrop.”
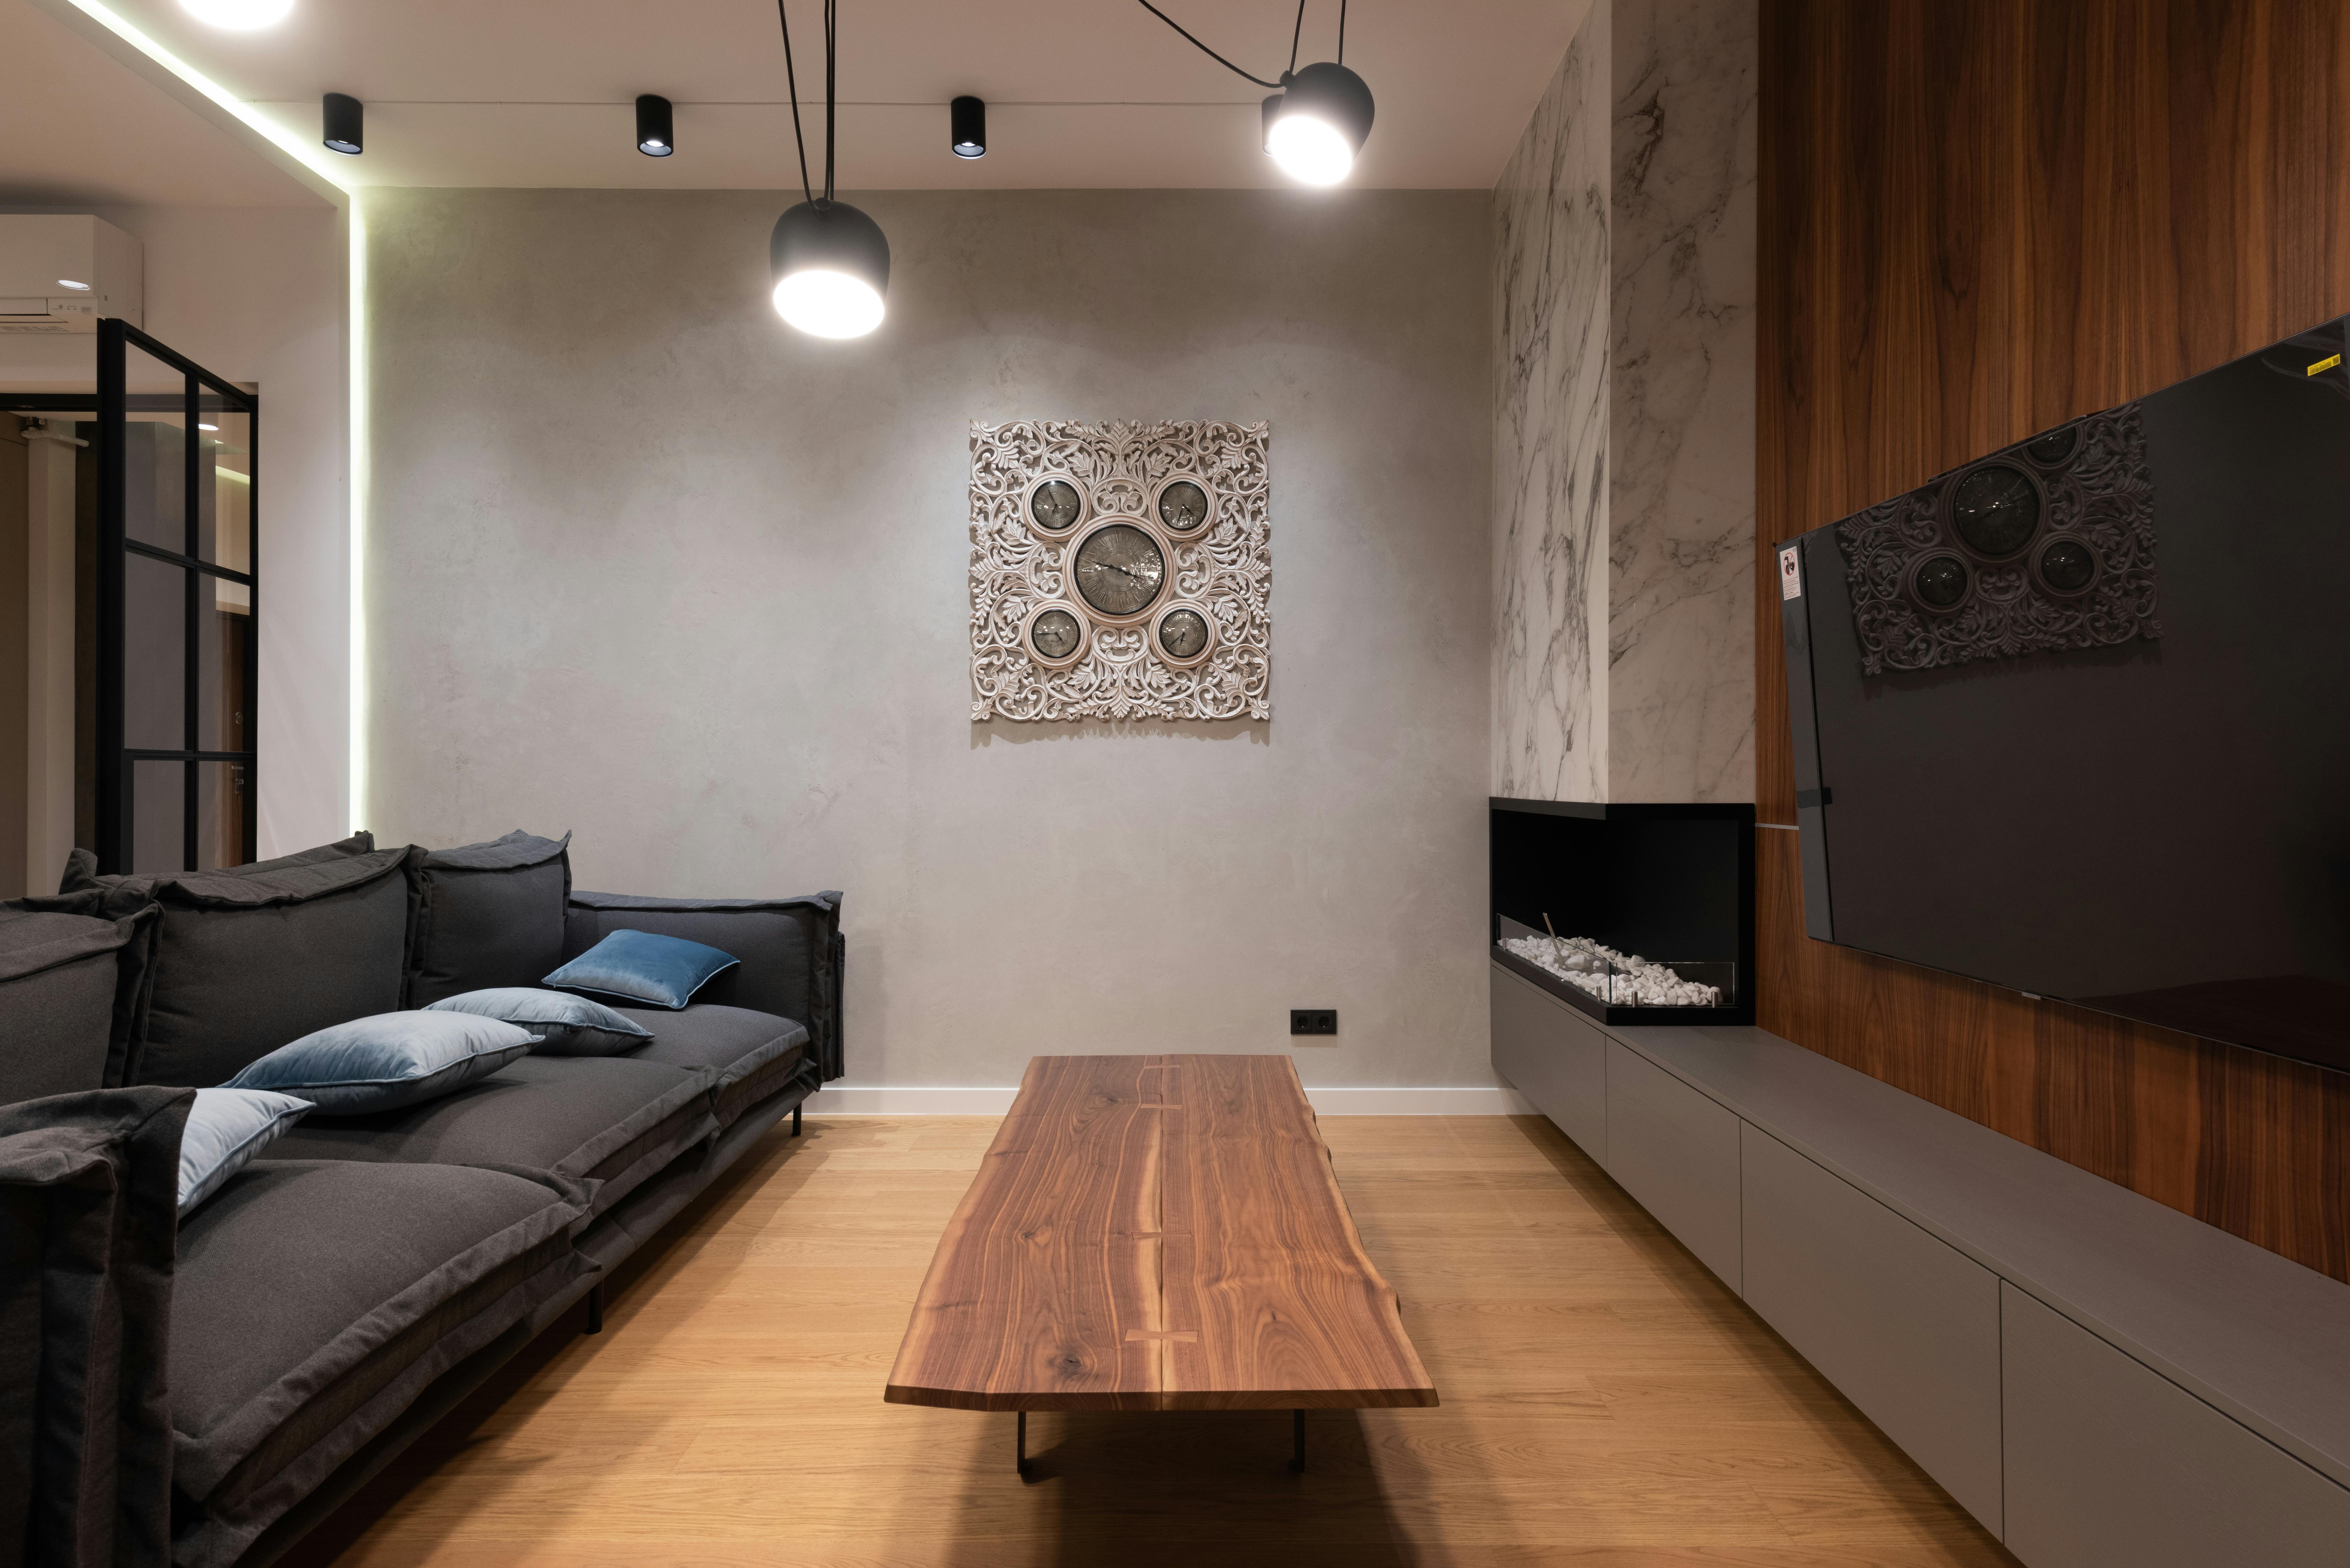
Image 2: DIY Plaster Art Above Sofa
Placement: After the bullet list under “Styling ideas” in section 2 (DIY Plaster Art).
Image URL: https://images.pexels.com/photos/6588597/pexels-photo-6588597.jpeg
Supports sentence/keyword: “Hang a large piece above the sofa to echo your limewashed wall without competing with it.”
Required visual content: A living room scene with a neutral-toned, large-scale textured artwork (plaster or raised texture) hung above a sofa. The art should feature simple, abstract, tone-on-tone design—no detailed figurative painting. Surrounding decor should be minimalist or modern farmhouse with calm colors. No visible people.
Alt text: “Large neutral textured plaster-style artwork hanging above a modern sofa in a minimalist living room.”
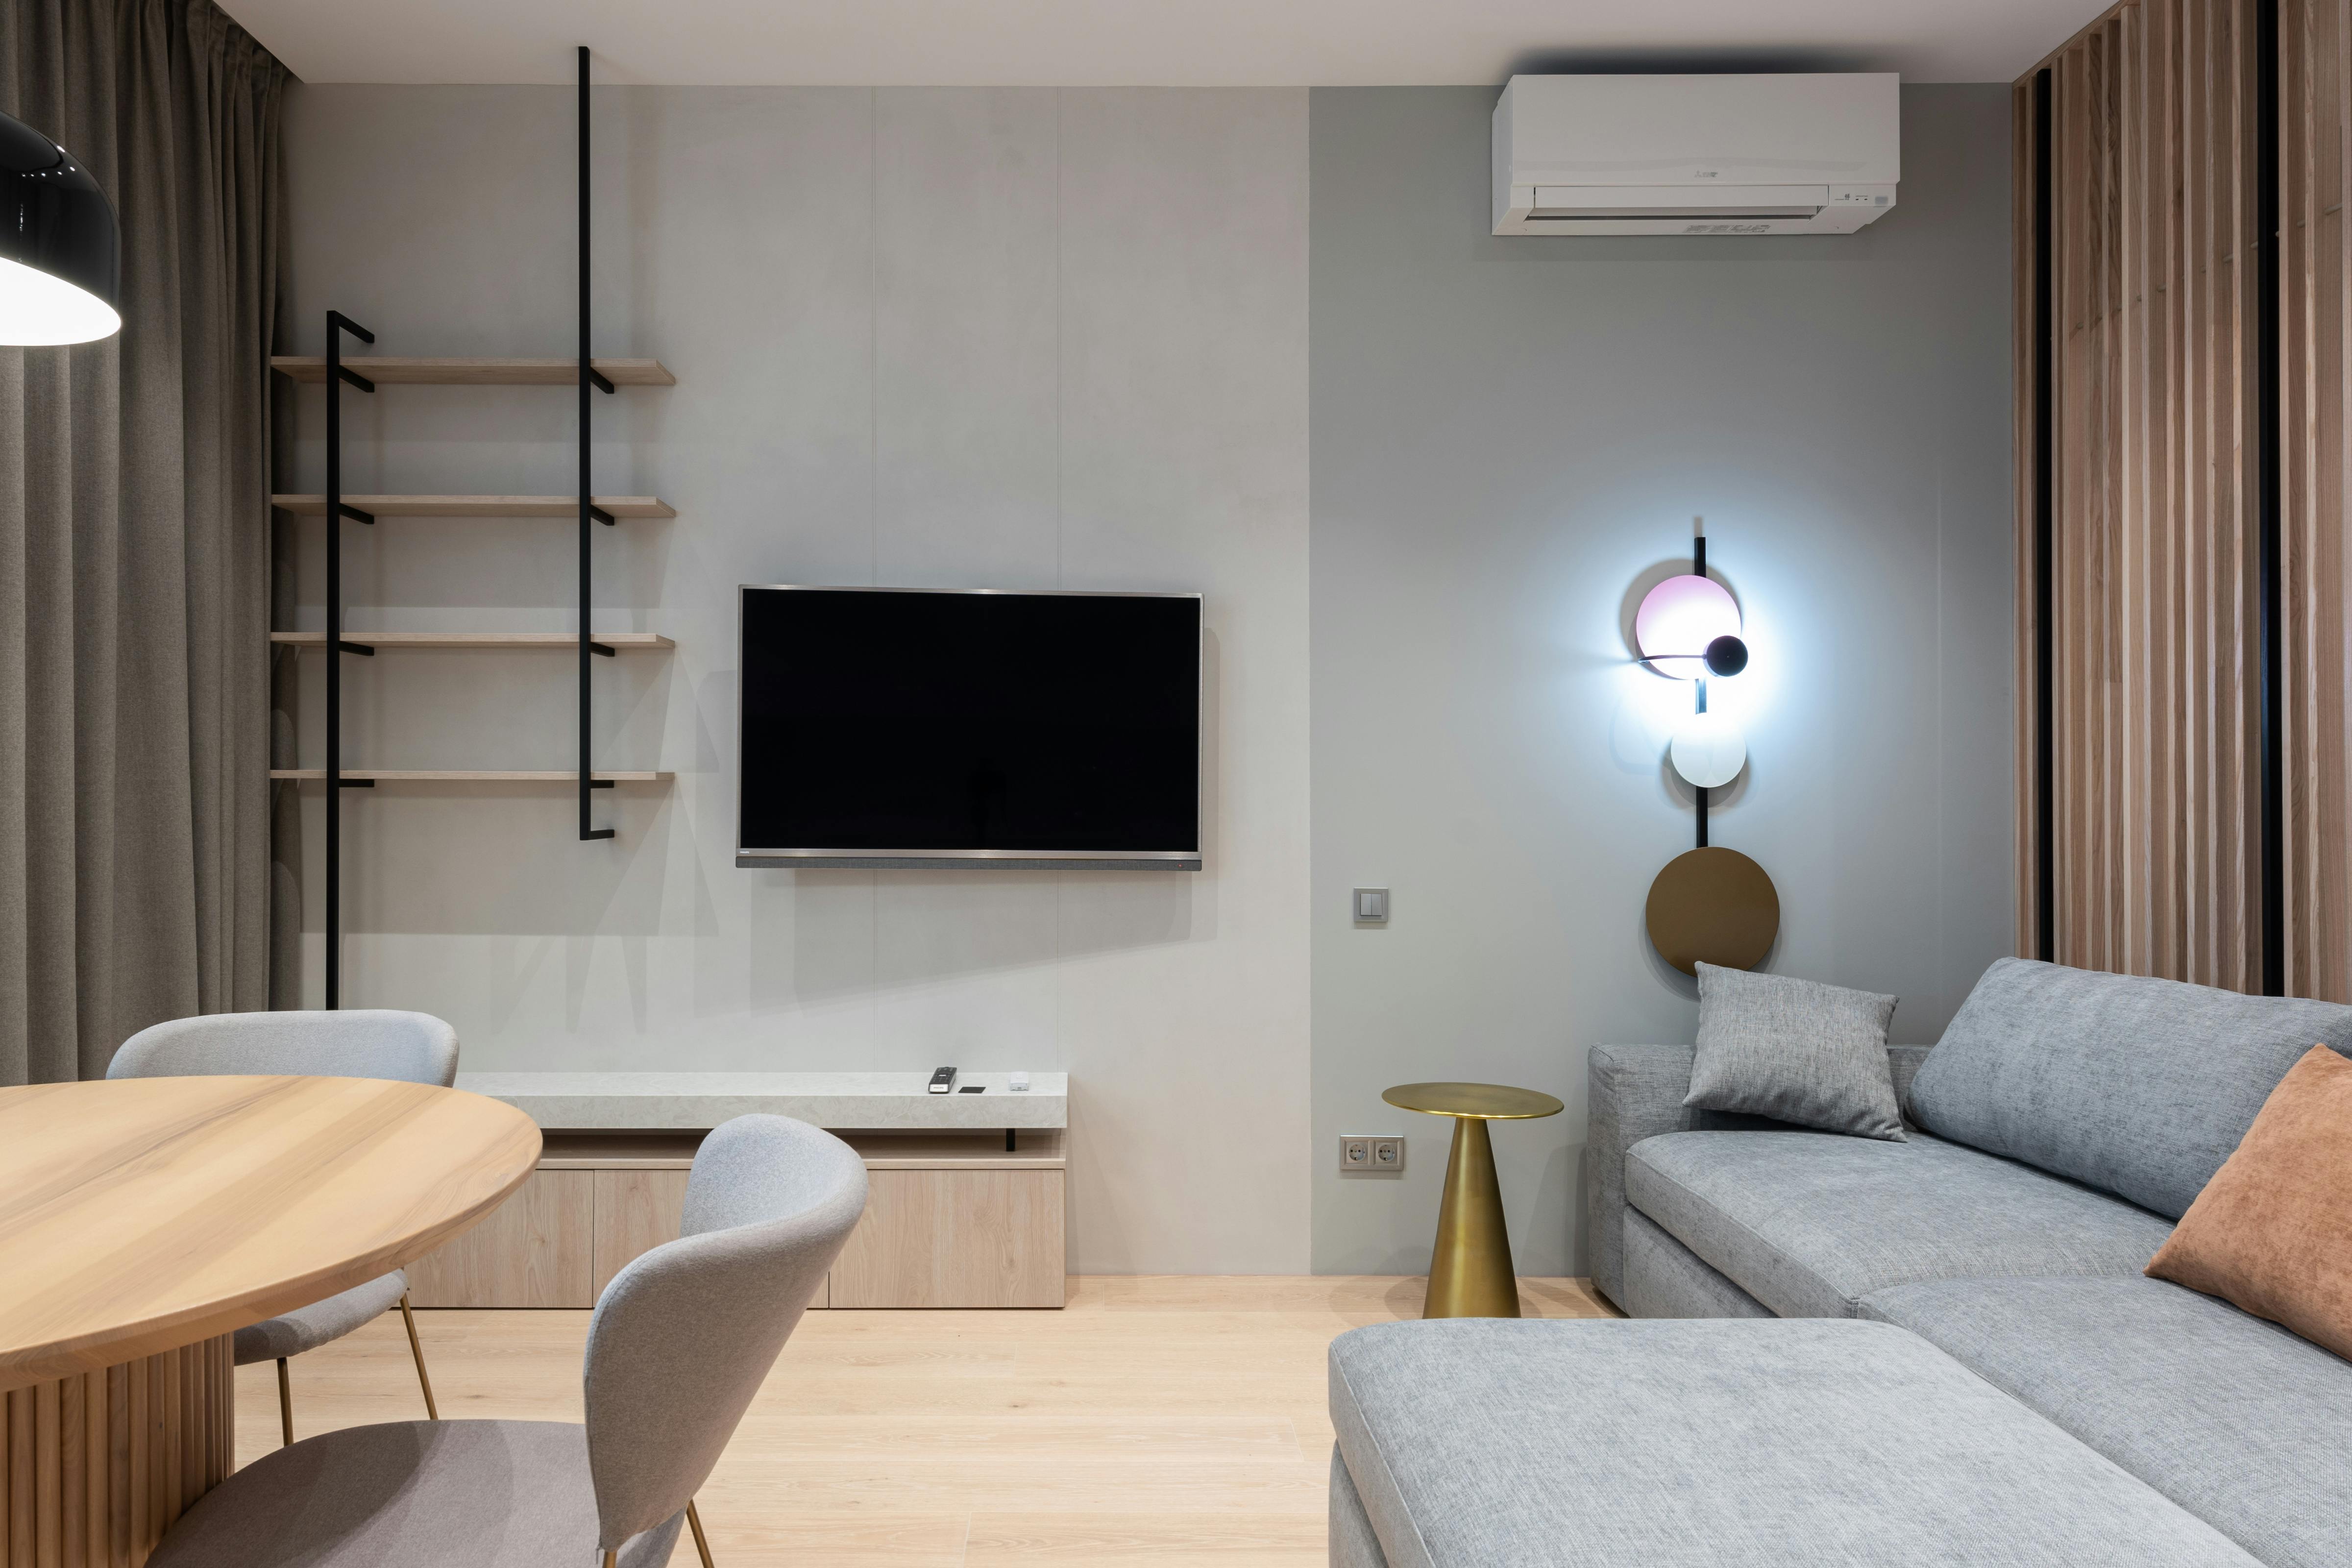
Image 3: Wood Slat Accent Wall Behind Bed
Placement: After the “Color ideas” list in section 3 (Wood Slat Accent Walls).
Image URL: https://images.pexels.com/photos/6758771/pexels-photo-6758771.jpeg
Supports sentence/keyword: “Vertical wood slats (often pine or MDF, painted or stained) are installed behind TVs, beds, or entryway benches to create architectural interest.”
Required visual content: A bedroom with a vertical wood slat accent wall directly behind the bed, clearly showing evenly spaced slats in a consistent wood tone. Neutral bedding and simple furnishings to highlight the wall treatment. No visible people.
Alt text: “Bedroom with a vertical wood slat accent wall behind the bed, creating a warm architectural focal point.”