
Stop Staring at Boring Walls: DIY Slat Walls & Moldings That Look Expensive (But Aren’t)
Your Walls Are Bored. Let’s Fix That.
DIY wall paneling, slat walls, and architectural moldings are today’s favorite way to turn plain, rental-basic walls into high-impact, budget-friendly showpieces. This guide walks you through what’s trending now, how to choose the right style for your space, and simple step-by-step tips so you can create a custom, designer-looking feature wall without crying over contractor quotes.
Somewhere out there, a beige wall just sighed dramatically. Because in 2026, “paint and pray” is no longer the default decorating strategy. The internet has collectively decided that walls should have texture, dimension, and at least one moment that makes guests say, “Wait… you did that yourself?”
Enter the heroes of the scroll-stopping makeover: DIY wall paneling, fluted and ribbed panels, vertical slat walls, board‑and‑batten, and picture frame molding. They’re all over #walldecor, #bedroomdecor, and #homeimprovement, usually accompanied by a caption like “$130 and one mildly chaotic weekend.”
Good news: you don’t need a contractor, a workshop, or a secret trust fund. Just a plan, some trim, and the courage to use a level correctly.
Why DIY Wall Paneling Is Trending Hard Right Now
Wall treatments are having their moment because they sit in the sweet spot between “cheap” and “transformational.” You’re not moving plumbing. You’re not knocking down walls. You’re just making the ones you already have much, much better.
- High impact, low-ish cost: MDF, lumber, and trim pieces are way cheaper than a full renovation, but the before-and-after looks like you hired a boutique hotel designer. Those “$120 slat wall vs. $800 contractor quote” reels aren’t lying.
- Beginner-friendly: Most projects require a miter saw (or even a handsaw), a level, adhesive, and nails. Translation: if you can measure, cut, and not panic around power tools, you’re in.
- Rental-friendly hacks: Peel‑and‑stick slats, foam moldings, and removable panels let renters join the fun without angering landlords or sacrificing deposits.
Design-wise, these wall treatments are major overachievers. They work with modern minimalism, cozy farmhouse, and that “I definitely do not own a yacht but my house might” quiet luxury look.
Meet the A-List: Today’s Most-Shared Wall Styles
Think of these wall treatments as different characters in a very stylish sitcom. Same cast (wood, MDF, paint), totally different personalities.
1. Vertical Slat Walls: The Tall, Scandinavian One
Vertical slat walls are made from thin, evenly spaced wood or MDF strips running floor-to-ceiling. They’re often installed behind a sofa, TV, or bed, and they instantly add texture and a sleek, modern, Scandinavian feel.
For a modern vibe, keep those gaps consistent—usually 1–2 inches—and either stain the wood warm and natural, or paint it the same color as the wall for subtle shadows.
- Best spots: TV wall, headboard wall, narrow entryway.
- Best for: Making ceilings look taller and rooms feel more curated.
- Beginner tip: Start in the center of the wall and work your way out for symmetry.
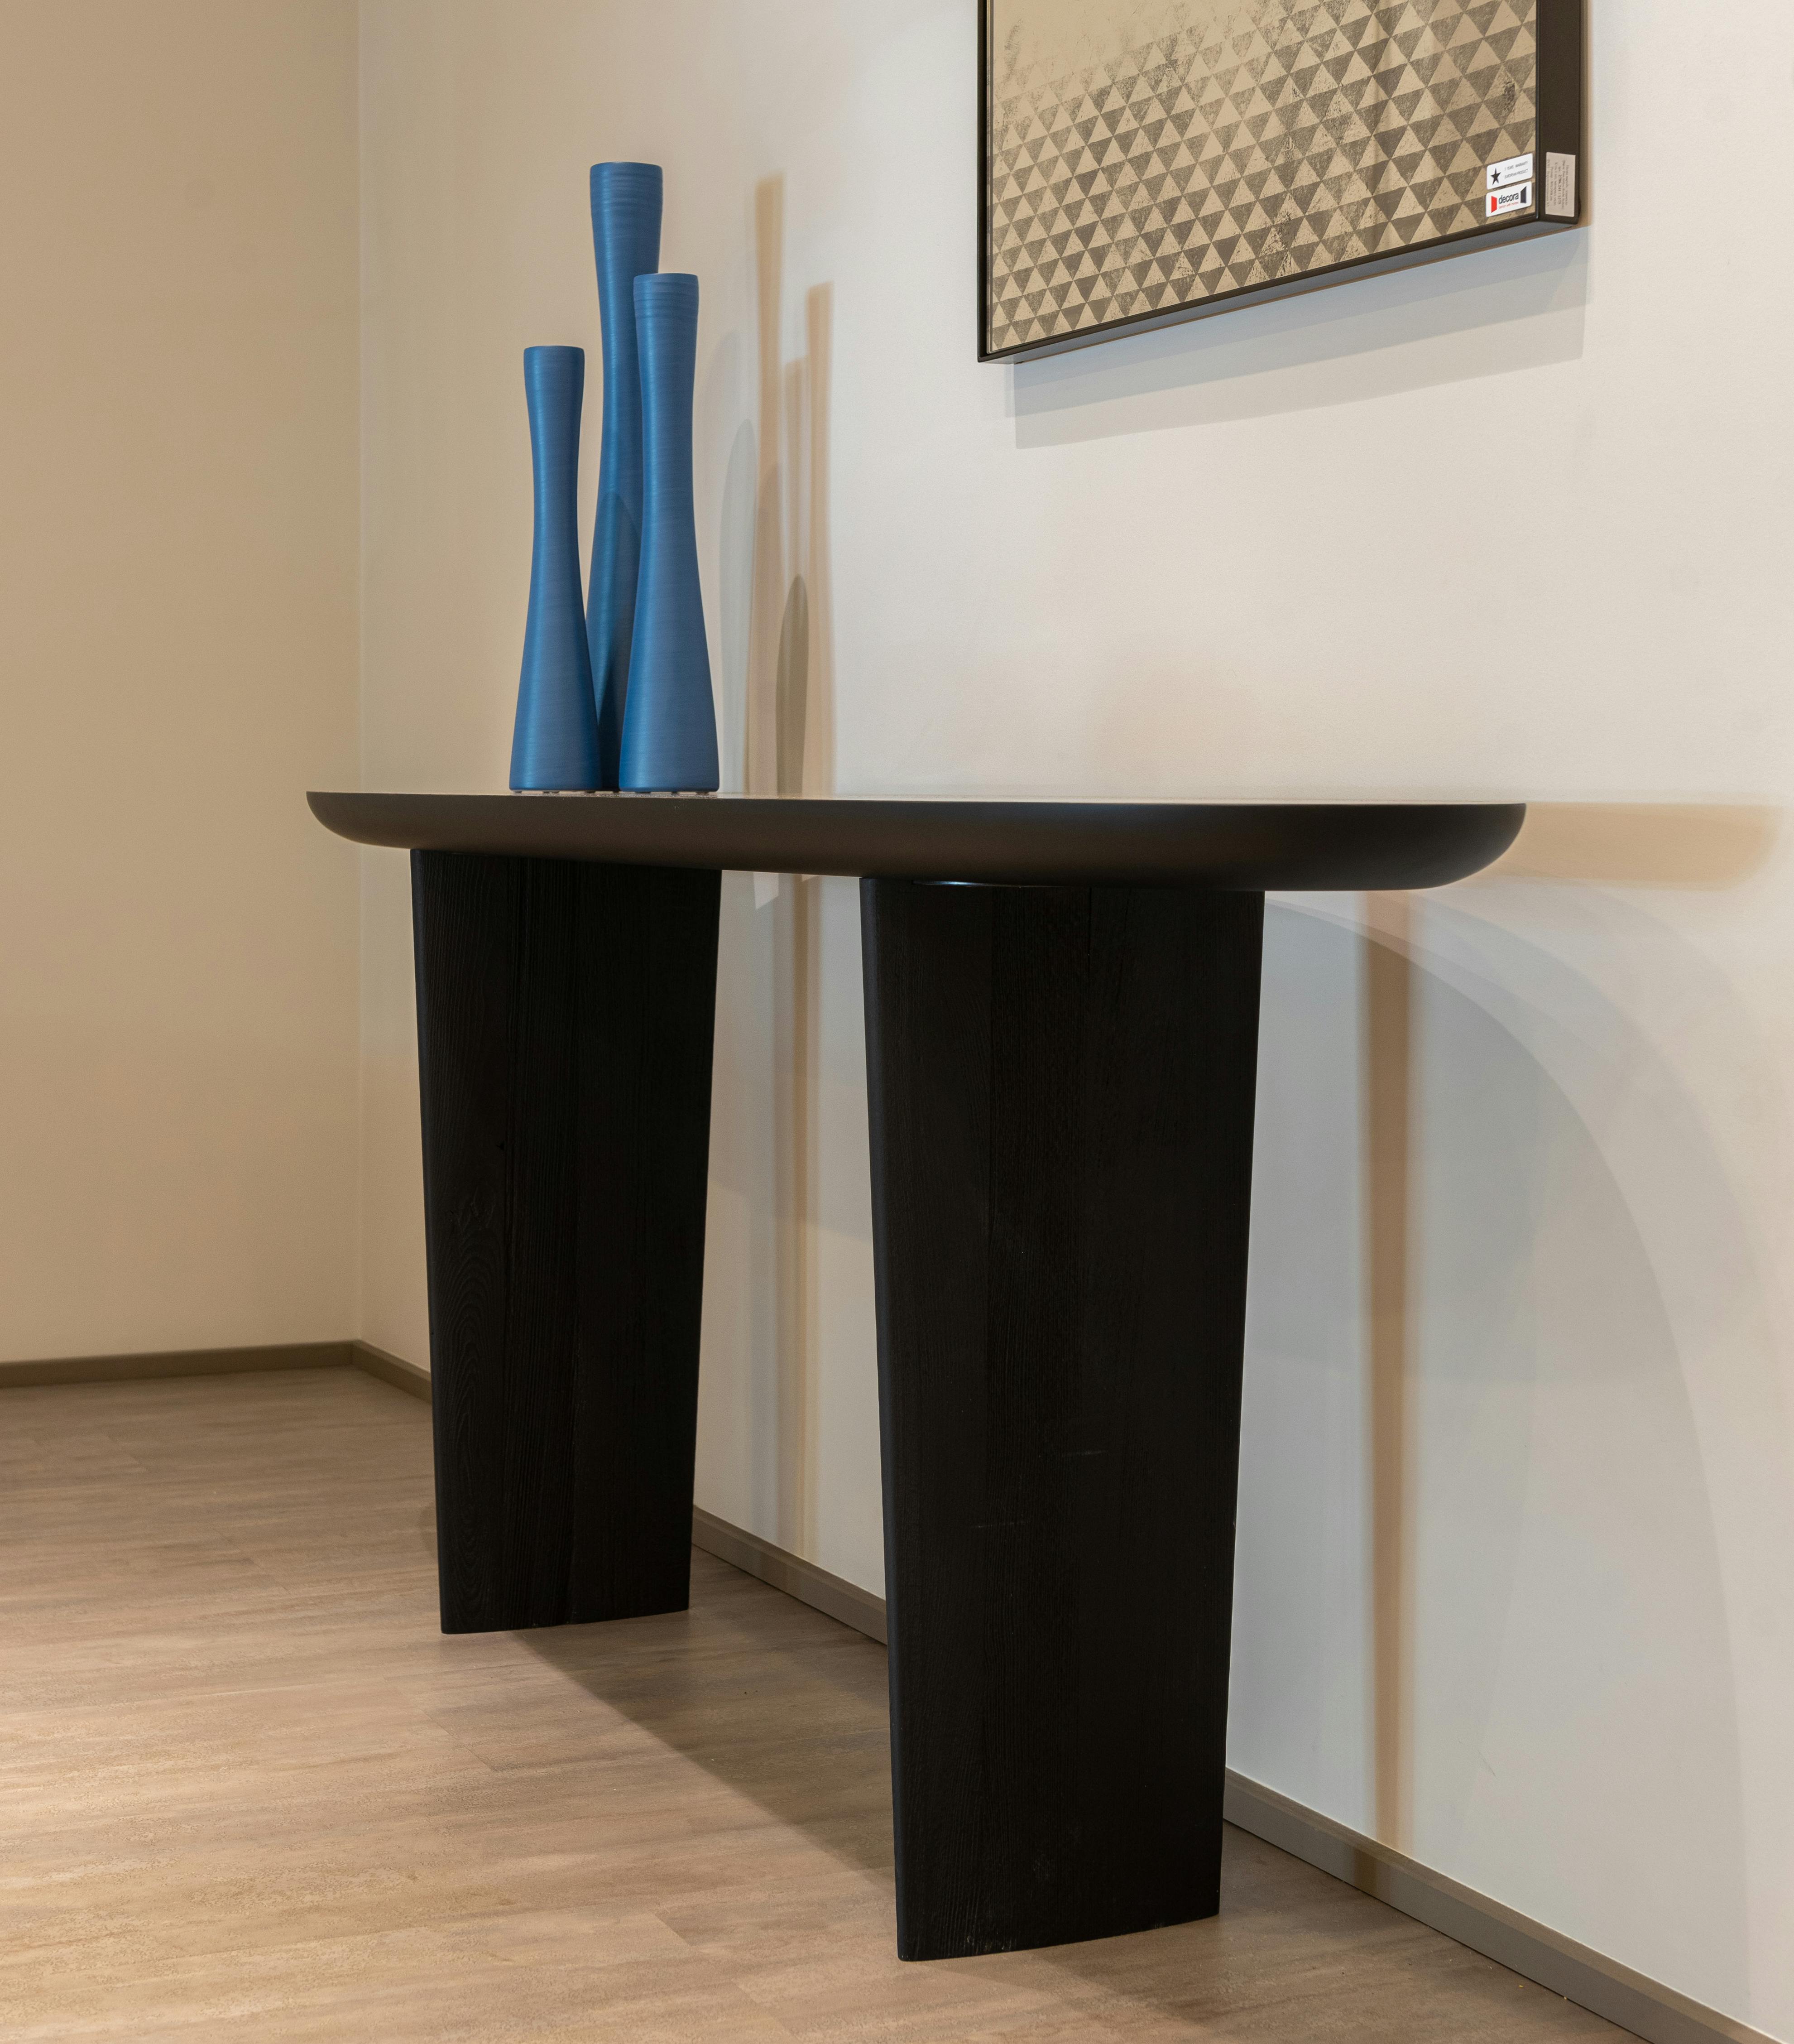
2. Fluted & Ribbed Panels: The Quiet Luxury One
Fluted panels are ready-made boards with rounded, ribbed texture (think an accordion, but make it chic). They’re going up behind console tables, around fireplaces, and on accent walls in bedrooms.
When painted in the same color as the wall, they create soft shadows and depth without shouting for attention, which is very 2026 “stealth wealth” energy.
- Best spots: Fireplace surround, behind a console in the entry, small feature wall in a reading corner.
- Best for: Adding interest in small spaces without overwhelming them.
3. Board‑and‑Batten: The Cozy Classic, Now in Moody Colors
Board‑and‑batten used to scream “farmhouse,” but 2026 has given it a glow-up. Now it’s painted in deep, inky blues, charcoal, or forest greens for a richer, more modern look.
You’ll typically see vertical boards (the battens) spaced evenly along the wall, with a ledge or cap at the top to finish it off—perfect for an elevated entryway or dining room.
- Best spots: Hallways, dining rooms, entryways, kids’ rooms.
- Best for: Adding structure and character to long, blank walls.
4. Picture Frame Molding: The Parisian Apartment Cousin
Picture frame molding uses simple, rectangular frames applied directly to the wall, then painted over. The effect? High-end, prewar-apartment energy, minus the eye-watering rent.
Pair it with neutral paint, minimal furniture, and a few carefully chosen art pieces, and suddenly your living room feels like it borrowed its passport from Paris.
- Best spots: Living rooms, bedrooms, home offices.
- Best for: Sophisticated, quiet luxury vibes with minimal materials.
How to Choose the Right Wall Treatment for Your Space
Before you run to the lumber aisle like it’s a flash sale, pause for a quick style therapy session. The best wall treatment is the one that fits your room’s bones and your real life.
- Check your architecture.
If your home already has strong details (arched doorways, chunky baseboards), picture frame molding or wainscoting will play nicely. In a new-build box with very little trim, slat walls or fluted panels can add that missing character. - Match the mood.
Want calm and minimalist? Go for tone-on-tone fluted panels or simple vertical slats in a soft neutral. Want drama? Board‑and‑batten in deep ink blue or charcoal can anchor the whole room. - Be honest about maintenance.
If you have kids, pets, or both (my condolences to your baseboards), opt for treatments with fewer dust-catching nooks near the floor and durable, wipeable paint. - Decide your “wow” wall.
Typically, that’s the wall your eye hits first: behind the bed, behind the sofa, or the entry wall opposite the front door. Start with one feature wall before committing to the entire house.
Think of it like choosing a haircut: yes, that choppy French bob looks great on Pinterest, but does it work with your hair type, your patience, and your existing wardrobe? Same energy here.
DIY Basics: From Blank Wall to “Wait, You MADE That?”
The exact steps vary by style, but most wall treatments follow the same general rhythm. Here’s the simplified, non-scary version.
1. Planning & Measuring (Don’t Skip This!)
- Sketch it out: Even a rough drawing helps you visualize spacing, heights, and how it frames furniture.
- Measure twice, divide once: For slat walls and picture frame molding, measure the total width of your wall, subtract the combined width of all slats or frames, then divide by the number of gaps to get even spacing.
- Mark your studs: Use a stud finder so you know where you can securely nail or screw into the wall.
2. Materials & Tools: The Starter Pack
For most projects, you’ll need:
- MDF or wood boards / trim (slats, battens, or molding)
- Construction adhesive (for extra hold)
- Finishing nails + nail gun or hammer
- Level, tape measure, pencil, and caulk
- Wood filler, sandpaper, and primer
- Paint (eggshell or satin works well for walls with texture)
Rental-friendly alternatives include peel‑and‑stick slat kits or lightweight foam moldings applied with removable adhesive strips.
3. Installation: Slow, Steady, and Level
Start with the most visible section of the wall first (usually the center) and work outward. Apply adhesive to each piece, press it into place, check with your level, then secure with nails.
For picture frame molding, painter’s tape is your best friend: tape your intended rectangles first to test proportions before you commit to cutting.
4. Filling, Caulking & Painting: The Glow-Up Stage
- Fill nail holes with wood filler, then sand smooth.
- Caulk the edges where boards meet the wall and where boards meet each other; this makes everything look intentional instead of “DIY in progress.”
- Prime, then paint: Dark, saturated colors on paneling are trending, and tone-on-tone (same color on walls and trim) makes spaces feel taller and more cohesive.
Color & Styling Tips: Make Your New Wall the Star
Once your wall is gloriously 3D, it’s time to dress it up without drowning out the texture you just worked so hard on.
- Go tone-on-tone for calm: Paint the wall and the paneling the same color for a subtle, architectural look that feels expensive but not loud.
- Try deep moody tones: In living rooms and bedrooms, ink blue, charcoal, and forest green are still trending for that cocoon-like feel.
- Let the wall breathe: If you did a slat or fluted feature behind the TV or bed, keep decor simple: a streamlined TV, a pair of sconces, or one large piece of art instead of a collage.
- Balance the room: Add texture elsewhere—a boucle chair, woven basket, or nubby throw—so the wall doesn’t feel like the only point of interest in the space.
Think of your new wall like a statement jacket: you don’t need sparkly shoes, a feather boa, and twelve necklaces on top. Let it do the talking.
Renter-Friendly Versions (Because Deposits Are People Too)
You can absolutely join the wall-treatment party without drilling your way into a security-deposit crisis. The trick is to build on the wall, not into it.
- Peel‑and‑stick slat kits: Lightweight faux-wood slats with adhesive backs that come off cleanly when you move out.
- Foam or PVC moldings: Extremely light, easy to cut with a utility knife, and attachable with removable strips in small applications.
- Freestanding panels: Create a room-divider-style panel with slats or fluting mounted on a plywood base that simply leans against the wall behind your bed or sofa.
Take progress pics as you go; worst-case, they double as “proof we didn’t ruin anything” for your landlord. Best-case, they’re your next viral #rentalmakeover post.
Common Mistakes (So You Can Avoid the “Why Is That Crooked?” Era)
Even the most beautiful idea can go a little sideways—literally—if you rush. Watch out for these:
- Uneven spacing: Inconsistent gaps between slats or battens are instantly noticeable. Measure each gap or use a spacer block to keep things aligned.
- Skipping caulk: Those tiny gaps along the edges? They’ll glare at you forever if you don’t smooth them out. Caulk is your eraser.
- Forgetting outlets and vents: Plan around electrical outlets, switches, and vents before you cut everything. Nothing kills momentum like realizing a slat runs straight through a light switch.
- Too small picture frames: Picture frame molding that’s too tiny or floating awkwardly in the middle of a large wall can look more “sticker pack” than “Parisian.” Go bigger and connect frames visually to existing architecture (like aligning with door tops).
Remember: dry-fitting (holding pieces up before you glue or nail) is not overkill. It’s future-you’s favorite hobby.
Your Walls, Upgraded: What to Do Next
If your home currently has the personality of a blank spreadsheet, wall paneling and slat walls are the fastest way to give it a promotion. Choose one style that matches your vibe, start with a single feature wall, and treat the process like a weekend project instead of a lifelong commitment.
Your future self will be casually sipping coffee in front of a dramatically upgraded wall, saying to guests, “Oh this? Just a little DIY I threw together,” as if you didn’t spend an hour lovingly caulking every seam. And honestly? That’s the kind of main-character energy your home deserves.
Suggested Images (Strictly Relevant)
Below are image suggestions that directly reinforce key concepts from the blog. Each image is realistic, instructional, and focused on the described wall treatments.
Image 1: Vertical Slat Wall Behind TV
Placement location: After the paragraph in the “Vertical Slat Walls: The Tall, Scandinavian One” subsection that begins “Vertical slat walls are made from thin, evenly spaced wood or MDF strips…”
Image description: A realistic photo of a living room feature wall with vertical wood slats running floor-to-ceiling behind a wall-mounted TV. The slats are evenly spaced about 1–2 inches apart, in a warm light oak tone. A simple low media console sits below the TV. Surrounding decor is minimal: perhaps a single plant in a pot and a small speaker. Lighting is soft, clearly showing the shadows between slats. No people are visible; the focus is on the slat wall as a modern, Scandinavian-inspired backdrop.
Supported sentence/keyword: “Vertical slat walls are made from thin, evenly spaced wood or MDF strips running floor-to-ceiling. They’re often installed behind a sofa, TV, or bed…”
Image URL: https://images.pexels.com/photos/7195530/pexels-photo-7195530.jpeg
SEO-optimized alt text: Modern living room showing a vertical wood slat feature wall behind a TV, demonstrating a DIY slat wall accent.
Image 2: Picture Frame Molding in Neutral Living Room
Placement location: After the “Picture Frame Molding: The Parisian Apartment Cousin” subsection.
Image description: A realistic photo of a bright living room with picture frame molding on the walls. Rectangular frames are evenly spaced and painted the same soft neutral color as the wall (off-white or light beige). A simple sofa and coffee table sit in front, with one or two art pieces hung within or above the framed panels. The space feels airy, minimal, and elegant, clearly evoking a Parisian-inspired, quiet-luxury aesthetic. No people; focus is on the molding details.
Supported sentence/keyword: “Picture frame molding uses simple, rectangular frames applied directly to the wall, then painted over. The effect? High-end, prewar-apartment energy…”
Image URL: https://images.pexels.com/photos/6585619/pexels-photo-6585619.jpeg
SEO-optimized alt text: Neutral living room featuring picture frame wall molding painted tone-on-tone for a Parisian-inspired interior.
Image 3: DIY Board-and-Batten in a Hallway
Placement location: After the “Board‑and‑Batten: The Cozy Classic, Now in Moody Colors” subsection.
Image description: A realistic hallway or entryway with board‑and‑batten paneling installed on the lower two-thirds of the wall. Vertical battens are evenly spaced, with a horizontal cap rail on top. The paneling is painted in a deeper, moody color like forest green or charcoal, while the upper wall is a lighter neutral. Simple hooks, a bench, or a console table may be present, but the paneling remains the visual focus.
Supported sentence/keyword: “Board‑and‑batten… now it’s painted in deep, inky blues, charcoal, or forest greens for a richer, more modern look.”
Image URL: https://images.pexels.com/photos/6585750/pexels-photo-6585750.jpeg
SEO-optimized alt text: Hallway showcasing dark green board-and-batten wall paneling for a modern, moody entryway.
