Stick It & Flip It: Genius Peel‑and‑Stick DIYs That Make Your Rental Look Rich
There are two kinds of home upgrades: the ones that require a contractor, a permit, and a group chat titled “Pray for My Renovation”… and the ones you do in leggings with a podcast on and a roll of peel‑and‑stick. Today, we’re obviously talking about the second kind.
Peel‑and‑stick wallpaper, tiles, countertop films, and furniture wraps have gone from “late‑night infomercial energy” to one of the hottest home decor trends in 2026. Renters love them. Commitment‑phobes adore them. And anyone who’s ever lost their security deposit over a “tiny” wall experiment is now quietly weeping with relief.
In this guide, we’ll peel back (sorry, had to) everything you need to know about using peel‑and‑stick for walls, kitchens, bathrooms, furniture, and even stair risers—plus all the tricks to make it look expensive, not like a sticker book that got out of hand.
Why Peel‑and‑Stick Is Having Its Main Character Moment
If home decor trends were a group project, peel‑and‑stick would be the overachiever who does all the work while everyone else takes the credit. It’s everywhere across walldecor, homedecorideas, and homeimprovement, and the reasons are delightfully simple:
- Rental‑friendly: Most products peel off without major damage, making them perfect for apartments, student housing, and “I might move next year” situations.
- Low skill barrier: No power tools, no tile saw, no “how do I shut off the water?” panic. You usually need a utility knife, a ruler, a smoothing tool, and a playlist.
- Budget aware, not budget despair: Compared to real tile or pro‑installed wallpaper, peel‑and‑stick is cheaper upfront and doesn’t require hiring help.
- Weekend‑friendly: Most projects fall into the “one afternoon and a snack break” category.
- Content‑ready: Time‑lapse videos of blank walls transforming into Japandi‑inspired textured feature walls? Social media eats it up.
Translation: you can give your home a full glow‑up without annoying your landlord, your wallet, or your future self.
1. Feature Walls That Don’t Require a Lifetime Commitment
Blank walls are just missed opportunities wearing eggshell paint. Peel‑and‑stick wallpaper lets you audition a personality for your space without signing a long‑term contract.
Trending looks right now:
- Faux limewash: Soft, cloud‑like texture that whispers “quiet luxury” instead of shouting “DIY!”
- Organic stripes: Imperfect, hand‑drawn vibes that feel relaxed, not prison‑cell.
- Micro‑florals: Tiny ditsy prints that add interest without overwhelming small rooms.
- Japandi textures: Linen‑like weaves and subtle neutrals that play nicely with minimal decor.
- Soft geometrics: Understated patterns that look structured but not shouty on camera.
The internet’s favorite move? A single accent wall behind the sofa or bed. It frames the room, photographs beautifully, and only uses a few rolls—so you can splurge on a higher‑end pattern.
How to not lose your mind (or your seams):
- Start from the center or the most visible corner. Work outwards so any wonky bits land in a less noticeable spot.
- Use a level, not just your eyeballs. Ceilings and floors are rarely perfectly straight; gravity is a snitch.
- Leave a little excess at the top and bottom. Trim with a sharp utility knife against a metal ruler for crisp edges.
- Overlap patterns slightly if the brand recommends it. Some wallpapers are designed for a tiny overlap to avoid hairline gaps.
- Attack bubbles strategically. Smooth from the center outwards; if a rebel bubble remains, prick it with a fine pin and smooth again.
Pro tip: If you’re nervous, order an extra roll. Worst case, you mess up and call it “tuition for DIY school.”
2. Kitchen Glow‑Ups: Fake It Till You Bake It
Rental kitchens are where good recipes go to feel sad: beige tiles, yellowed laminate, and mystery grout that predates the internet. Peel‑and‑stick to the rescue.
Backsplash brilliance:
- Subway tiles: Classic white for a clean, bright backdrop that makes even last night’s leftovers look chic.
- Terrazzo‑look tiles: Flecks of color that hide splashes and instantly modernize older cabinets.
- Faux zellige: Slightly irregular, glossy “handmade” effect that screams bespoke without the price tag.
Use peel‑and‑stick tiles on clean, dry, smooth surfaces behind counters, coffee stations, or around (not inside) open shelves. Avoid direct, constant water exposure unless the product is rated for it—and even then, think “splash zone,” not “inside the shower.”
Countertop costume change:
Countertop films are like Instagram filters for your laminate. Popular choices: faux marble, black stone, or warm concrete. Look for thicker vinyl with a matte or satin finish to avoid a cheap, shiny look.
Smart application tips:
- Remove silicone caulk along the backsplash before installing film and recaulk after for a clean edge.
- Wrap the edges under the lip of the counter if possible so they’re less likely to lift.
- Use a hair dryer on low heat to gently warm corners and curves—then press firmly for a snug fit.
- Always use cutting boards and trivets; your “new stone counters” are still, at heart, vinyl with a dream.
3. Bathrooms: Spa Vibes Without Calling a Plumber
Your rental bathroom may be 90% beige and 10% existential crisis, but peel‑and‑stick can shift that ratio in your favor.
Where peel‑and‑stick works best in bathrooms:
- Outside the direct shower spray zone (think: above existing tile, vanity walls, or around mirrors).
- On flat cabinet fronts using wood‑grain or linen‑look vinyl for a custom vanity feel.
- On dated floor tiles, if you choose products specifically rated for floors and moisture.
Aim for light, reflective tones—faux stone, soft patterns, or subtle geometrics—to bounce light around and make the room feel bigger and fresher.
Moisture reality check: Always follow the manufacturer’s guidance. “Water‑resistant” is not the same as “submerge me daily and see what happens.”
4. Furniture Flips: Turning IKEA into “I Can’t Believe That’s IKEA”
Furniture flipping has collided with peel‑and‑stick vinyl, and the results are deeply satisfying. Instead of sending that scratched dresser to the curb, you can wrap it like a very stylish burrito.
Perfect candidates for a peel‑and‑stick makeover:
- IKEA classics with flat fronts (hello, MALM and KALLAX).
- Old nightstands and dressers with tired stains or chipped veneer.
- Basic bookcases that want to grow up and be “built‑ins” someday.
Popular finishes right now:
- Wood‑grain vinyl: Warm oak, fluted wood‑look, or light ash for a modern, Japandi feel.
- Stone‑look: Faux travertine or marble on tabletops and shelves.
- Matte solid colors: Deep olive, charcoal, or clay to fake a high‑end paint job.
How to wrap without rage‑quitting:
- Remove hardware and doors/drawers whenever possible.
- Clean surfaces thoroughly (dust and grease are the enemies of adhesion).
- Cut pieces with at least 1–2 cm extra on all sides so you can wrap edges neatly.
- Use a smoothing tool and work slowly; treat corners like gift wrapping—small diagonal cuts help avoid bulk.
- Finish with new handles or knobs; it’s the jewelry that sells the illusion.
The sustainability bonus? You’re upgrading what you already own instead of buying new, which makes both your wallet and the planet quietly high‑five you.
5. Stair Risers & Entryways: Small Surfaces, Big Drama
Stair risers and entry walls are the “plot twist” of your home—unexpected, photogenic, and oddly powerful for their size. That’s why they’re trending hard in social feeds right now.
Stair riser magic:
- Use patterned peel‑and‑stick strips on just the vertical risers (not the treads you step on).
- Try a repeating tile motif, playful stripes, or a gradient of coordinating colors.
- Seal edges carefully and keep patterns fairly subtle for stairs that feel styled, not dizzying.
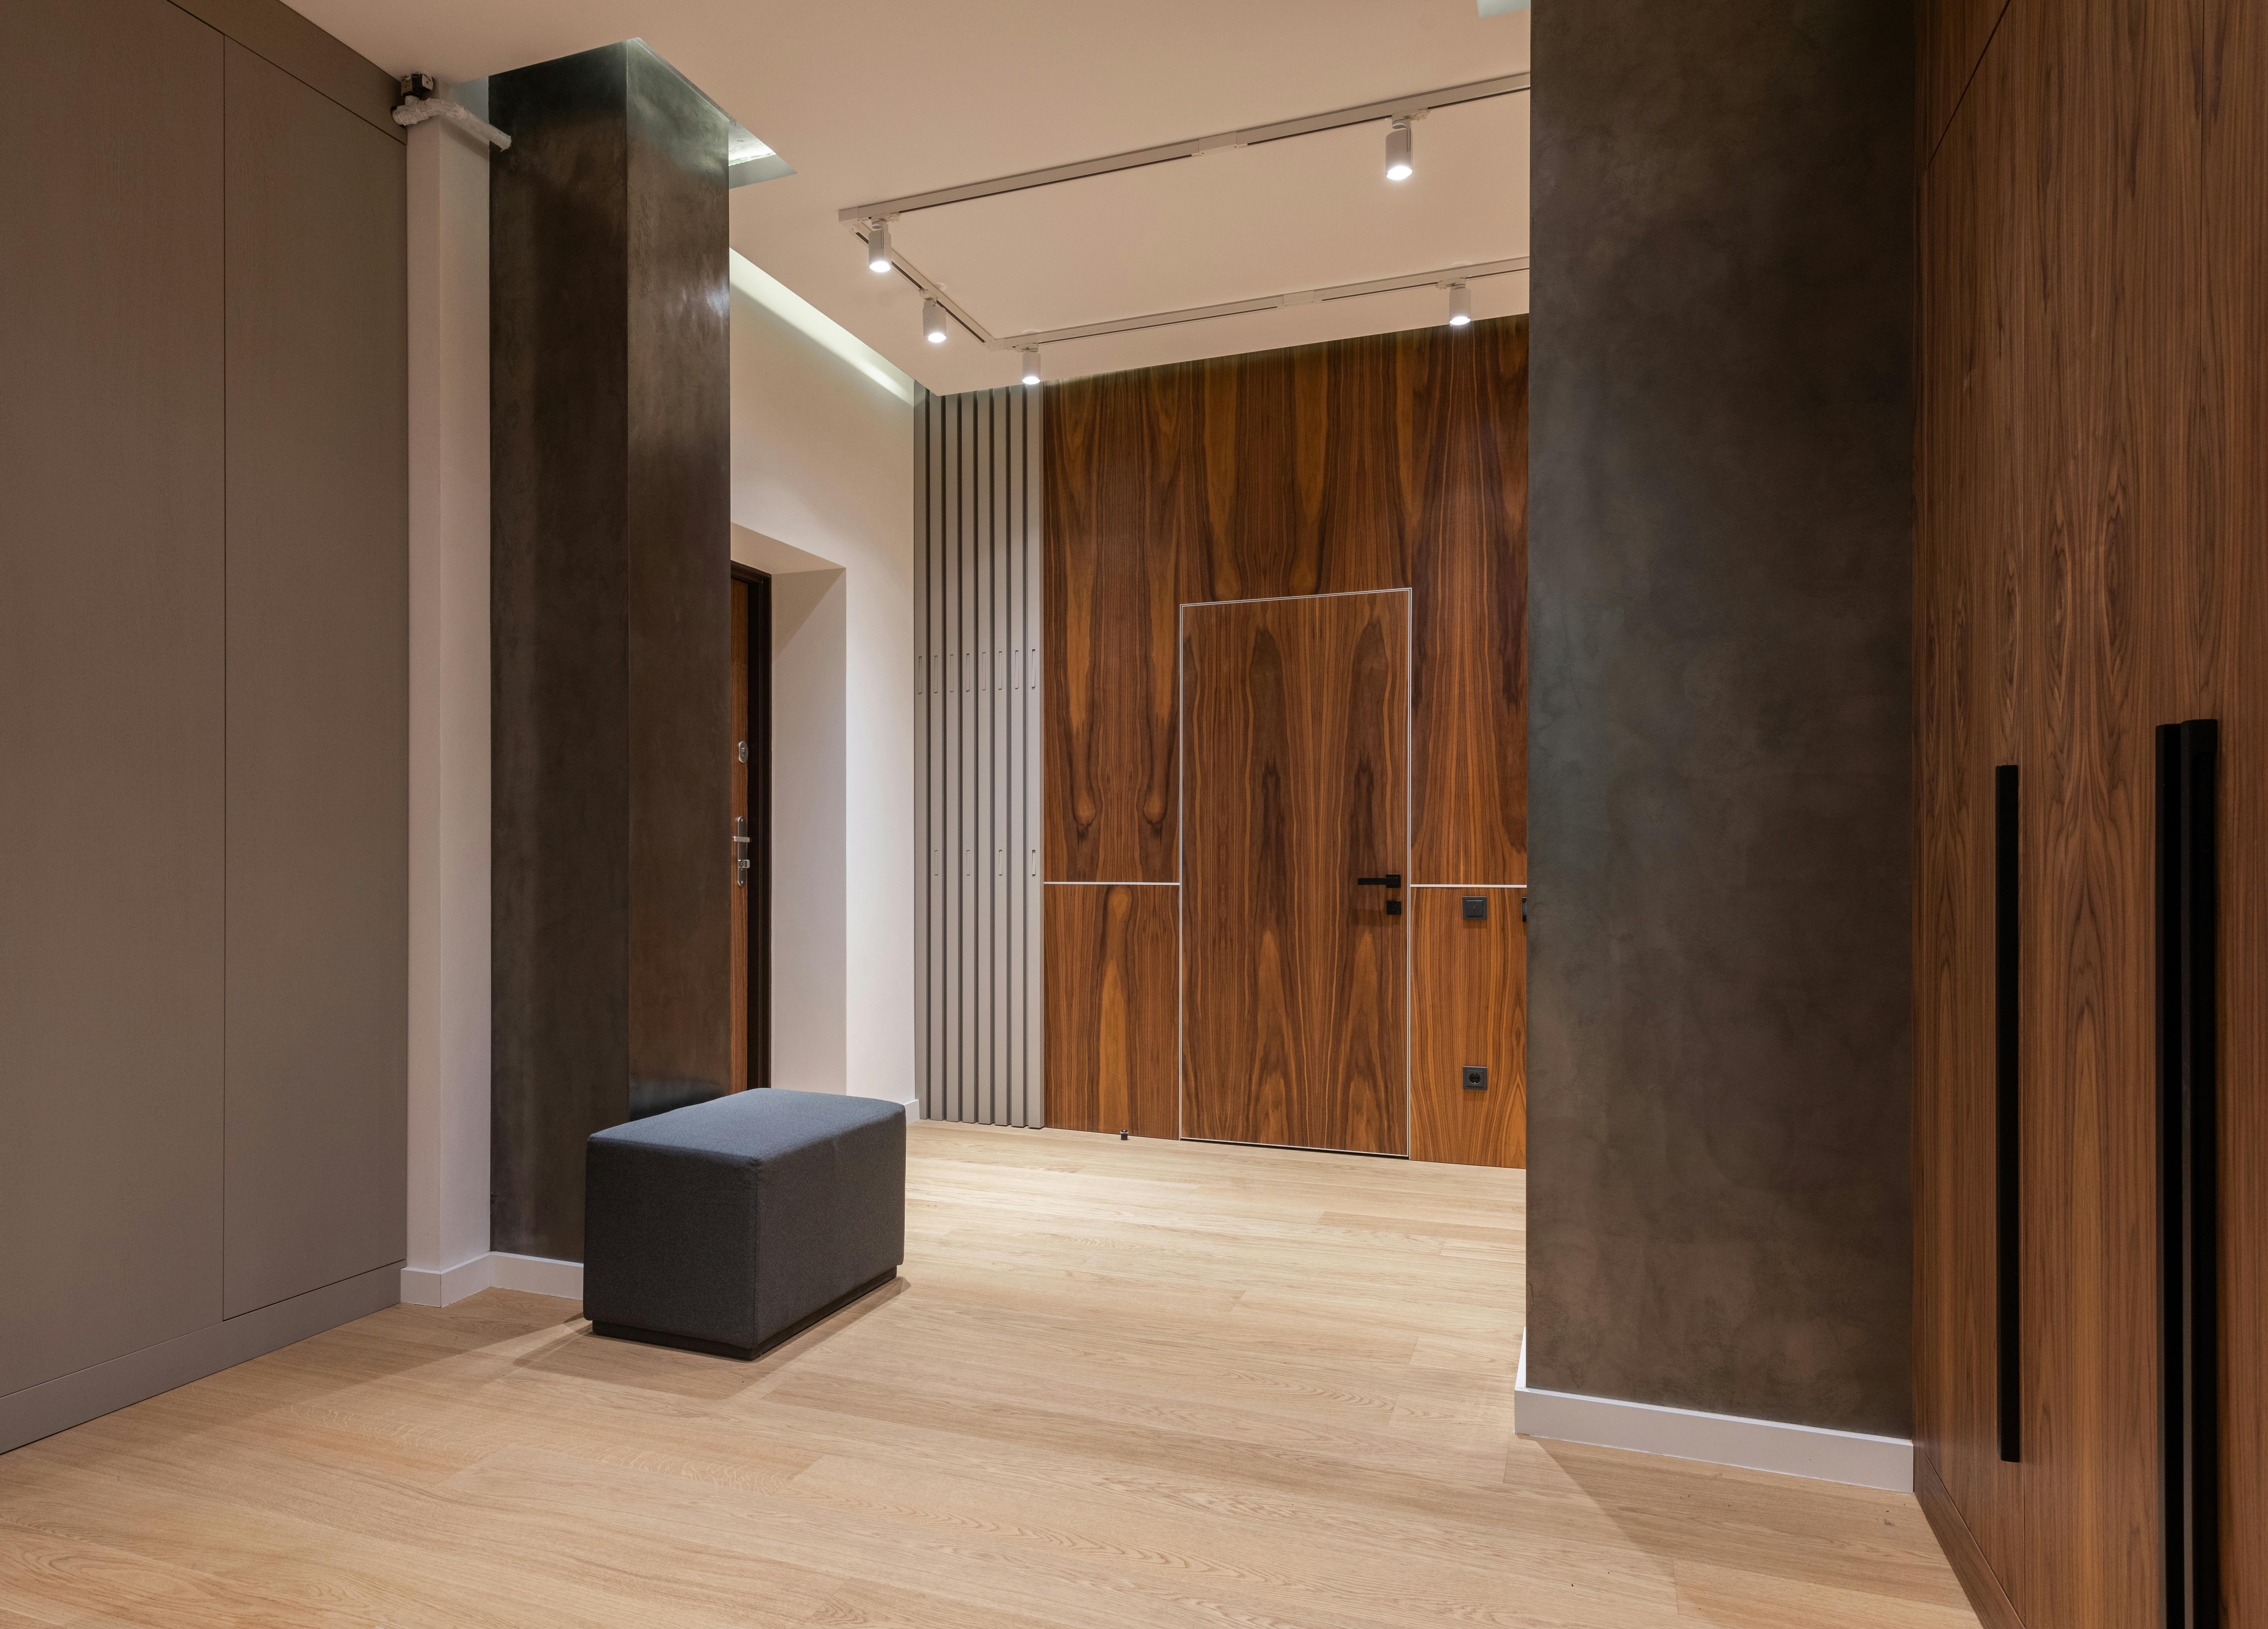
Entryway impact:
A single peel‑and‑stick accent behind a console table or coat rack can define the entire space. Think textural neutrals, micro‑florals, or narrow vertical stripes to visually “stretch” the wall.
These low‑square‑footage projects are ideal if you’re short on budget or scared of commitment. It’s like speed‑dating decor: minimal risk, maximum “wow” factor.
6. How to Choose Peel‑and‑Stick That Looks Expensive (Not Like a Giant Sticker)
All peel‑and‑stick is not created equal. Some looks luxe; some looks like your wall is cosplaying as a binder cover from 2007. Here’s how to land in the “chic” category:
- Check the finish: Matte or low‑sheen usually looks more convincing than super glossy, especially for stone or limewash effects.
- Order samples: Colors and textures read differently in real life; test in your actual lighting before committing.
- Read the fine print: Make sure the product is rated for the surface (walls, bathrooms, floors, etc.). No freestyling in the shower.
- Measure like you’re being graded: Add 10–15% extra for pattern matching and inevitable “oops” moments.
- Check removal instructions: Especially if you’re renting—some need heat to come off cleanly.
Also, stalk the reviews. If multiple people mention “came off in one clean sheet” or “looked surprisingly high‑end,” you’re on the right track. If they mention “took my wall with it,” back away slowly.
7. Common Peel‑and‑Stick Mistakes (and How to Dodge Them Gracefully)
Even the best DIY hero can have a peel‑and‑stick villain origin story. Let’s keep yours to a minimum:
- Skipping surface prep: Dust, grease, and texture are the holy trinity of peeling corners. Always clean and dry surfaces thoroughly; lightly sand if the wall is very glossy.
- Rushing corners and edges: These are the first places to fail. Take your time here, use extra pressure, and don’t be afraid of a hair dryer to help it mold.
- Misreading pattern repeat: Not aligning the pattern can make your wall look vaguely seasick. Check where the repeat lands before you cut each strip.
- Covering active damage: Don’t use peel‑and‑stick to hide serious moisture issues or crumbling walls; fix the problem first.
- Going too trendy on huge surfaces: Love the bold checkerboard florals? Maybe start with a small nook or stair risers instead of every wall in your open‑plan living room.
Remember: peel‑and‑stick is reversible, and that’s its superpower. If a pattern isn’t living up to the Pinterest fantasy, you can pivot without needing a demolition crew.
8. Your Weekend Peel‑and‑Stick Game Plan
Ready to join the peel‑and‑stick fan club? Here’s a simple weekend strategy that won’t end with you sleeping on a drop cloth.
- Pick one space. Feature wall, backsplash, dresser—just one. We’re decorating, not auditioning for a renovation reality show.
- Set a budget cap. Try a “$150 peel‑and‑stick challenge” for a kitchen or living room corner upgrade.
- Mock it up. Use painter’s tape to outline the area and visualize how much pattern you actually want.
- Gather tools. Utility knife, smoothing tool, tape measure, level, pencil, step stool, and snacks (non‑negotiable).
- Film a before shot. You will absolutely want this when you see the after—plus it’s perfect for your own TikTok or Reels moment.
- Apply slowly, trim cleanly. Don’t rush; precision beats speed every time.
- Style the space. Swap in a few accessories you already own—pillows, art, plants—to complement the new look.
By Sunday night, you’ll have a “did we hire someone?” level transformation and an extremely smug cup of tea.
Final Peel: Your Home, But Make It Reversible
Peel‑and‑stick is the decor equivalent of a great blazer over sweatpants: low effort, high impact, and nobody has to know what’s underneath. Whether you’re renting, renovating slowly, or just allergic to permanent decisions, these products let you experiment boldly and back out gracefully.
Start small, pick finishes that feel good now but won’t age out by next Tuesday, and remember—the joy of peel‑and‑stick is that your home can keep evolving with you. When your style changes, you just… peel and repeat.
Now go forth and stick things to other things—responsibly, stylishly, and with full confidence that your security deposit is (probably) safe.
Image suggestion 1 (place immediately after the paragraph: “The internet’s favorite move? A single accent wall behind the sofa or bed. It frames the room, photographs beautifully, and only uses a few rolls—so you can splurge on a higher‑end pattern.”)
Image description: A realistic photo of a living room with a single peel‑and‑stick wallpaper accent wall behind a sofa. The wall features a subtle Japandi‑style textured pattern (light taupe or beige, linen‑like look). The other walls are plain white or off‑white. A neutral sofa is placed against the feature wall, with a simple rug and coffee table in front. Lighting is bright and natural. No visible people, no abstract art on the wall—just the patterned wallpaper acting as the main visual focus.
Supports sentence/keyword: “The internet’s favorite move? A single accent wall behind the sofa or bed.”
SEO‑optimized alt text: “Living room with Japandi‑style peel‑and‑stick wallpaper accent wall behind a neutral sofa.”
Example image URL: https://images.pexels.com/photos/6588585/pexels-photo-6588585.jpeg
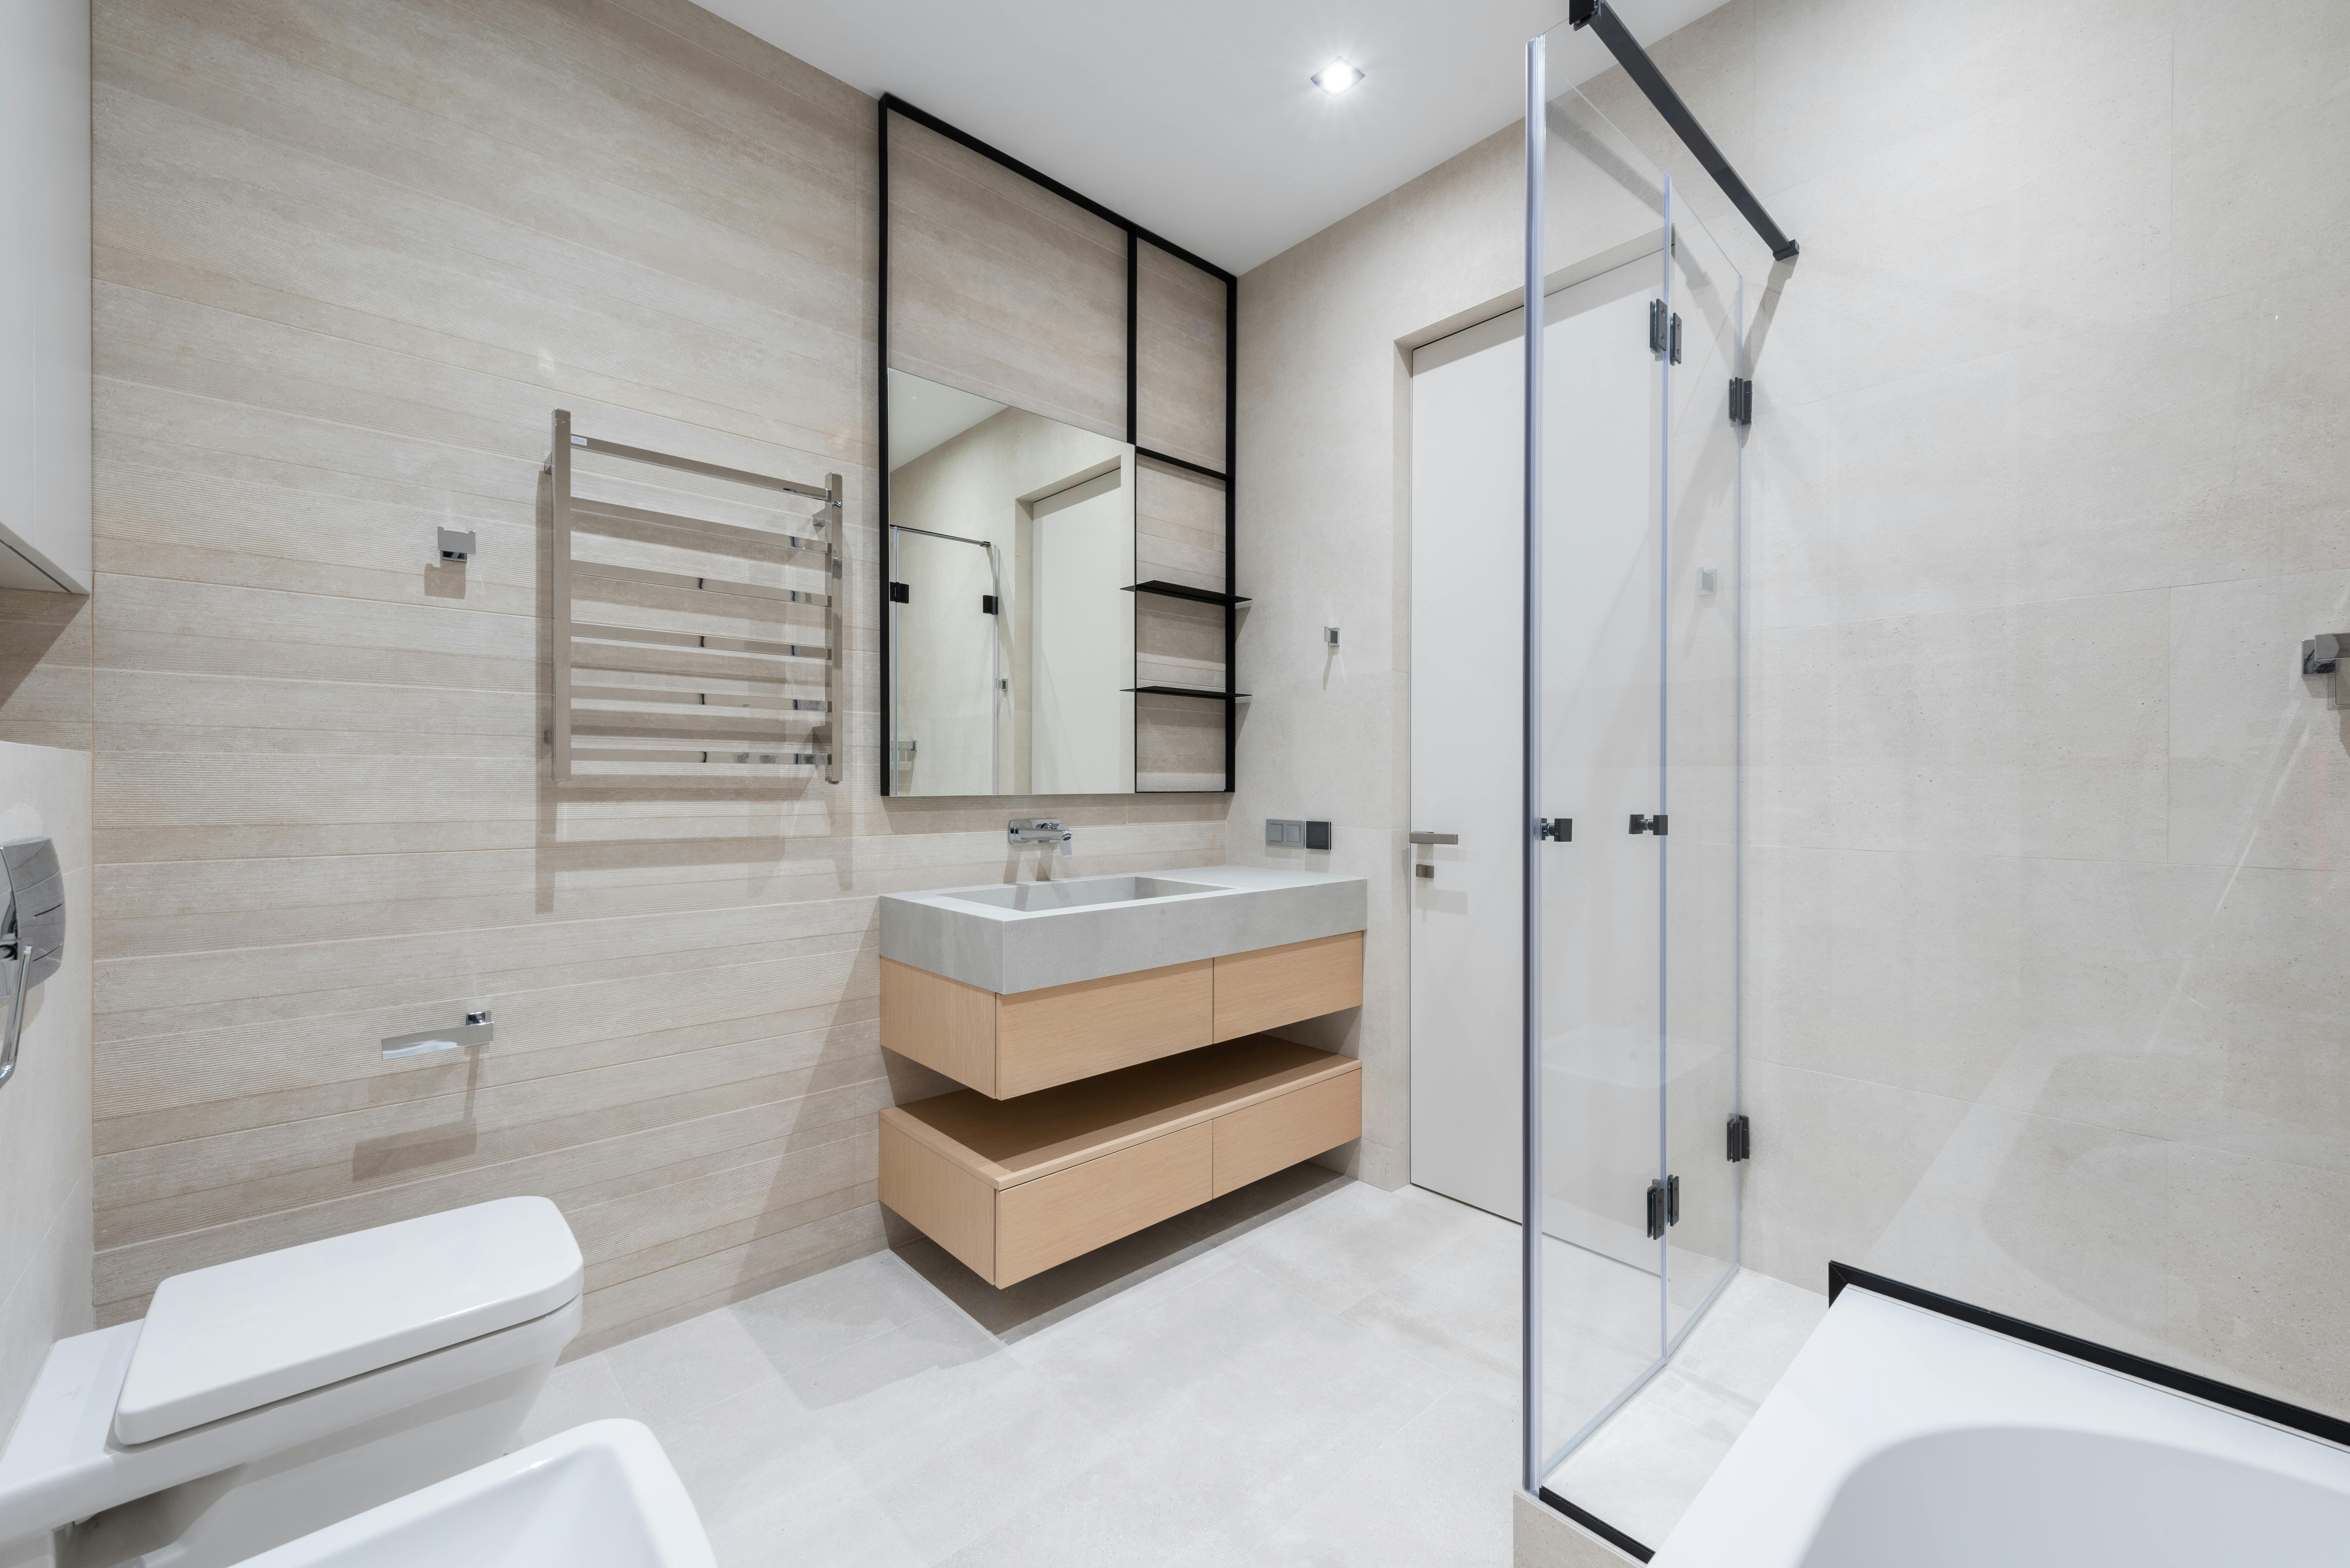
Image suggestion 2 (place after the bullet list under “Backsplash brilliance:” in the kitchen section).
Image description: A close, realistic view of a small rental kitchen featuring a peel‑and‑stick subway tile backsplash in white behind a countertop. The countertop is covered with a faux‑marble peel‑and‑stick film. There are a few practical kitchen items like a kettle or cutting board, but no people visible. Cabinets are simple and neutral, making the backsplash and countertop film the clear focal points. Lighting should make the tiles and faux marble details clearly visible.
Supports sentence/keyword: “Before‑and‑after of a dated rental kitchen using peel‑and‑stick subway tiles, a faux‑marble countertop film, and new hardware.”
SEO‑optimized alt text: “Rental kitchen with white peel‑and‑stick subway tile backsplash and faux marble countertop film.”
Example image URL: https://images.pexels.com/photos/6585748/pexels-photo-6585748.jpeg