
Gut-Glow Recipes: A Cozy Kimchi Fried Rice That Loves Your Microbiome
Gut-Healthy Kimchi Fried Rice (Probiotic & Prebiotic Comfort Bowl)
Fermented flavor, cozy carbs, and microbiome-friendly fiber in one pan
Gut health and the microbiome have become a full-on obsession—from bloating TikToks to kombucha taste tests—but one of the most joyful ways to join the trend is simply to cook with fermented foods at home. This gut-friendly kimchi fried rice brings together probiotic-rich kimchi, fiber-filled brown rice, and colorful veggies for a weeknight bowl that’s as good for your taste buds as it is for your microbial roommates.
Inspired by Korean kimchi bokkeumbap, this version leans into today’s microbiome focus: we pair live-culture kimchi with prebiotic alliums (onion, garlic, green onion) and optional extras like edamame and sesame seeds for texture and plant diversity. The result is a deeply savory, gently spicy, slightly tangy fried rice with chewy grains, crisp edges, and pockets of juicy kimchi—perfect for anyone who wants a realistic, delicious way to support gut health without chasing every new supplement trend.
Recipe Snapshot
Why Gut-Healthy, Fermented Recipes Are Trending
Over the last few years, gut health has leapt from research labs to home kitchens. Social feeds are crowded with fermented foods, probiotic drinks, and “what I eat for my microbiome” videos. Behind the buzz is a real shift: instead of counting only calories or macros, more people are asking, “How does this meal feed my gut bacteria?”
Fermented foods like kimchi, sauerkraut, kefir, yogurt, kombucha, miso, and tempeh are now everyday “superfoods” in this space. They can contain live cultures—beneficial bacteria that, when eaten regularly as part of a varied diet, may help support a diverse and resilient microbiome. At the same time, prebiotic fibers from oats, beans, lentils, onions, garlic, bananas, and more act as food for those microbes.
Think of this recipe as a small, delicious nudge toward a more microbiome-friendly pattern of eating: more plants, more fermented foods, fewer ultra-processed extras, and no fear of flavor.
This kimchi fried rice folds both sides of the gut conversation into one skillet: probiotics from the kimchi (if it’s unpasteurized and added gently) and prebiotic fibers from the alliums and optional add-ins like edamame and extra veggies. It’s a cozy, realistic way to join the gut-health trend without falling for every overhyped “bloat fix.”
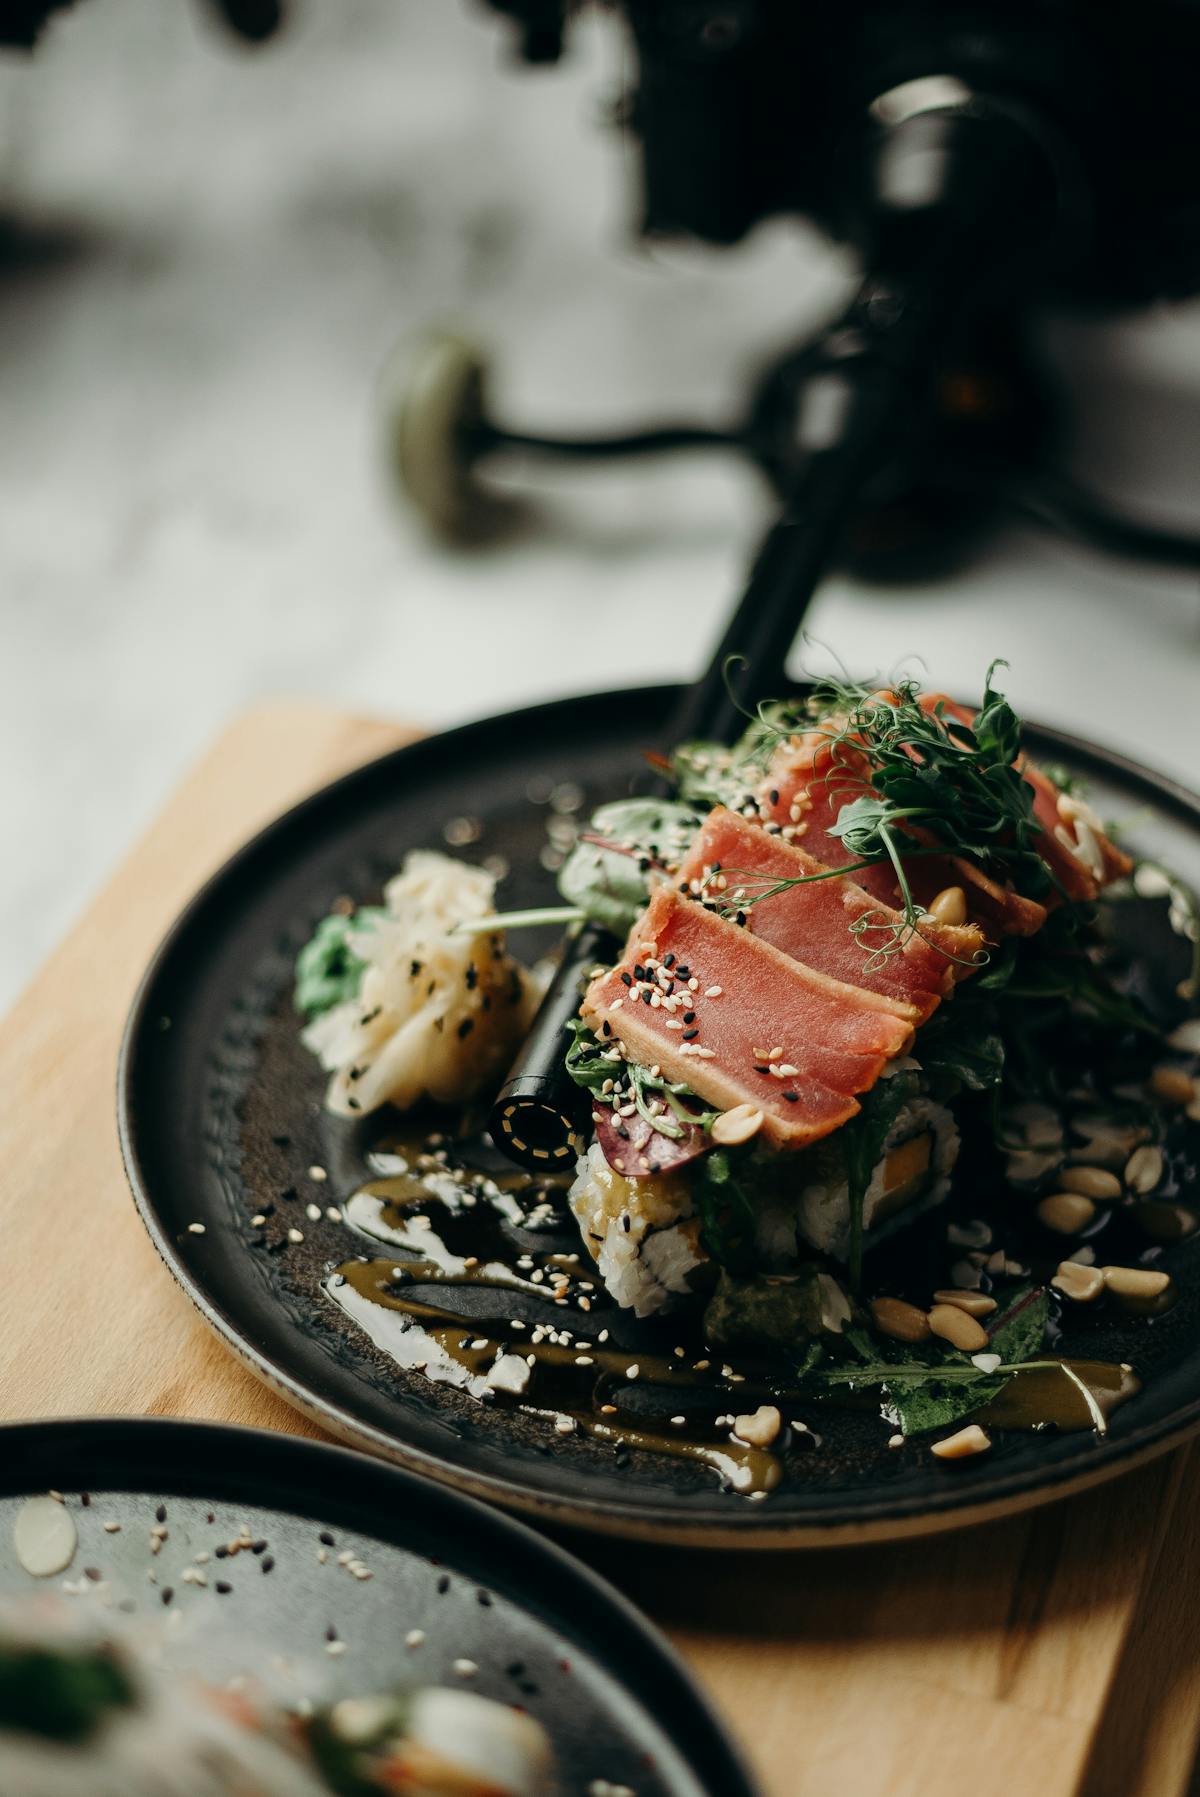
Visual Guide: Gut-Healthy Kimchi Fried Rice


Ingredients for Gut-Healthy Kimchi Fried Rice
This recipe is flexible—use what you have and what your gut tolerates well. The core idea is a base of whole grains, a generous amount of kimchi, and a few colorful, fiber-rich vegetables.
For the fried rice
- 2 cups (about 320 g) cooked and chilled brown rice (day-old if possible)
- 1 cup (about 150 g) chopped kimchi, plus 2–3 tbsp of its juice/brine
- 1 tbsp neutral oil (avocado, sunflower, or light olive oil)
- 1 tsp toasted sesame oil (for flavor)
- 1 small yellow onion, finely diced
- 2 cloves garlic, minced
- 1 small carrot, finely diced or julienned
- 1/2 cup frozen edamame or peas, thawed (optional but gut-friendly)
- 2–3 tbsp low-sodium tamari or soy sauce (to taste)
- 1–2 tsp gochujang (Korean chili paste) or chili sauce (optional, for heat)
- 1 tsp rice vinegar or apple cider vinegar (optional, for brightness)
- Freshly ground black pepper, to taste
For serving & garnish
- 2 eggs, fried or soft-boiled (omit or use tofu for vegan)
- 2–3 stalks green onion, thinly sliced (green and pale green parts)
- 1–2 tbsp toasted sesame seeds
- Extra chopped kimchi, to taste
- Lime or lemon wedges, optional
Equipment You’ll Need
- Large non-stick skillet or wok
- Cutting board and sharp knife
- Spatula or wooden spoon (heat-safe)
- Measuring spoons and cups
- Small frying pan for eggs (if using)
Step-by-Step Instructions
The technique is simple and forgiving. The main trick is to use cold rice so it fries instead of turning mushy, and to add some kimchi later in the process if you want to preserve more live cultures.
- Prepare your ingredients.
Finely dice the onion and carrot, mince the garlic, and chop the kimchi into small bite-size pieces. Slice the green onions and set the green tops aside for garnish. Break up any clumps in the cold rice with your fingers or a fork so the grains are loose.
- Heat the pan.
Place a large skillet or wok over medium-high heat. Add the neutral oil and swirl to coat. When the oil is shimmering but not smoking, you’re ready to cook.
- Sauté aromatics and veggies.
Add diced onion and carrot to the pan with a pinch of salt. Cook, stirring frequently, for 3–4 minutes until the onion is translucent and the carrot is slightly softened. Add the minced garlic and the pale parts of the green onion and cook for 30–60 seconds more, just until fragrant.
- Stir-fry the rice.
Add the chilled rice to the pan. Spread it out with your spatula to cover the surface in an even layer. Let it sit undisturbed for about 1 minute to develop a bit of crispness, then stir and repeat once or twice. This gives you that satisfying, slightly chewy, toasty texture.
- Add kimchi and seasoning.
Stir in about 2/3 of the chopped kimchi and any firm bits (reserve the rest and some of the brine for later if you’d like more probiotics). Add tamari/soy sauce, gochujang if using, and a splash of kimchi juice for extra flavor. Toss everything well so the rice takes on an even reddish-orange color.
- Add edamame or peas.
Stir in edamame or peas and cook for another 2–3 minutes, until heated through and any excess moisture has evaporated. Drizzle in the toasted sesame oil and a teaspoon of rice vinegar if you like a little brightness. Taste and adjust with more soy sauce or pepper as needed.
- Finish with fresh kimchi and green onion.
Turn off the heat. Fold in the remaining chopped kimchi and some of the green onion tops. Adding a portion of kimchi at the end helps preserve more of its crunch, bright flavor, and potentially more live cultures (depending on your kimchi).
- Cook the eggs (optional but lovely).
In a separate small pan, fry eggs in a bit of oil over medium heat until the whites are set but the yolks are still runny, or cook to your preferred doneness. Alternatively, soft-boil eggs (about 6–7 minutes in simmering water) and peel.
- Serve and garnish.
Divide the kimchi fried rice between bowls. Top each bowl with an egg, a generous sprinkle of sesame seeds, remaining green onion, and extra kimchi. Add a squeeze of lime or lemon if you enjoy a little citrus lift.
Gut Health Notes: Probiotics, Prebiotics & Bloating
Gut health content can be overwhelming, so here are a few grounded, practical pointers connected to this recipe. This isn’t medical advice—if you have ongoing digestive issues, it’s important to check in with a qualified health professional.
- Go slow with fermented foods. If you’re new to kimchi or other fermented foods, start with a smaller portion (about 2–3 tablespoons) and see how your body responds. Jumping from zero to large servings can sometimes increase bloating temporarily.
- Prebiotic fibers can be gassy at first. Ingredients like onion, garlic, and certain beans are classic prebiotics—but they can trigger symptoms for some people, especially with IBS or on low-FODMAP diets. Adjust the amounts or swap ingredients based on your tolerance.
- Cooking vs. live cultures. High heat can reduce live bacteria in fermented foods, but that doesn’t erase their value; the fermentation process still leaves behind beneficial acids and complex flavors. If you want to keep more live cultures, simply stir in some extra kimchi at the end, once the pan is off the heat.
- Big picture matters more than one meal. No single recipe will “fix” your microbiome. Experts emphasize patterns: a wide variety of plant foods across the week, some fermented foods if you tolerate them, and a gentle approach to change.
Substitutions & Dietary Adaptations
Make this bowl your own and work with your personal gut tolerance. Here are some easy ways to adapt it.
- Vegan: Omit the eggs or replace them with pan-fried tofu cubes or tempeh. A drizzle of tahini at the end is also lovely.
- Gluten-free: Use certified gluten-free tamari instead of soy sauce and check that your gochujang (if using) is gluten-free, since some brands contain wheat or barley.
- Low-FODMAP-inspired adjustments: Swap onion and garlic for the green tops of scallions or chives, and use a garlic-infused oil instead of fresh garlic. Choose a kimchi labeled low-FODMAP if needed, or use a smaller amount and monitor symptoms.
- Rice options: Brown rice adds more fiber and a chewy texture, but you can use white rice or a mix. Just be sure it’s cooled thoroughly before frying.
- Extra veggies: Bell peppers, zucchini, shredded cabbage, spinach, or mushrooms all work beautifully and add even more plant diversity for your microbiome.
Storage & Reheating
- Fridge: Store leftover kimchi fried rice in an airtight container in the refrigerator for up to 3 days. Keep any fried eggs separate and add fresh when serving if possible.
- Freezer: For best texture, this dish is enjoyed fresh or from the fridge, but you can freeze portions (without egg) for up to 1 month. Thaw overnight in the fridge before reheating.
- Reheating on the stovetop: Warm a non-stick pan over medium heat, add a teaspoon of water or oil, and stir-fry the rice until heated through. Add a spoonful of fresh kimchi at the end if you want more crunch and brightness.
- Microwave: Place in a microwave-safe bowl, sprinkle with a teaspoon of water to prevent drying, cover loosely, and heat in 45–60 second bursts, stirring in between, until hot.
Serving Ideas & Complementary Dishes
Turn your gut-friendly kimchi fried rice into a full, balanced meal or a fun “microbiome night” spread.
- Pair with a simple miso soup: Miso adds another fermented element; just be gentle with heating to preserve more of its character.
- Add a side of cucumber or radish pickles: Lightly fermented or vinegar-pickled veggies bring crunch and contrast.
- Serve with a leafy salad: Toss mixed greens with olive oil, lemon juice, and toasted seeds for extra fiber and healthy fats.
- Gut-friendly drink pairing: If you enjoy kombucha or a lightly sparkling water with citrus, they can be a refreshing sidekick—just be mindful if carbonation worsens your bloating.
However you serve it, this dish is a reminder that the “microbiome obsession” doesn’t have to be rigid or joyless. A warm bowl, a hit of fermented tang, and a rainbow of plants on your plate can be both comforting and quietly supportive of that inner ecosystem you’re learning to care for.
Recipe Metadata (For Search & Sharing)
This structured data helps search engines understand and feature the recipe, making it easier for home cooks looking for realistic gut-healthy meals to discover.
