
From Basic to Bougie: Thrift-Flips & IKEA Hacks That Make Your Furniture Look Rich on a Ramen Budget
Your Furniture Glow-Up Era Has Arrived
Your bank account says “flat-pack,” your Pinterest board says “Italian villa.” Welcome to the glorious middle ground: thrift-flip and IKEA hack furniture, where your sad $20 dresser gets a main-character arc and your rental gets mistaken for a design studio.
Across TikTok, YouTube, and Instagram, #furnitureflip and #ikeahack creators are turning battered thrift finds and basic IKEA pieces into fluted sideboards, faux built-ins, and dreamy headboards—using nothing fancier than paint, new hardware, and a few beginner-friendly tools. It’s budget-friendly, planet-friendly, and frankly, dangerously addictive.
Today we’ll walk through the hottest 2026 furniture DIY trends, how to pull them off without a workshop or design degree, and the exact steps to take so your “flip” doesn’t turn into “why does this look like a school project from 2004?”
Why Thrift-Flips & IKEA Hacks Are Having Their Main Character Moment
This trend isn’t just about cute before-and-afters (though we love those). It’s powered by three big things: cost, sustainability, and pure, unfiltered customization.
- Cost savings: With furniture prices climbing and lead times stretching into “maybe your grandchildren will see this sofa,” flipping a $30 dresser into a designer dupe for under $150 is extremely appealing.
- Sustainability: Older solid-wood furniture often outlives the flat-pack stuff. Reviving it keeps it out of landfills and gives you eco-bragging rights.
- Customization: Instead of settling for mass-produced beige, you can match your exact style—minimalist, boho, farmhouse, Scandinavian, or chaotic-maximalist-gremlin—using the same base pieces.
Add in the side-hustle potential (reselling flipped pieces) and the internet’s love of 30-second transformation videos, and you have one of the hottest home content categories of 2026.
Step 1: How to Pick a Piece That Wants to Be Flipped (Not Fought)
Not every piece is destined for DIY greatness. Some are just… tired. Here’s how to spot the ones worth your time.
Look for good bones, not good looks
You’re dating for personality here, not aesthetics. Focus on:
- Structure: Check that it’s sturdy, not wobbly. Drawers should slide (even badly) and doors should hang roughly straight.
- Material: Solid wood or quality plywood is gold. Thin, hollow particleboard is fine for IKEA hacks, but harder for heavy sanding or major surgery.
- Shape: Clean lines are easier to modernize. Ornate curves can work for romantic or vintage styles, but they’re less flexible.
Smart hunting spots
Try:
- Facebook Marketplace & local buy/sell groups
- Thrift stores, charity shops, and architectural salvage yards
- Curbside “free” finds (check for damage and pests—especially in upholstered items)
For IKEA hacks, look for sturdy basics: BILLY bookcases, BESTÅ units, MALM dressers, LACK tables, and KALLAX cubes are current flip favorites because they’re simple, boxy, and easy to customize.
Step 2: Plan the Makeover Like a Tiny Interior Designer
Before you touch a paintbrush, decide what role this piece plays in your home’s drama. Is it the quiet side character or the bold lead?
Match the flip to your decor style
Here’s how creators are tailoring the same techniques to different decor vibes:
- Minimalist / Scandinavian: Smooth fronts, hidden hardware, matte white, oatmeal, or warm beige, with light wood accents.
- Modern farmhouse: Soft whites, greige, black hardware, and maybe an “X” detail on cabinet doors or a wood top.
- Boho: Cane or rattan inserts, warm wood, terracotta, olive, or mustard paint, chunky knobs.
- Contemporary / high-end: Fluted or slatted fronts, rich dark tones, integrated lighting, minimal hardware.
Create a quick mood board (no art degree required)
Screenshot 3–5 inspiration photos from #furnitureflip or #ikeahack and ask:
- What color family keeps showing up?
- Are fronts flat, fluted, slatted, or paneled?
- Do I actually have the tools to do this, or does that creator clearly own a full lumberyard?
Aim for a design you can realistically execute with basic tools and a weekend, not a three-month saga involving custom millwork and tears.
Step 3: Trending DIY Techniques That Make Pieces Look Expensive
These are the internet’s current favorite ways to turn “meh” into “where did you buy that?”
1. Fluted & slatted fronts with trim or pole wrap
Fluted and slatted textures are everywhere right now, especially on media consoles and sideboards. The good news: they’re easier to fake than they look.
- Use pole wrap (pre-grooved wood wrap meant for columns) cut to fit drawer or door fronts.
- Or attach thin half-round trim or narrow wood strips side by side for a slatted effect.
- Sand lightly, then paint or stain in warm wood, taupe, or deep charcoal for a modern vibe.
This works brilliantly on IKEA BESTÅ doors or a plain thrifted dresser front.
2. Hardware that does the heavy lifting
Swapping knobs is the skincare routine of furniture: low effort, surprisingly dramatic.
- Try brushed brass or matte black pulls for instant “designer catalog” energy.
- For boho or coastal, use wood, leather, or cane-wrapped knobs.
- Oversized long pulls on tall cabinets make them feel custom-built.
When in doubt, keep hardware simple and let the texture or color of the piece be the star.
3. Fresh legs: literally
Pre-made furniture legs are a game changer for dated profiles. Many creators are:
- Raising low IKEA pieces on tapered mid-century style legs.
- Swapping chunky bun feet on thrifted dressers for slim, modern bases.
- Using metal hairpin legs on coffee tables for an airy look.
Look for legs that screw into universal mounting plates—no advanced carpentry required.
4. Paint & stain: the wardrobe change
In 2026, popular finishes lean warm and textured:
- Warm whites, mushroom, and greige instead of cold gray.
- Rich wood stains (walnut, oak, and “barely there” whitewash).
- Moody colors like deep green or inky blue for statement pieces.
Lightly sand glossy surfaces, use a bonding primer, and apply two thin coats of paint instead of one thick, gloopy one. Your future self will thank you.
5. Peel-and-stick upgrades
For renters or tool-phobes, peel-and-stick materials are having a massive moment:
- Cane webbing lookalikes for cabinet doors (perfect for boho consoles or nightstands).
- Faux stone vinyl on tabletops for a marble or travertine look without the weight or cost.
- Wood-look contact paper inside drawers and on shelves for a finished feel.
Just remember: smooth, clean, dust-free surfaces are non-negotiable, or your peel-and-stick will “peel-and-leave” in about a week.
Flip Ideas by Room: Where to Start for Maximum Wow
Not sure which piece to tackle first? Start where you’ll see the glow-up every day.
Living room: Media consoles, coffee tables & “built-ins”
Media consoles are the current MVPs of #DIYfurniture content. Some popular ideas:
- Combine IKEA BESTÅ cabinets with a wood top and fluted doors for a sleek, low-slung TV unit.
- Turn a boring thrifted sideboard into a modern credenza with new legs, pole wrap fronts, and brass pulls.
- Fake “built-ins” by lining up BILLY bookcases, adding a top trim piece, and painting them the same color as your wall.
Coffee tables are also easy wins: sand, stain, and new legs can completely change the vibe in one afternoon.
Bedroom: Nightstands, dressers & headboards
Bedrooms love a good flip because the furniture is often simple and boxy—ideal for beginners.
- Nightstands: Paint in a warm neutral, add fluted drawer fronts, and swap knobs for something sculptural.
- Dressers: Sand the top and stain it wood-tone, paint the base, and add long bar pulls for a boutique-hotel look.
- Headboards: Use a basic thrifted frame and add DIY padded panels or vertical wood slats to create a custom statement wall behind the bed.
Since headboards sit at eye level, they’re a perfect place to try trending textures, like narrow wood slats painted the same color as your wall for a subtle, architectural feel.
Entryway: Small space, big impact
Your entryway is your home’s handshake. A flipped console or shoe cabinet can set the tone:
- Hack an IKEA shoe cabinet with cane panels and leather pulls for a slim, airy statement.
- Turn a narrow thrifted table into a modern console with a new paint color, stone-look top, and slender legs.
Step 4: The Practical Stuff People Forget (Until Their Drawers Stick)
A pretty flip that doesn’t function is just… art. Lovely, but annoying. Keep these details in mind.
Prep is 80% of the work (sorry)
We all want to skip straight to the “after” shot, but:
- Clean everything with a degreaser—thrifted pieces are often secretly sticky.
- Lightly sand glossy surfaces so primer and paint actually stick.
- Remove drawers, doors, and hardware before painting for cleaner lines.
It’s not glamorous, but it’s what separates “flipped” from “flopped.”
Respect the mechanics
When adding trim or pole wrap, avoid:
- Making drawers too thick so they don’t slide.
- Blocking hinge swing on cabinet doors.
- Covering ventilation gaps on media units (your electronics will not appreciate the sauna experience).
Seal the deal
For high-touch surfaces (tabletops, dresser tops, nightstands), protect your finish:
- Use a clear topcoat: matte or satin for modern, gloss for a more traditional look.
- Let paint cure fully before styling—moving lamps and decor too soon can leave permanent marks.
Step 5: Budget, Time & Side-Hustle Potential
One reason this trend keeps climbing: it’s realistic for normal people with normal schedules and normal-sized wallets.
Typical costs
For a single dresser or media console flip, expect roughly:
- $20–$80 for the piece (thrift or secondhand)
- $20–$60 for paint, primer, and topcoat
- $20–$80 for trim, pole wrap, or new legs
- $10–$40 for upgraded hardware
Many creators share cost breakdowns to prove that a $70 dresser can become a piece that looks like it rolled out of a $800 catalog.
Time expectations
For beginners:
- Simple paint + hardware swap: one afternoon.
- Fluted front + new legs + paint: one weekend.
- Full built-in style IKEA hack: a couple of weekends, plus snacks and patience.
Thinking of flipping for profit?
If flipping becomes your new love language, many people use:
- Facebook Marketplace, OfferUp, or local classifieds to resell.
- Clean, styled photos and simple staging to boost perceived value.
- Neutral colors and modern hardware to appeal to the widest audience.
Start by flipping one or two pieces for your own home to get your process down, then try listing a finished piece to test demand in your area.
Your Home, But Make It Main Character
Thrift-flip and IKEA hack projects are more than a trend—they’re a way to build a home that actually feels like you, without waiting six months for shipping or taking out a second mortgage for a sideboard.
Start small: a nightstand, a coffee table, or that slightly tragic dresser you already own. Give it new legs, a fresh color, and a hardware upgrade. Soon you’ll be side-eyeing every flat, unfluted surface in your home and thinking, “You could be hotter.”
And when someone inevitably asks, “Where did you get that?”, you get to smile and say, “Oh, this old thing? I made it.”
Suggested Images (for Editor Use)
Below are strictly relevant, royalty-free image suggestions that visually reinforce key concepts in the blog. Each image directly supports specific sections and keywords.
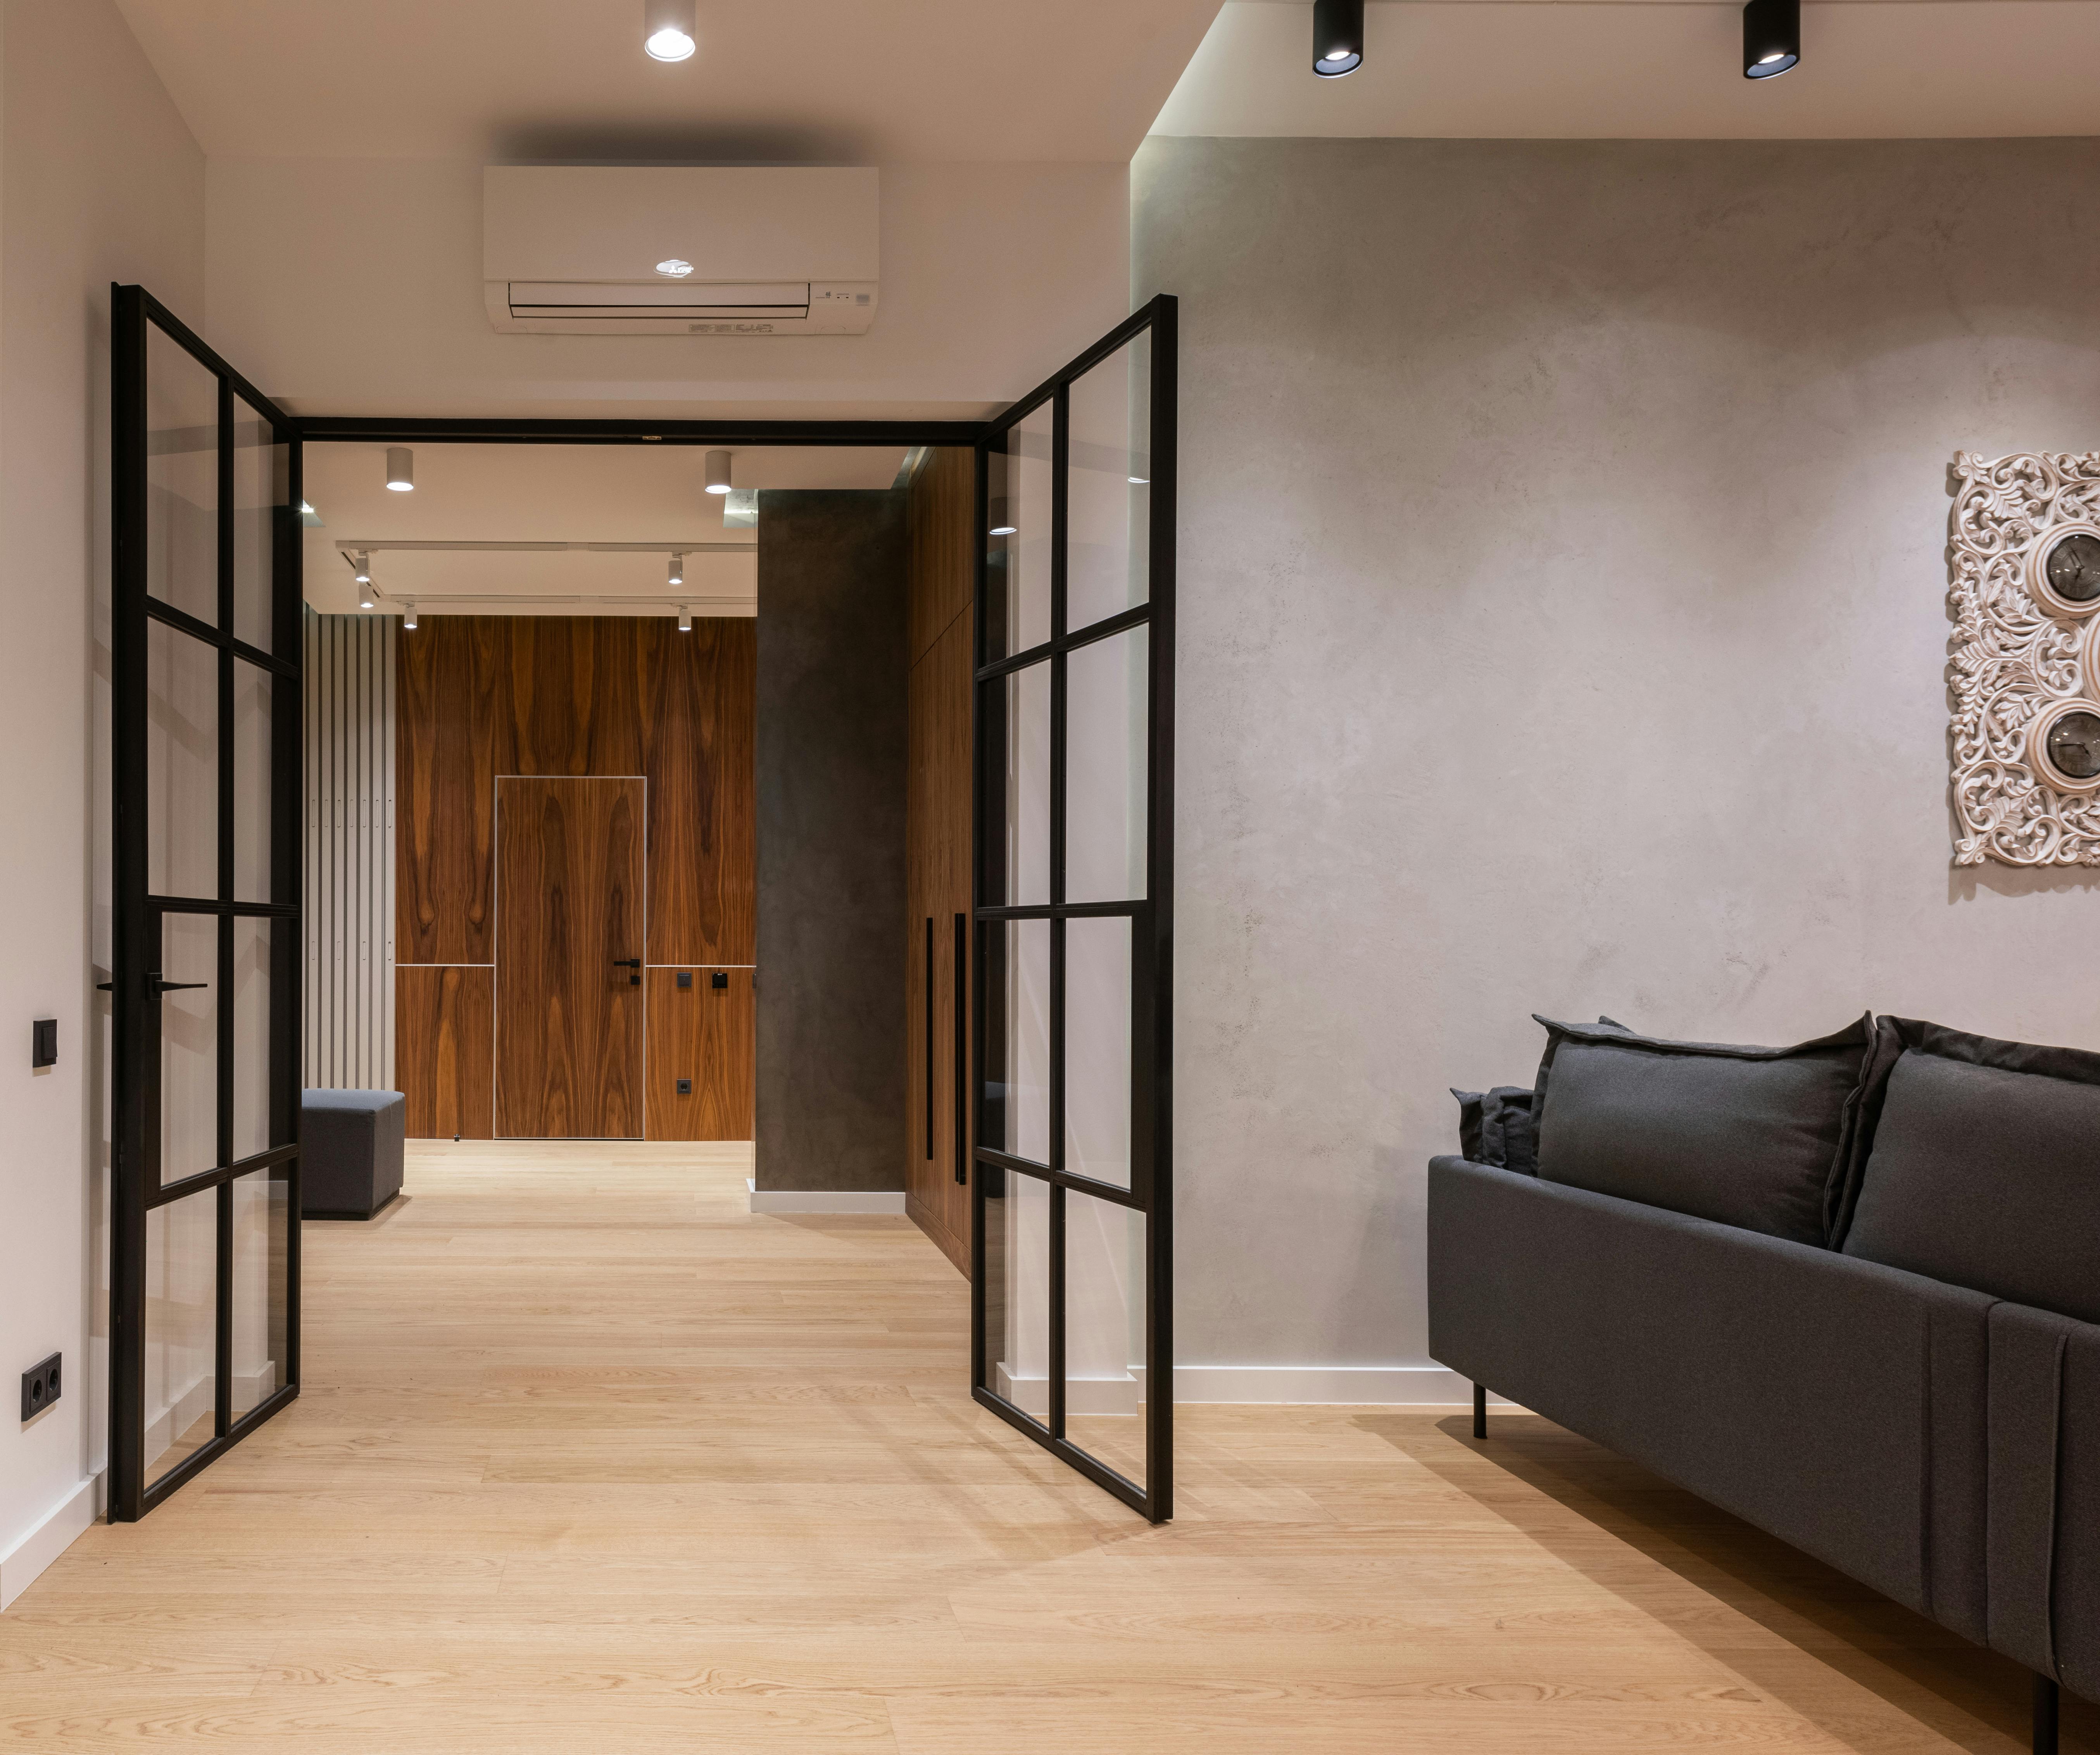
Image 1: Fluted Front Media Console Flip
Placement location: After the paragraph in “Step 3: Trending DIY Techniques That Make Pieces Look Expensive” under the subheading “1. Fluted & slatted fronts with trim or pole wrap,” right after the sentence: This works brilliantly on IKEA BESTÅ doors or a plain thrifted dresser front.
Image description: A realistic, well-lit photo of a living room media console that has clearly been DIY-upgraded. The console should be low and rectangular, based on simple boxy cabinets (similar in style to IKEA BESTÅ). The door fronts should feature fluted or slatted wood texture created with trim or pole wrap. The console is painted or stained in a warm wood or neutral tone, with simple modern hardware (matte black or brass pulls). A TV sits on top or is wall-mounted above, with a few minimal decor items (like a plant pot and a small stack of books) on the console. The room styling should be modern and uncluttered, emphasizing the furniture flip, not the decor. No people in the image.
Supported sentence/keyword: “This works brilliantly on IKEA BESTÅ doors or a plain thrifted dresser front.”
SEO-optimized alt text: “DIY fluted front media console created from basic cabinet unit using pole wrap and new hardware.”
Example source URL (royalty-free): https://images.pexels.com/photos/6585752/pexels-photo-6585752.jpeg
Image 2: Thrifted Dresser Before-and-After Flip
Placement location: In the “Step 5: Budget, Time & Side-Hustle Potential” section, after the “Typical costs” list, to visually reinforce the value of turning a budget dresser into a designer-look piece.
Image description: A side-by-side or clearly staged “after” shot of a dresser that looks like a successful DIY flip. The dresser should be made of wood and look substantial (not flimsy). It should feature updated paint or stain (ideally a warm neutral or rich wood tone), modern hardware (such as brass or black bar pulls), and possibly new legs or a refinished top. The surrounding area is styled simply with a mirror or artwork above and a plant or lamp on top of the dresser. No people, no dramatic filters, just a realistic, believable result of a budget-friendly furniture makeover.
Supported sentence/keyword: “Many creators share cost breakdowns to prove that a $70 dresser can become a piece that looks like it rolled out of a $800 catalog.”
SEO-optimized alt text: “Budget-friendly thrifted dresser transformed with paint, new legs, and modern hardware.”
Example source URL (royalty-free): https://images.pexels.com/photos/6585763/pexels-photo-6585763.jpeg
Image 3: IKEA Bookcase Built-In Style Hack
Placement location: In the “Living room: Media consoles, coffee tables & ‘built-ins’” subsection, right after the bullet point: Fake “built-ins” by lining up BILLY bookcases, adding a top trim piece, and painting them the same color as your wall.
Image description: A realistic photo of a wall of bookcases that clearly resemble IKEA-style units, styled to look like built-ins. The bookcases are lined up side-by-side, reaching close to the ceiling, with a continuous top trim or molding for a seamless look. They are painted (or appear in the same color family) as the surrounding wall. Shelves contain books, storage boxes, and a few decorative objects, but are not overcrowded. The overall effect should communicate an affordable DIY “built-in” solution using modular bookcases. No people in the shot; focus is on the cabinetry.
Supported sentence/keyword: “Fake ‘built-ins’ by lining up BILLY bookcases, adding a top trim piece, and painting them the same color as your wall.”
SEO-optimized alt text: “DIY built-in bookcase wall created from modular IKEA-style shelves painted to match the wall.”
Example source URL (royalty-free): https://images.pexels.com/photos/2079249/pexels-photo-2079249.jpeg
