
DIY Limewash & Plaster Walls: Champagne Walls on a Tap-Water Budget
DIY Limewash & Plaster Walls: When Your Drywall Wants a Personality
Somewhere between “I’ll just hang a picture” and “I should move to an Italian villa,” the internet discovered DIY limewash and plaster-effect walls. Suddenly plain drywall is out, and soft, cloudy, textured finishes that scream “custom, curated, and probably expensive” are in—except they don’t have to be expensive at all.
Homeowners and renters are jumping on limewash, Roman clay, and faux plaster to turn one sad, flat wall into a high-end focal point. The best part? These finishes actually look better when they’re a bit imperfect, so your “oops” moments magically become “organic movement.” Welcome to the rare DIY where perfectionism is officially banned.
Today we’re diving into how to get that textured, quiet-luxury wall look on a mortal budget: what products to use, how to test colors, step-by-step application, and clever tricks for renters. Grab your painter’s tape and your bravest old T-shirt—it’s makeover time.
Why Textured Walls Are Suddenly Everywhere
For a decade, we collectively painted everything flat grey and called it a day. Then we realized our homes looked like corporate waiting rooms and the pendulum swung dramatically toward texture and warmth. Enter: limewash and plaster-effect walls.
- They look custom. Limewash-style walls have soft, cloudy movement and a matte, chalky finish that feels old-world and expensive.
- They love every decor style. Farmhouse? Do warm beiges around wood beams. Boho? Earthy tones and arches. Minimalist? Stone greys for a gallery vibe.
- They’re budget heroes. A couple of cans of specialty paint and simple tools can fake the look of a real plaster pro.
- They’re beginner-friendly. The finish is supposed to be irregular. Your wall, but make it intentional chaos.
No surprise that “DIY limewash wall,” “Roman clay tutorial,” and “plaster accent wall” are trending across YouTube, TikTok, and Pinterest. Time-lapse videos of builder-grade walls transforming into moody, textured masterpieces are basically the home-decor version of cat videos now.
Step 1: Choose Your Wall Like You’re Casting the Main Character
Not every wall is ready for its close-up. Before you crack open a paint can, decide where your texture moment will live.
Best candidates for a limewash or plaster-effect accent wall:
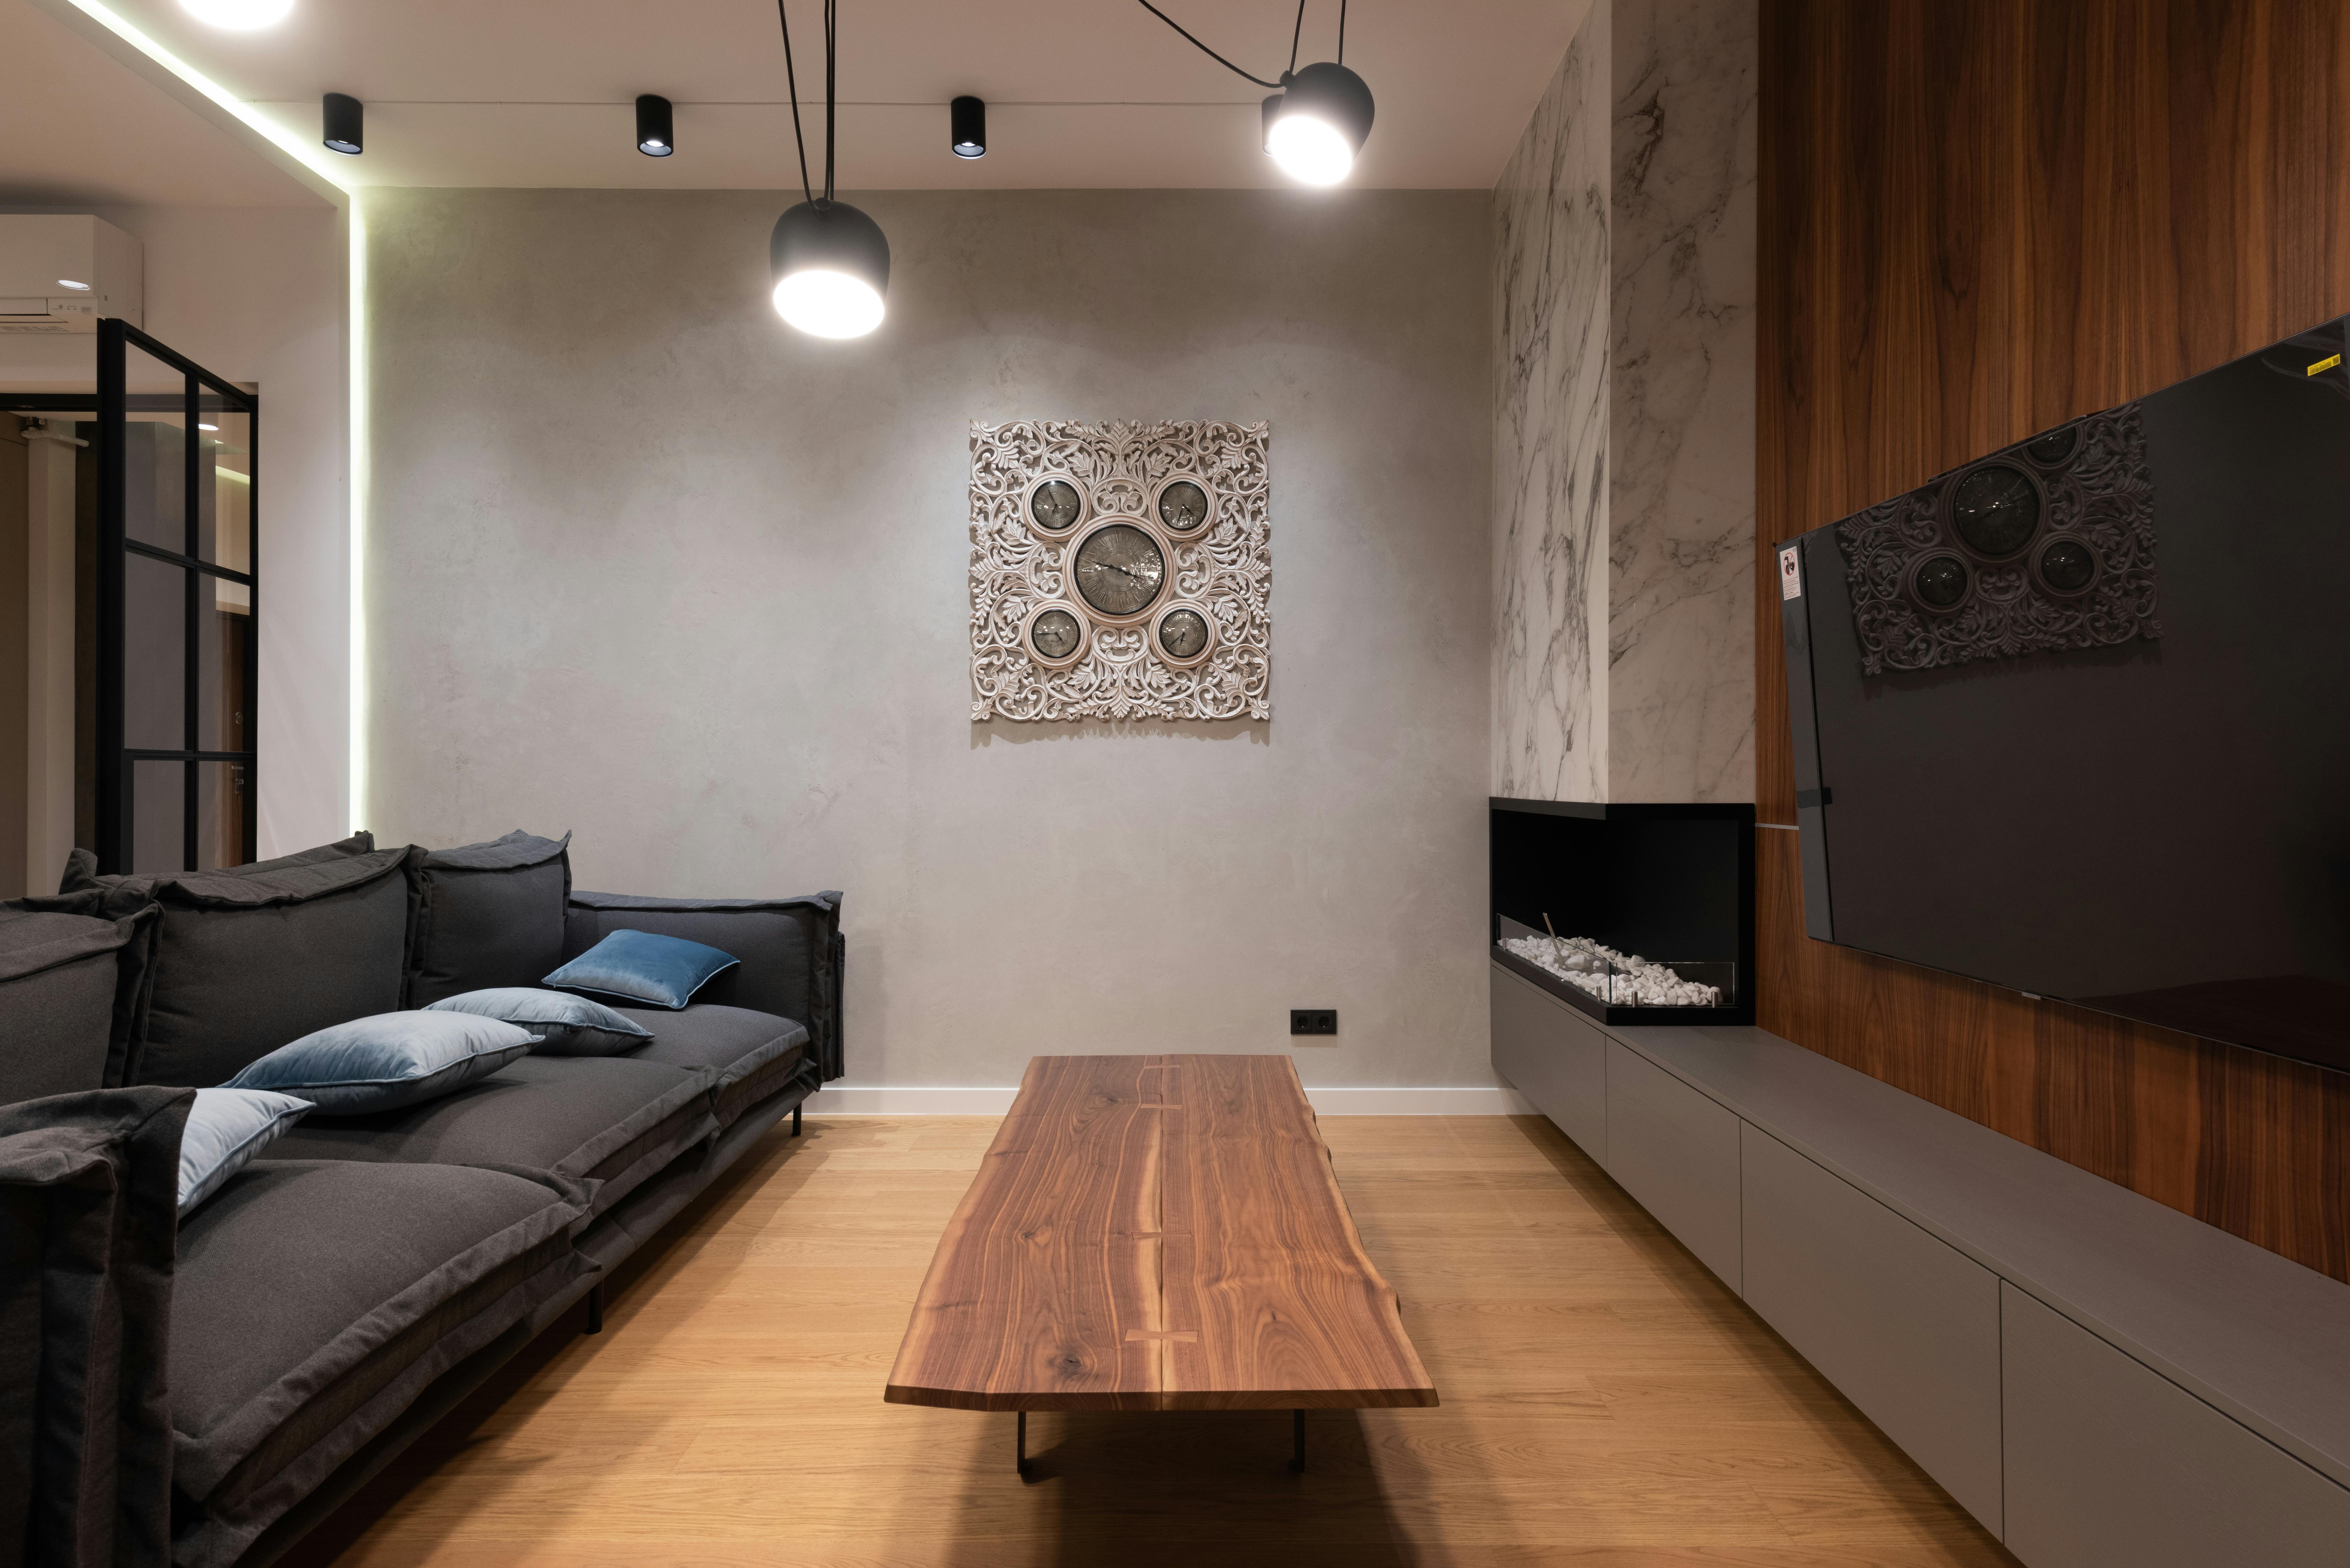
- The wall behind your sofa (instant living-room focal point)
- The wall behind your bed (instant boutique-hotel energy)
- A narrow entryway wall (instant “oh wow” when guests walk in)
- A dining-room wall behind a console or sideboard
Avoid walls with a million doors, vents, or windows. You want a reasonably clear canvas so the movement of the finish can shine instead of visually fighting with door frames, switches, and random air returns.
Pro tip: Stand in the doorway of the room and take a photo with your phone. The first wall your eye goes to in the picture? That’s your star.
Step 2: Pick Your Potion – Limewash, Roman Clay, or Faux Plaster?
All textured wall products are not created equal, but they’re all invited to the makeover party. Here’s the quick breakdown so you can choose your weapon wisely.
Limewash
Look: Soft, cloudy, slightly streaky, very matte. Think “ancient villa but make it rental-friendly.”
Best for: Subtle movement, quiet luxury, and slightly rustic vibes.
Application: Usually applied with a wide brush in criss-cross or sweeping motions.
Roman Clay
Look: Smoother than limewash, velvety with depth, almost stone-like in certain colors.
Best for: Modern, minimalist, and contemporary spaces that want texture without heavy “plaster drama.”
Application: Trowel or putty knife, applied thinly in overlapping passes.
Faux Plaster with Paint or Joint Compound
Look: More sculptural texture, from subtle waves to full-on “Tuscan restaurant walls in 2004” (but you’ll keep it chic, promise).
Best for: Accent walls that need some true dimensional oomph, or to fake old plaster in newer builds.
Application: Trowel, drywall knife, or even a flexible spatula, then top-coated with paint.
If you’re a total beginner, start with a limewash-effect paint or specialty limewash designed for interiors. They’re forgiving, renter-conscious, and usually come with straightforward manufacturer instructions you should actually read (yes, really).
Step 3: Choose a Color That Loves Your Lighting
Limewash and plaster finishes change dramatically with light, which is both magical and mildly chaotic. That warm beige that’s dreamy at noon might look like wet cardboard at 9 p.m. if you’re not careful.
Quick color matchmaking guide:
- North-facing rooms: Go warmer—think sandy beiges, greige, clay, or soft taupes.
- South-facing rooms: You can handle cooler stone greys, mushroom tones, and even moody charcoal.
- Small spaces: Lighter, low-contrast colors keep texture from feeling heavy.
- Statement walls: Deep olive, terracotta, or inky blue can be stunning if the rest of the room stays calm.
Buy sample pots or small containers, then test large swatches on the actual wall, ideally in the same textured product you’ll be using. Check them morning, afternoon, and evening—because your wall lives a full 24-hour life, not just golden hour.
If you’re stuck, start with a soft, warm neutral one or two shades darker than your current wall color. It will still feel calm, just richer and more intentional.
Step 4: Prep Work – The Part Future You Will Thank You For
Textured finishes are like magnifying mirrors: beautiful, but absolutely willing to expose every bump and crack you tried to ignore. A little prep saves a lot of “why does it look weird over there?” later.
- Clean the wall. Wipe down dust, grease, and mystery smudges with a damp cloth and mild soap if needed. Let dry completely.
- Patch holes. Fill nail holes and small dings with spackle, sand smooth, and spot-prime.
- Prime if recommended. Many limewash and Roman clay products want a specific primer or base coat for best adhesion and color accuracy. Use what the manufacturer suggests.
- Tape carefully. Use painter’s tape around baseboards, ceilings, outlets, and trim. Press the edges firmly to prevent bleed-through.
Think of prep as doing your wall’s skincare routine. You’re not just slapping on makeup; you’re setting the stage for a glow-up that actually lasts.
Step 5: Application – Organized Chaos with a Brush or Trowel
This is where things get fun, and also where you’ll question your life choices for approximately 20 minutes before it starts to look good. Stay strong.
Limewash-Style Application
- Mix as instructed. Some products need dilution with water; others are ready to go. Stir well.
- Start in a corner. Use a large, soft brush to apply in loose X or sweeping motions. Avoid perfect stripes.
- Work in sections. Blend edges while the product is still wet so you don’t get harsh overlaps.
- Layer for depth. Most finishes look best with 2–3 coats. Let each coat dry fully before the next; expect color to lighten as it dries.
Roman Clay or Faux Plaster Application
- Load a small amount onto your trowel or putty knife—thin is better than thick.
- Apply in overlapping arcs, keeping the blade at a shallow angle to the wall.
- Vary pressure slightly to create light and dark variations, but avoid big ridges unless you want a very rustic look.
- Let it dry, then repeat with a second thin coat to build richness.
Remember: textured walls are an impressionist painting, not a coloring book. Stand back frequently, squint a little, and adjust where needed instead of obsessing over every brushstroke up close.
Step 6: Style the Room So the Wall Can Actually Shine
You did all that work on the wall—don’t let clutter steal the show. The beauty of limewash and plaster finishes is how well they play with thoughtfully chosen decor.
- Keep big furniture simple. Clean lines and solid fabrics let the wall texture be the drama.
- Use fewer, larger art pieces. One oversized frame or canvas with plenty of negative space beats a busy gallery wall here.
- Layer natural materials. Linen, wool, jute, wood, and stone echo the organic feel of the wall.
- Repeat the color elsewhere. Add throw pillows, vases, or books that echo your wall tone so it feels intentional, not random.
Think of your wall as the lead actor and the rest of the room as the supporting cast. Everyone’s important, but we all know who’s getting the close-ups.
Step 7: Renter-Friendly Hacks That Won’t Terrify Your Landlord
If your lease is stricter than a library on a Monday morning, you can still join the textured-wall party—just with a few strategic tweaks.
- Use removable panels. Apply limewash or faux plaster to primed foam boards or thin MDF panels, then mount them with removable strips to create “art-sized” textured pieces.
- Stick to low-profile finishes. Limewash-effect paints are easier to repaint over than heavy joint-compound textures when you move out.
- Choose one small accent wall. Repainting a single wall back to a flat color is much less work than undoing a full-room experiment.
Document your “before” and “after” and keep an extra quart of the original wall color on hand. Future you, paint roller in hand on moving week, will be very grateful.
Bonus: Turn Textured Walls into Architectural Moments
Once you’ve nailed a basic limewash or plaster wall, level up with small DIY add-ons that look wildly custom.
- Faux built-ins: Add simple shelves or picture-frame molding, then paint them in the same limewash or plaster color so they feel built-in rather than tacked-on.
- Painted arches: Tape off an arch shape and fill it with a slightly deeper shade of your wall color using the same textured technique to fake an architectural niche.
- Color-blocked wainscoting: Keep the bottom half of the wall smoother and the top half limewashed to create visual height and balance.
These little upgrades photograph beautifully, which is why they’re all over #walldecor and #homeimprovement feeds—and why your friends will absolutely ask, “Wait, did your house always have that?”
Common Mistakes (So You Can Casually Avoid Them)
Every trend has its villains. Here’s what to sidestep so your wall reads quiet luxury, not chaotic weekend project.
- Going too dark, too fast. Deep colors show every brushstroke; start with a mid-tone if you’re nervous.
- Stopping halfway. Most products look weird after coat one. With coat two or three, everything calms down. Trust the process.
- Over-texturing. Heavy ridges can look messy and are hard to repaint. When in doubt, go for nuanced, not chunky.
- Ignoring the rest of the room. If everything else is glossy, colorful, and busy, your textured wall will be visually exhausting. Balance is key.
If disaster strikes, remember: sanding, priming, and repainting are the Ctrl+Z of wall decor. It’s nearly always fixable.
Your Walls, But Make Them Whisper “Designer”
With a little prep, the right product, and a willingness to embrace beautiful imperfection, you can turn a flat, forgettable wall into the kind of textured backdrop you normally see in high-end interiors—and you can do it on a decidedly non-high-end budget.
So pick your wall, test your color, and channel your inner artistic chaos. Your home doesn’t need another generic print to feel special; it just needs a wall that finally matches your personality: layered, interesting, and a little bit extra—in the best way.
And when someone inevitably asks which designer you hired, feel free to shrug and say, “Oh, it’s custom,” while quietly brushing the dried limewash off your elbows.
Image Suggestions (For Editor Use)
Below are strictly relevant, royalty-free image suggestions that visually reinforce key parts of the article.
Image 1: Finished Limewash Accent Wall in Living Room
Placement: After the section titled “Step 1: Choose Your Wall Like You’re Casting the Main Character”.
Supported sentence/keyword: “Best candidates for a limewash or plaster-effect accent wall: The wall behind your sofa (instant living-room focal point)”
Image description (required visual elements): A realistic photo of a living room with a clearly visible limewash-style accent wall behind a neutral sofa. The wall should have soft, cloudy movement and a matte, chalky finish in a warm beige or greige tone. The room should have simple, modern furniture (neutral sofa, small side table, maybe one large, minimal art piece) that does not overpower the wall. No people in the image. Lighting should be natural and soft, clearly showing the texture and variation of the wall surface.
SEO-optimized alt text: “Living room with beige limewash accent wall behind neutral sofa showcasing soft, cloudy, textured finish.”
Example source URL (verify 200 OK):
https://images.pexels.com/photos/6585763/pexels-photo-6585763.jpeg
Image 2: Close-Up of Roman Clay or Plaster Application
Placement: Within “Step 5: Application – Organized Chaos with a Brush or Trowel,” after the Roman Clay or Faux Plaster Application subsection.
Supported sentence/keyword: “Apply in overlapping arcs, keeping the blade at a shallow angle to the wall.”
Image description (required visual elements): A realistic, close-up photo of a hand holding a trowel or wide putty knife, spreading Roman clay or plaster onto an interior wall. The wall surface should clearly show partially covered areas, overlapping arcs, and subtle texture. Product on the tool should look like plaster or thick paint. Only the hand and tool are visible—no full people, no decorative clutter. Focus is on the technique and material.
SEO-optimized alt text: “Close-up of trowel applying Roman clay plaster in overlapping arcs on interior wall.”
Example source URL (verify 200 OK):
https://images.pexels.com/photos/5691629/pexels-photo-5691629.jpeg
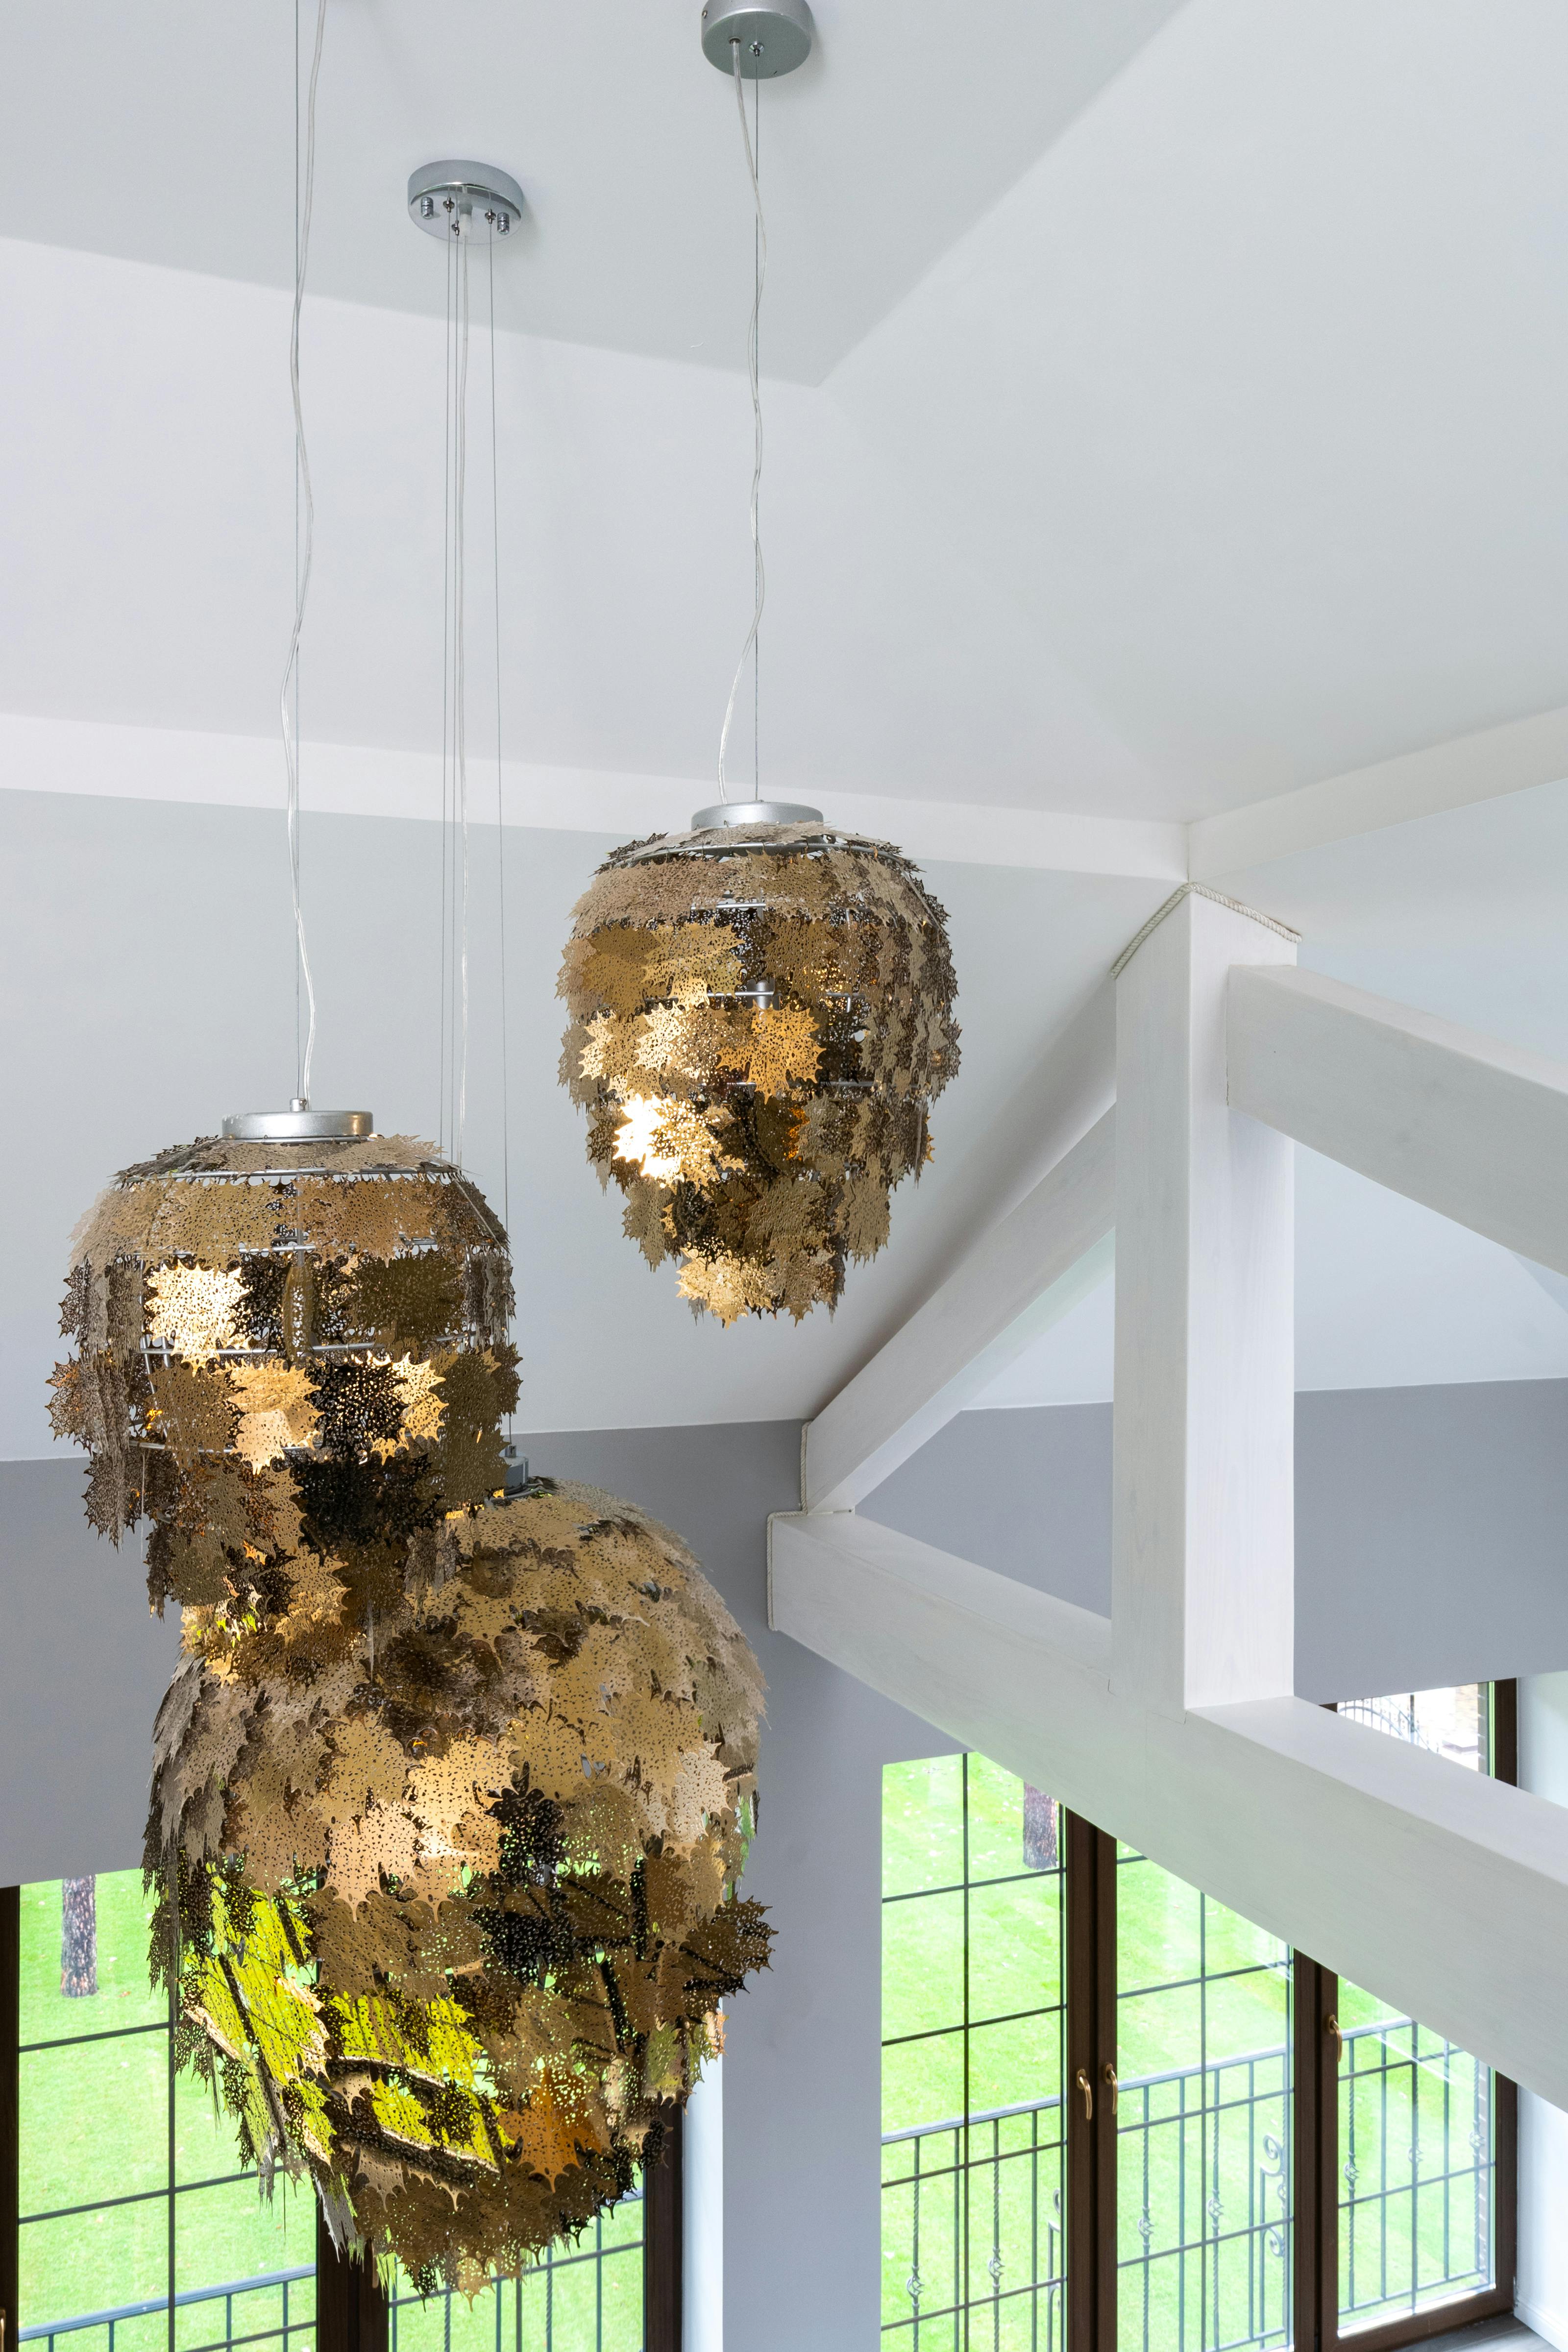
Image 3: Textured Wall with Simple Styling and Natural Materials
Placement: After “Step 6: Style the Room So the Wall Can Actually Shine.”
Supported sentence/keyword: “Layer natural materials. Linen, wool, jute, wood, and stone echo the organic feel of the wall.”
Image description (required visual elements): A realistic photo of a room corner or vignette showing a textured limewash or plaster wall behind simple styling: a wooden console or side table, a jute or natural-fiber rug, a ceramic or stone vase, and maybe a linen cushion or throw. The wall finish should be clearly visible and softly textured, in a neutral tone. No people, no overly decorative or abstract items—focus on the interplay between the textured wall and natural materials.
SEO-optimized alt text: “Neutral textured limewash wall styled with wooden console, jute rug, and ceramic vase in natural materials.”
Example source URL (verify 200 OK):
https://images.pexels.com/photos/6587848/pexels-photo-6587848.jpeg
