
Your Walls, Your Rules: Rental-Friendly Peel-and-Stick Glow-Ups That Won’t Scare Your Landlord
Dear Walls, We Need to Talk (But Don’t Worry, It’s Not Permanent)
If you’ve ever stared at your beige rental walls and thought, “This looks like a waiting room where joy goes to die,” welcome home. Today we’re diving into the glorious world of DIY rental-friendly wall decor and peel-and-stick transformations—aka how to give your space main-character energy without sacrificing your security deposit (or your relationship with the landlord who still calls you “the new tenant” after three years).
From peel-and-stick wallpaper that fakes designer plaster to renter-safe gallery walls and removable headboards, we’re talking high-impact, low-commitment, and zero drama with the lease. Think of this as couples therapy for you and your walls: lots of change, no long-term damage.
Why Rental-Friendly Wall Decor Is Basically the Beyoncé of Home Trends
Rental-friendly DIY is everywhere right now—TikTok, Instagram Reels, YouTube, and that one friend who “just tried a little something” and suddenly has a faux-Parisian apartment. With more people renting longer, moving frequently, or working from charmingly tiny spaces, the decor motto has officially changed from “forever home” to “for now, but make it cute.”
The star of the show? Removable, damage-free wall decor. These products are:
- Reversible – apply on Saturday, remove before inspection day.
- Weekend-sized – projects you can finish between brunch and Netflix.
- Deposit-safe – no nail craters, no paint drama, no tragic patch jobs.
In other words: you can have drama on your walls, without any drama on your lease.
Peel-and-Stick Wallpaper: The Commitment-Phobe’s Secret Weapon
Peel-and-stick wallpaper is the current ruler of rental-friendly wall decor. It’s like a giant reusable sticker for your walls—no paste, no panic, just peel, position, and pretend you live in a design magazine.
On social media, creators are showing off full accent wall makeovers with patterns like:
- Subtle arches – soft, architectural vibes without grabbing a sledgehammer.
- Vertical stripes – instant ceiling-height illusion for low-ceiling rentals.
- Faux plaster and limewash – old-world texture, new-world convenience.
- Wood slat and faux panel looks – that “custom carpentry” energy, minus tools.
- Botanical prints – great for bringing in nature when the only real plant you can keep alive is… none of them.
The best part? Videos of people removing this stuff cleanly after months of use have built huge trust. We love a happy ending where the wall looks exactly like it did on move-in day.
How to Install Peel-and-Stick Without Losing Your Mind
- Measure like you mean it.
Calculate the square footage of your wall, then add 10–15% extra for pattern matching and “oops” moments. Future you will be grateful. - Prep the wall.
Wipe with a damp cloth and let dry completely. Dust and texture bumps are the enemies of smooth application. - Start from the top, peel slowly.
Peel about 6–8 inches of backing at a time, align at the top, and smooth downward. Think “firm and patient,” not “rage-cleaning the kitchen.” - Use a smoothing tool.
A plastic smoothing tool or even a clean credit card wrapped in a soft cloth works. Smooth from the center out to avoid bubbles. - Trim with a sharp utility knife.
A crisp blade equals crisp edges. Dull blades equals ragged chaos.
Where to Use Peel-and-Stick for Maximum Wow
- Behind your sofa to fake a built-in feature wall.
- As a dining nook backdrop in an open-plan studio.
- Inside closets or pantries for a hidden “ta-da” moment every time you grab snacks.
- On the ceiling (yes, really) for bold renters who want to turn the “fifth wall” into a star.
Faux Shiplap, 3D Tiles & Panels: Texture Without the Power Tools
If wallpaper is makeup, then peel-and-stick panels are full-on cosmetic surgery—minus the recovery time. We’re talking:
- Faux shiplap and beadboard for modern farmhouse vibes.
- 3D wall tiles for geometric, sculptural statements.
- Peel-and-stick faux brick for that loft-apartment-in-a-movie look.
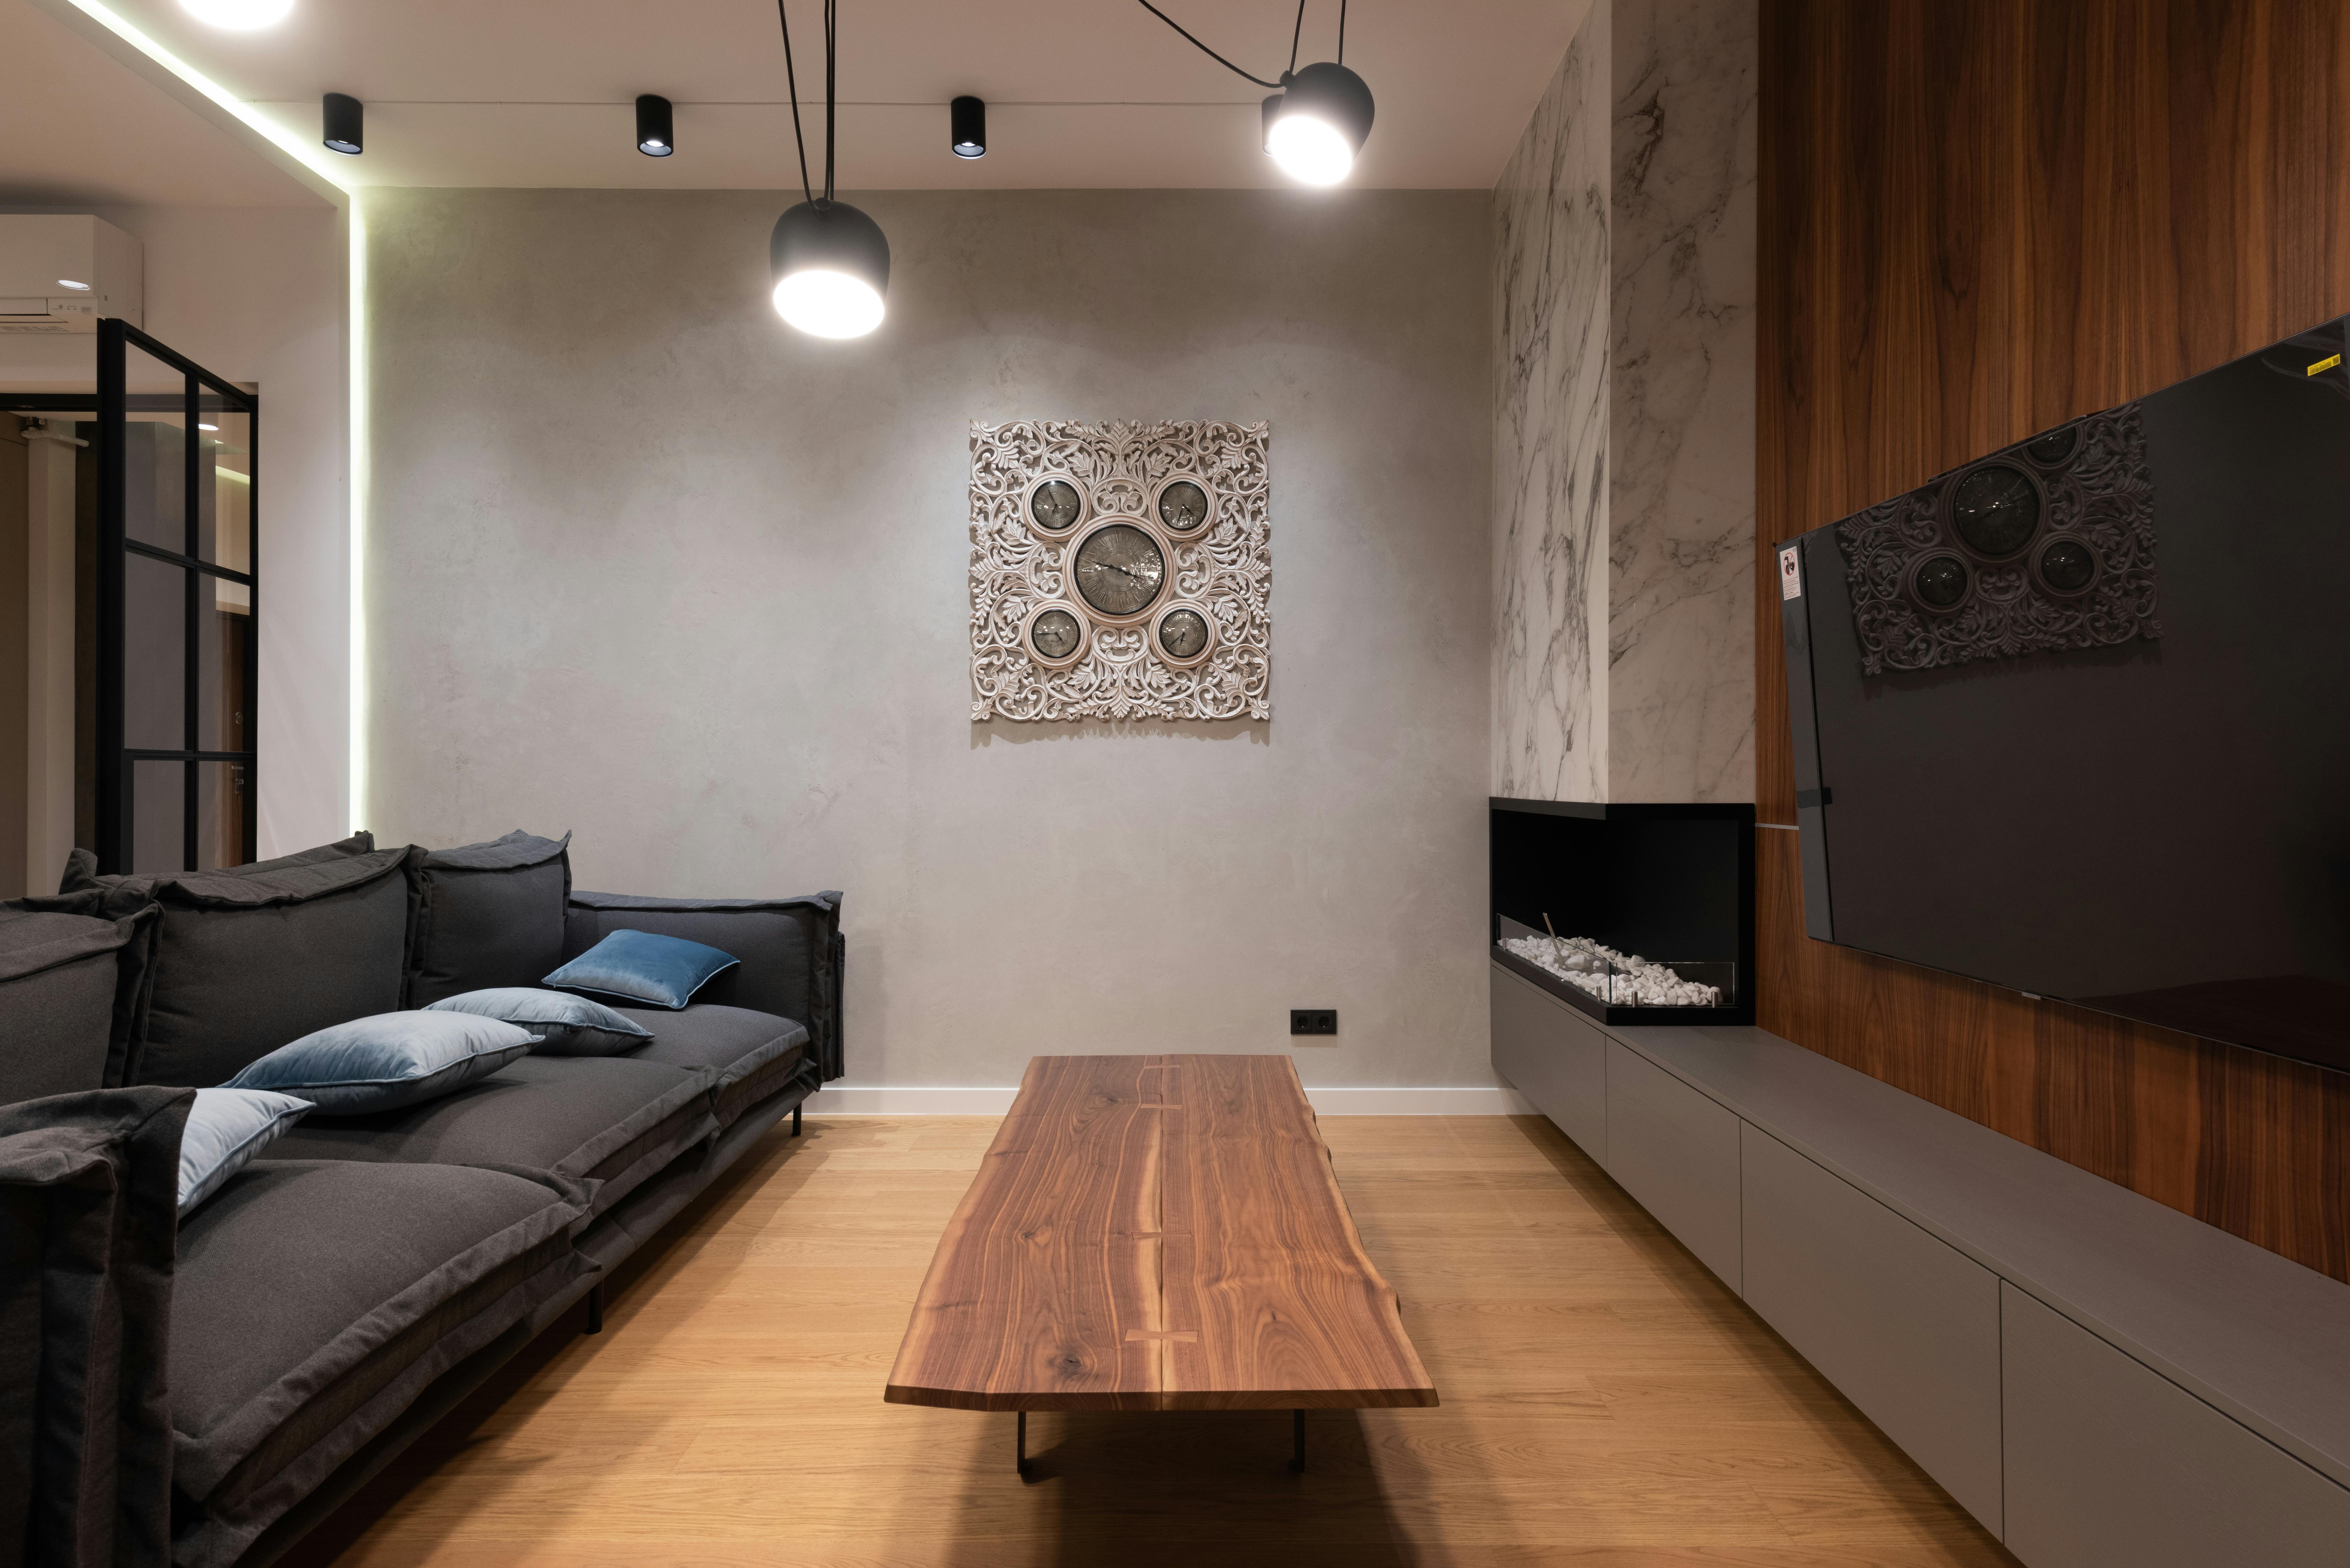
These are especially popular in home offices, living rooms, and awkward nooks that need personality. Many renters are creating geometric feature walls behind desks or TVs, pairing them with simple furniture to let the texture do the talking.
Installation Tips So Your Panels Don’t Stage a Rebellion
- Check the surface. Panels stick best to smooth, clean walls. Extremely textured walls may need a thin, removable liner underneath.
- Dry-fit first. Lay panels on the floor in the order you plan to install them. This is like a rehearsal dinner—work out the drama before the big day.
- Use a level. Start with a straight line; otherwise, your “stylish diagonal” will just look mildly tipsy.
- Mind the weight. Heavier foam or PVC panels may need extra support like removable mounting strips along with their adhesive.
The magic is that all of this can come down when you move out, leaving nothing but memories and a suspiciously impressed landlord.
Renter-Safe Gallery Walls: Art, But Make It Detachable
Let’s talk gallery walls—the Pinterest fever dream where every frame hangs perfectly and none of them fall off at 3 a.m. The renter-friendly version stars Command-style strips, lightweight frames, and printable art.
How to Build a Damage-Free Gallery Wall
- Pick your layout personality.
- Grid – neat, symmetrical, great for modern or minimalist spaces.
- Salon-style – mismatched sizes arranged organically; perfect for maximalists and “organized chaos” fans.
- Mock it on the floor.
Arrange all frames on the floor first. Once you’re happy, take a picture. This is your museum map. - Use painter’s tape as a guide.
Tape out the total width and height of your planned gallery on the wall; this keeps everything contained and intentional. - Commit to removable strips.
Use strips rated for more weight than you think you need. Follow the instructions (clean wall, press firmly, let cure if recommended).
What to Put in Your Frames (Besides That One Decent Selfie)
- Printable art from platforms like Etsy or Canva.
- Travel tickets, maps, or postcards for a personal story wall.
- Fabric or wallpaper samples for texture and pattern on a budget.
- Mirrors mixed in to bounce light and make small spaces feel larger.
The result is a totally reversible gallery wall that looks intentional, layered, and grown-up—without a single nail hole to patch.
Removable Headboards & Bedroom Tricks: Cozy Without Construction
Bedrooms are where rentals often feel the most… temporary. But the current hero move is the rental-friendly headboard—from peel-and-stick decals to foam panels that look custom-made.
Ideas for a Deposit-Safe Headboard Moment
- Peel-and-stick headboard decals
Printed to look like upholstered headboards, cane, or wood. You just line them up behind your bed and suddenly your mattress isn’t just “leaned against the wall hoping for the best.” - Painted arches (with a hack)
If your lease allows paint, a half-painted arch behind the bed is very on-trend. Use painter’s tape and a pencil-tied-to-string compass trick to get the curve right. When you move, you simply repaint back to the original color. - Foam-panel headboards
Upholstered foam panels attached using heavy-duty removable strips. They double as a soft backrest and sound muffler for apartment living.
Zoning Small Spaces with Peel-and-Stick
For studio apartments and tiny bedrooms, peel-and-stick is also brilliant for defining zones:
- A vertical stripe panel behind your desk = “This is my office now.”
- A bold pattern behind the bed = instant “sleep zone” separation.
- A subtle texture in the entryway = a mini mudroom without walls.
When your whole life happens in 400 square feet, visual boundaries are your best friends.
Security Deposit Defense: How to Stay in Your Landlord’s Good Books
Rental-friendly doesn’t mean “reckless and hopeful.” A few smart moves will keep you firmly in the safe zone:
- Read the fine print. Some leases specifically address adhesive products. If in doubt, email your landlord with a quick description and screenshots.
- Test a small patch first. Try a sample strip in a hidden spot for a few weeks to make sure it removes cleanly from your specific wall finish.
- Avoid fresh paint. Newly painted walls (within 30 days) can be risky; adhesives may pull the paint. Give it time to cure.
- Remove slowly and gently. When it’s time to say goodbye, pull peel-and-stick products back on themselves at a low angle. If recommended by the brand, warm the adhesive slightly with a hairdryer to soften it.
Your future self, standing in a spotless, deposit-refund-ready apartment, will thank you.
How to Make It Look Designer (Not Dorm Room)
Rental-friendly doesn’t have to read “temporary” or “I did this at midnight after three coffees.” A few styling tricks can elevate your peel-and-stick projects into full-on home decor magic.
- Limit bold patterns to one wall. Let one accent wall be the diva and keep the others calmer so the room doesn’t feel chaotic.
- Repeat colors and materials. If your wallpaper has sage green and warm wood, echo those in your throw pillows, lamp, or side table.
- Balance pattern with solids. Pair busy walls with solid bedding, curtains, and rugs so your eyes have a place to rest.
- Layer lighting. A cute wall treatment deserves flattering light. Add floor lamps, table lamps, or plug-in sconces to enhance your new backdrop.
The goal is less “temporary sticker party” and more “I totally hired a designer, what gave it away?”
Your Walls, Your Rules (For Now, Anyway)
You don’t have to wait for a forever home, a bigger budget, or a miracle landlord to start living in a space that feels like you. With modern peel-and-stick wallpaper, removable panels, renter-safe gallery walls, and temporary headboard ideas, your rental can be a fully styled chapter—not just a beige placeholder.
So go ahead: give your walls a personality, even if your lease says “no alterations.” Because in 2026, the real flex isn’t owning your home; it’s owning your style—and taking it with you when you move.
Editor Image Implementation Notes (Not Visible to End Readers)
Below are strictly relevant, royalty-free image suggestions. Ensure images are placed in the specified locations and use the provided alt text for accessibility and SEO. Verify URLs return HTTP 200 OK before publishing.
Image 1
- Placement location: Directly after the paragraph ending with “let the texture do the talking.” in the “Faux Shiplap, 3D Tiles & Panels” section.
- Image description: Realistic photo of a living room feature wall covered in white peel-and-stick faux shiplap panels. The wall is behind a simple TV console or sideboard with minimal decor (e.g., a plant and a lamp). The focus is clearly on the shiplap texture; lighting is natural and neutral. No visible people.
- Supported sentence/keyword: “Many renters are creating geometric feature walls behind desks or TVs, pairing them with simple furniture to let the texture do the talking.”
- SEO-optimized alt text: “Rental living room with peel-and-stick shiplap feature wall behind TV console.”
- Example source URL (verify 200 OK): https://images.pexels.com/photos/6585763/pexels-photo-6585763.jpeg
Image 2
- Placement location: After the bullet list under “How to Build a Damage-Free Gallery Wall” in the “Renter-Safe Gallery Walls” section.
- Image description: Realistic photo of a neutral-colored wall with a curated gallery wall using lightweight frames. The layout should be a mix of grid and salon-style, hung with no visible nails (Command strips not necessarily visible, but no hardware showing). Artwork includes simple abstract prints and maybe a small mirror. No people in the frame.
- Supported sentence/keyword: “The result is a totally reversible gallery wall that looks intentional, layered, and grown-up—without a single nail hole to patch.”
- SEO-optimized alt text: “Renter-friendly gallery wall made with lightweight frames and removable hanging strips.”
- Example source URL (verify 200 OK): https://images.pexels.com/photos/6588588/pexels-photo-6588588.jpeg
Image 3
- Placement location: After the bullet list “Ideas for a Deposit-Safe Headboard Moment” in the “Removable Headboards & Bedroom Tricks” section.
- Image description: Realistic bedroom scene with a bed pushed against a wall featuring a painted arch or peel-and-stick headboard-style decal behind it. The arch should be clearly visible, with simple bedding and minimal decor on bedside tables to keep focus on the wall treatment. No people present.
- Supported sentence/keyword: “If your lease allows paint, a half-painted arch behind the bed is very on-trend.”
- SEO-optimized alt text: “Rental bedroom with painted arch headboard feature behind the bed.”
- Example source URL (verify 200 OK): https://images.pexels.com/photos/6585767/pexels-photo-6585767.jpeg
