
DIY Limewash & Plaster Walls: How to Fake a Luxury Makeover on a Ramen Budget
If your walls are currently the visual equivalent of plain toast, it’s time to butter them up. DIY limewash and plaster-effect walls are the new darlings of home decor—serving boutique hotel in Lisbon on a takeout budget. Weekend warriors and renters alike are trading in flat paint for textured, moody, softly mottled walls that look like they flew first class in from a European farmhouse.
The best part? You don’t need a trust fund or an art degree—just some patience, a brush, and the bravery to smear goo on your walls and call it “design.” In this post, we’ll talk limewash, faux plaster (using joint compound or drywall mud), trending earthy colors, and how to style these gorgeous walls so your home looks intentional, not like a DIY crime scene.
Why Everyone on TikTok Suddenly Has Stone-Colored Walls
Limewash and plaster-effect walls are hot right now because they check three very important boxes: they’re high-impact, low-cost, and extremely camera-friendly. Influencers love them as backdrops for living room decor shots, bedroom decor tours, and suspiciously perfect “I just woke up like this” coffee pics.
- High impact, low cost: One bucket of limewash paint or joint compound can transform a room for under a couple hundred dollars. That’s cheaper than a weekend away—and this makeover doesn’t check out at noon.
- Blends with multiple styles: Whether you’re into modern farmhouse, cozy minimalism, or boho decor with 37 plants named after your exes, these textured walls slip right in and make friends.
- DIY-friendly: The vibe is “perfectly imperfect,” which is design-speak for “if you mess up, it actually looks more expensive.”
- Renter-friendly options: Can’t touch the walls? We’ll talk about doing the look on large canvas panels or plywood boards you can take with you when you move out and your landlord thinks the unit still looks “nice and beige.”
Add that to the fact that textured walls photograph beautifully, and it’s no wonder “DIY limewash wall makeover” and “$150 bedroom accent wall transformation” are everywhere right now.
Limewash vs. Faux Plaster: Know Your Wall Personality
Before you start slapping products on your walls like sunscreen at the beach, you need to choose your fighter: limewash or faux plaster.
Limewash: The Soft-Spoken Minimalist
Limewash paint gives you a cloudy, tonal effect—think soft, chalky, slightly patchy in a good way, like your wall is wearing a linen shirt. It’s applied with a big masonry or block brush in loose, criss-cross strokes. When it dries, you get depth and movement without heavy texture.
Limewash is perfect if you love:
- Cozy minimalism with a quiet, understated vibe
- Neutral palettes, simple furniture, and natural wood
- Subtle wall decor instead of big, bold art everywhere
Faux Plaster / Venetian Plaster: The Drama Queen
Faux plaster (often done with joint compound or pre-mixed drywall mud) is for you if you want your walls to have actual texture you can run your hand over. You trowel it on, let it dry, then sand and seal. The result can look anything from rustic farmhouse to polished Venetian marble, depending on how smooth or textured you go.
Faux plaster is perfect if you love:
- Statement walls behind beds or sofas
- Farmhouse decor with a lived-in, old-world vibe
- Boho and earthy interiors with layers of texture
Can’t decide? Use limewash on most walls and faux plaster on a single feature wall—like the wall behind your bed or the living room wall your sofa hugs.
Color Crush: Mushroom, Clay, and Other Deliciously Earthy Shades
If you’re imagining neon limewash or cobalt plaster, gently step away from the mental paint chip. The trending palette right now is all about warm, natural neutrals that feel like they were scooped from a hillside in Italy:
- Mushroom & stone: Soft, taupey greys that look amazing with black metal accents and oak furniture.
- Clay & terracotta: Earthy, sun-baked tones that pair beautifully with boho decor and woven textures.
- Greige (grey-beige): The Switzerland of paint colors—neutral, peaceful, and goes with almost everything.
- Warm beige & sand: Perfect for cozy minimalism and modern farmhouse decor with lots of wood and linen.
These colors are trending because they’re incredibly forgiving and versatile. They look high-end without trying too hard, and they play nicely with:
- Natural woods (light oak, walnut, pine)
- Black metal (lighting, furniture legs, frames)
- Creams, off-whites, and soft charcoal textiles
Tip: If you’re nervous, choose a color that’s 1–2 shades deeper than your current wall color. Limewash tends to dry lighter and more varied than it looks in the can, so don’t panic while it’s wet—it’s in its “awkward teenager” stage.
How to DIY Limewash Walls Without Crying Into Your Drop Cloth
Limewash looks fancy, but the process is surprisingly forgiving—as long as you embrace the “cloudy, irregular, lived-in” look. Here’s a simple game plan.
1. Prep Like a Semi-Responsible Adult
- Clean the walls with a mild cleaner and let them dry.
- Fill major holes and sand any outrageous bumps.
- Tape off trim, outlets, and anything you don’t want “artfully speckled.”
- If your walls are very slick or very dark, use a primer recommended by your limewash brand.
2. Mix & Test
Some limewash paints come ready to go; others need thinning with water. Always:
- Stir well—pigments like to nap at the bottom.
- Do a test patch in a low-visibility corner. Let it dry fully before judging.
3. The Criss-Cross Dance
Use a large masonry or block brush. This is not the time for your delicate trim brush; you want big, soft, feathery strokes.
- Work in sections about 2–3 feet wide.
- Apply in loose, overlapping X or criss-cross motions.
- Avoid straight, perfect roller-like lines—uneven is the goal.
- Feather the edges of each section into the next while it’s still damp.
It will look a little patchy when wet. Resist the urge to keep fussing with it—overworking can flatten the movement.
4. Layer Up
After the first coat is fully dry, decide if you want more drama.
- For a soft, subtle look: 1–2 coats.
- For more depth and cloudiness: 2–3 coats, possibly varying your stroke direction slightly between coats.
5. Style It Smart
Limewashed walls already have visual texture, so keep nearby decor calmer:
- Use simple, large-scale art instead of busy gallery walls.
- Amplify the earthy vibe with linen curtains, jute rugs, and wood tones.
- Add black accents (lamps, frames, hardware) to sharpen the look.
DIY Faux Plaster Feature Wall: Drama for Under $150
For bedrooms and living rooms, the fan-favorite project right now is a single faux plaster feature wall behind the bed or sofa. It’s like contouring for your room—adds instant depth and focus without redoing everything.
1. Gather Your Arsenal
- Pre-mixed joint compound or lightweight drywall mud
- 6–12 inch drywall knives or a trowel
- Sanding sponge or fine-grit sandpaper
- Primer (if needed) and your chosen paint or sealer
2. Apply the First Coat (a.k.a. “The Chaos Layer”)
Scoop some compound onto your knife or trowel and start spreading it on the wall in thin, irregular patches:
- Vary the thickness slightly for interest—no more than a couple of millimeters.
- Use sweeping, arched strokes and change direction occasionally.
- Leave some areas thinner and some slightly heavier.
This first coat shouldn’t be perfect. It’s the foundation of your texture and will look rough. That’s fine. That’s the point.
3. Second Coat: Strategic Imperfection
Once dry, add a second thinner coat where needed:
- Soften any harsh ridges by skimming over them.
- Leave some trowel marks and subtle waves—they’ll read as artisan, not accident.
4. Sand, But Don’t Erase
After everything dries thoroughly, lightly sand:
- Target sharp edges and rough peaks.
- Keep enough variation so light still dances across the wall.
5. Seal the Deal: Paint or Tinted Sealer
You can:
- Paint over the plaster with a flat or matte paint in your chosen earthy tone, or
- Use a tinted glaze or sealer for a softer, more layered effect.
For a high-end look, stay in the warm beige, stone, clay, or greige family. Shiny finishes can cheapen the look—matte or eggshell is usually your friend here.
Renter-Friendly Hacks: Textured Walls You Can Take With You
If your lease reads like a list of fun-killing spells, you can still join the limewash and plaster party—just do it on something that’s not technically the wall.
- Large canvas panels: Buy oversized canvases and limewash or faux-plaster them. Prop behind your bed as an extra-tall headboard or behind your sofa as a “wall within a wall.”
- Thin plywood boards: Have the hardware store cut thin sheets to size, then plaster or limewash. Mount with removable strips. Instant textured “wall” that comes down when you move.
- Removable wallpaper base: Apply peel-and-stick wallpaper, then lightly limewash over it. When you move out, the whole thing peels off in one oddly satisfying go.
Style these renter-friendly panels with slim black picture lights above, or flank them with sconces to really sell the illusion of a built-in feature wall.
Styling Your Textured Walls So They Look Designer, Not DIY
Once your walls look like they’ve seen the Italian countryside, your furniture and decor need to keep up. Here’s how to style them for maximum “I totally hired a designer” energy.
Living Room
- Place your sofa against the limewash or plaster feature wall to anchor the space.
- Use a large, simple artwork or one oversized canvas rather than many small frames.
- Add a jute or wool rug, a wood coffee table, and black metal floor lamp for contrast.
Bedroom
- Make the wall behind your headboard the star—plastered or limewashed.
- Layer linen or cotton bedding in warm neutrals to echo the wall tones.
- Keep nightstands simple; let the wall do most of the talking.
Dining Nook or Entry
- Use limewash in small areas to instantly elevate them into “moments.”
- Pair with a simple wood bench, a single statement vase, or a slim console.
- Use warm, dimmable lighting to enhance the shadows and texture.
Rule of thumb: the more movement and texture your walls have, the calmer and larger scale your decor can be. Let the walls be the outfit; your furniture is the jewelry.
Avoid These Common “My Wall Looked Better on Pinterest” Mistakes
Even the trendiest projects can go sideways. Here’s how to dodge the usual pitfalls:
- Overworking the limewash: Constantly brushing back over drying areas can create harsh lines instead of soft clouds. Work quickly and walk away.
- Too much texture with faux plaster: Heavy, lumpy plaster looks more “unfinished basement” than “Venetian villa.” Keep it thin and refined.
- Choosing harsh colors: Super cool greys or stark whites can look cold with texture. Lean warm—stone, mushroom, clay, greige.
- Busy decor overload: If your walls are textured and your shelves are stuffed and your rug is patterned, your eye won’t know where to land. Edit, edit, edit.
When in doubt, step back, squint, and take a quick photo. Cameras are brutally honest and will show you if something looks blotchy, too stark, or just plain chaotic.
Your Weekend Wall Glow-Up Awaits
DIY limewash and plaster-effect walls are trending for good reason: they’re affordable, forgiving, and transform a basic room into something that feels intentional and styled. Whether you want a soft, chalky limewash bedroom or a dramatic faux plaster living room feature wall, you can absolutely pull this off in a weekend—no marble villa required.
So roll out the drop cloth, channel your inner boutique hotel designer, and let your walls graduate from “background noise” to “main character.” Your future selfies (and your home) will thank you.
Image Suggestions (for Editor Use)
Below are carefully chosen, strictly relevant image suggestions. Each image directly supports specific content in the blog and visually explains the described techniques or results.
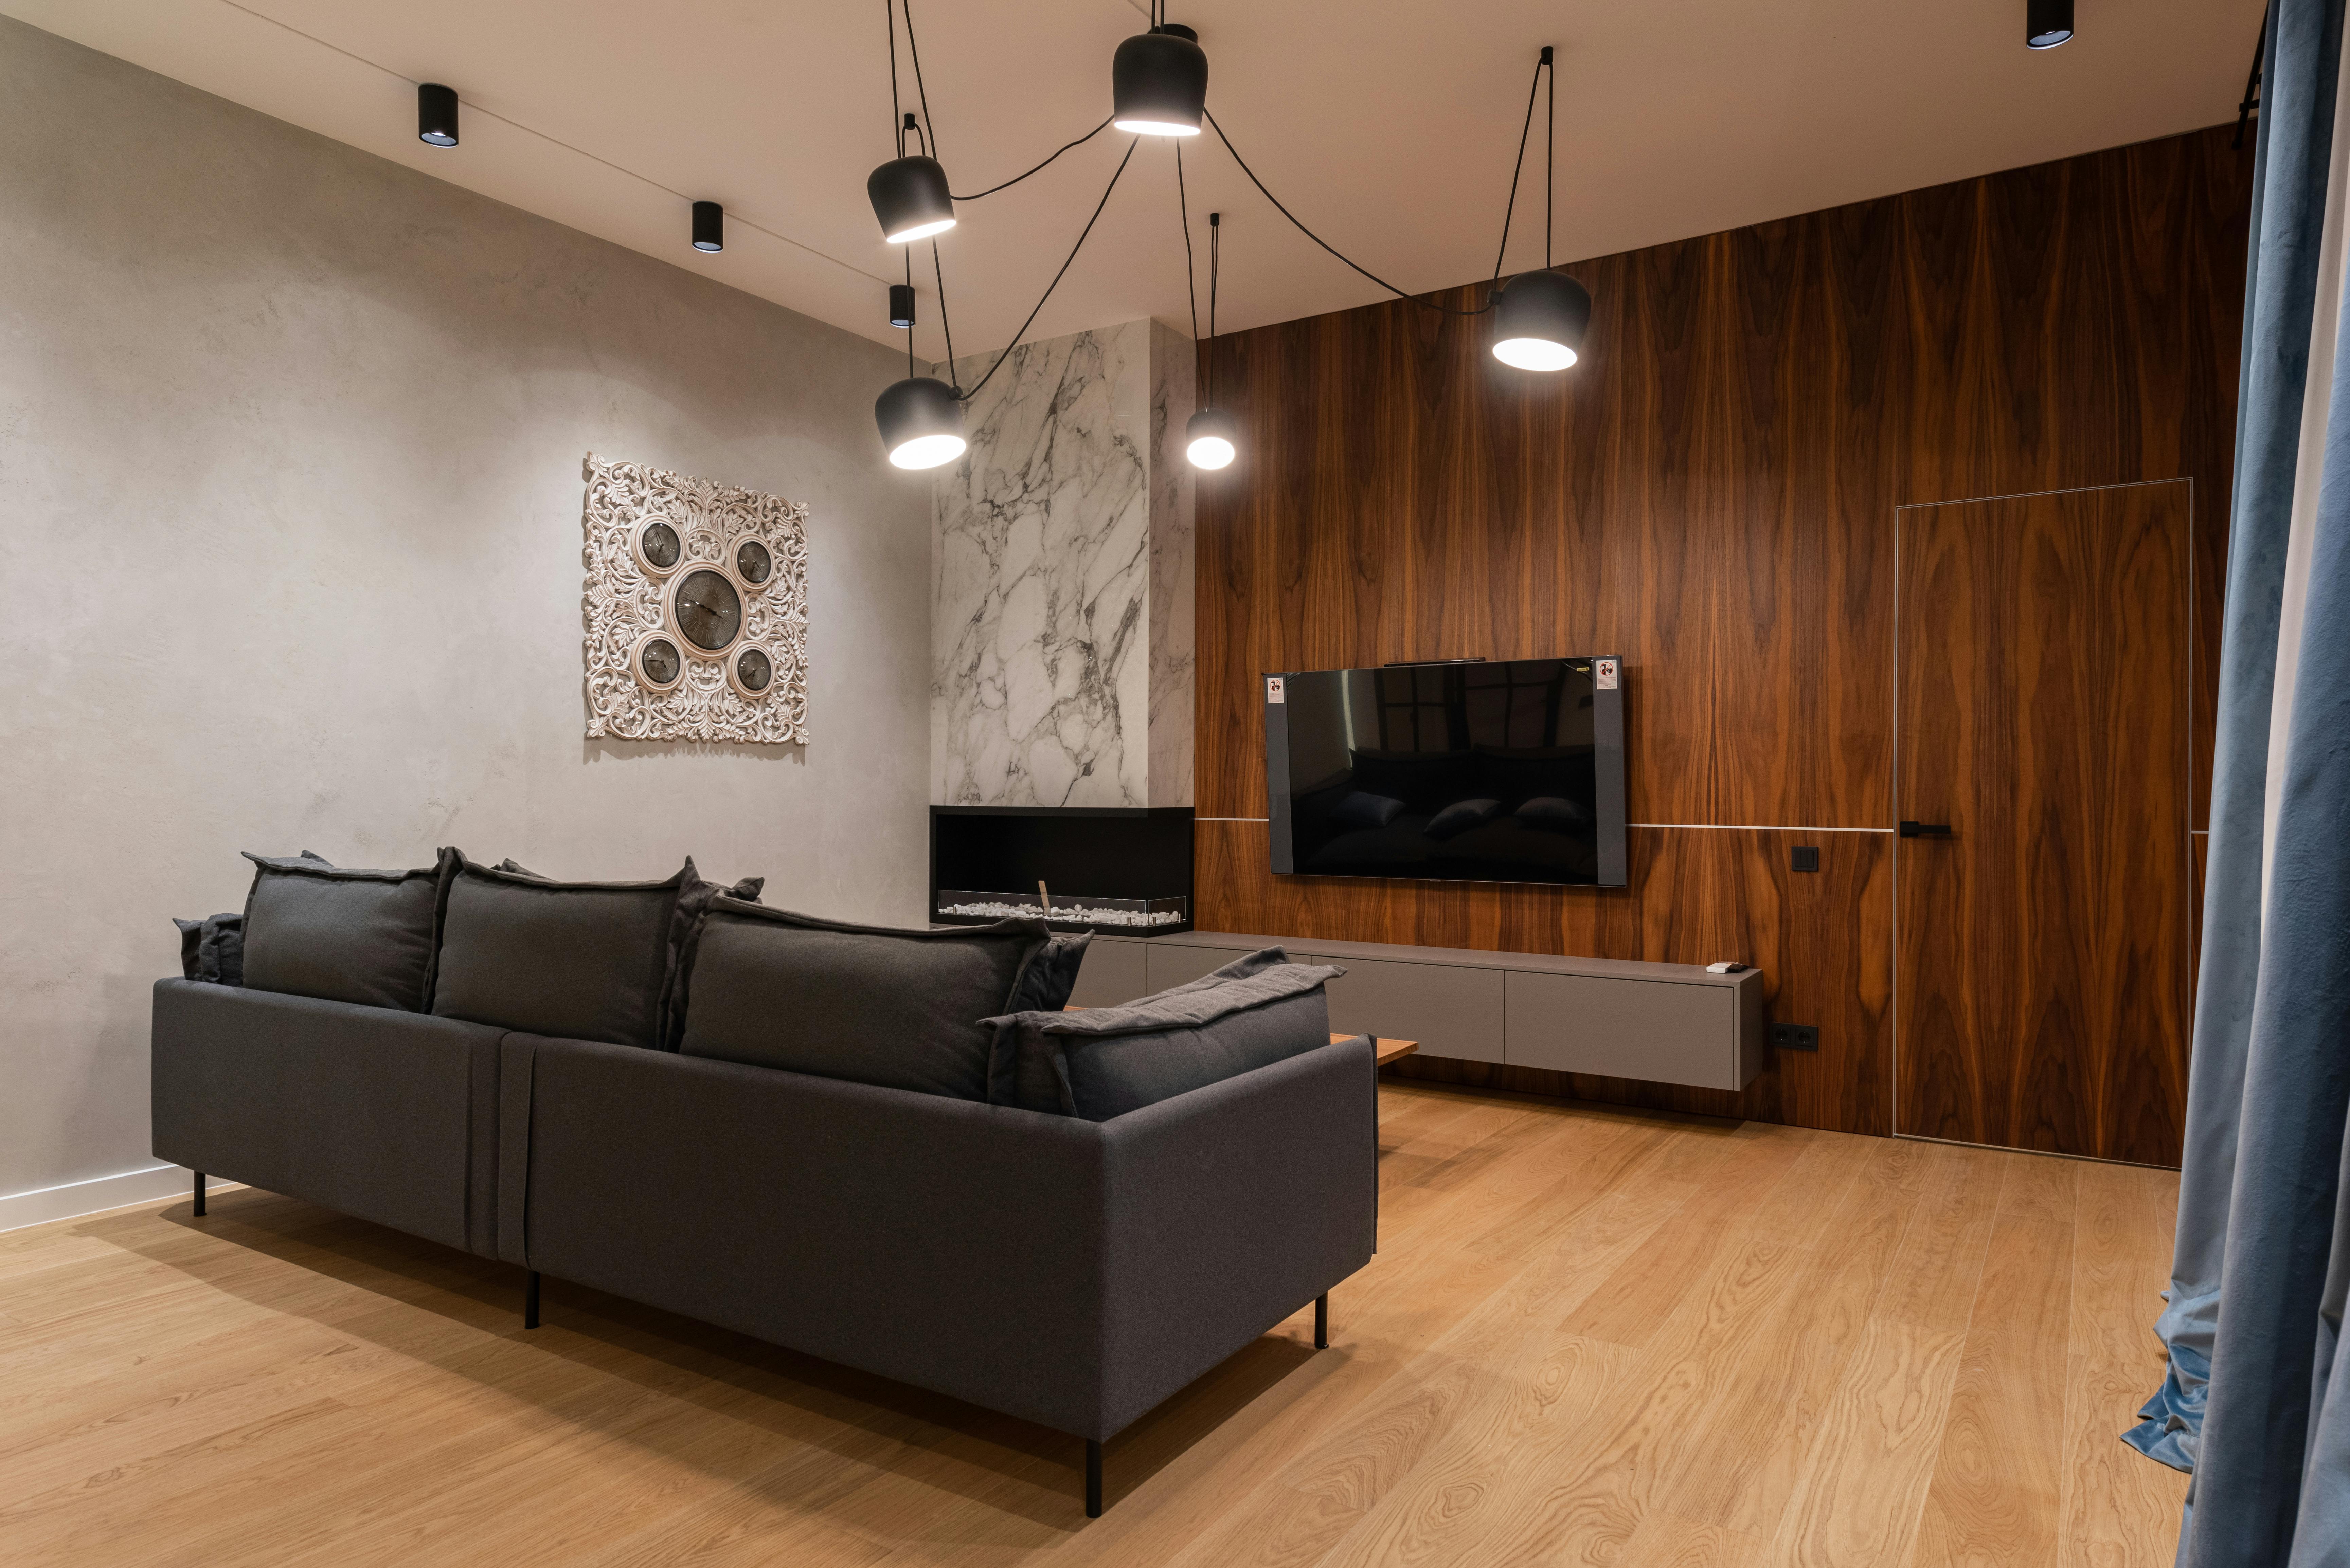
Image 1: Limewash Accent Wall in Living Room
Placement location: After the section titled “How to DIY Limewash Walls Without Crying Into Your Drop Cloth.”
Supports sentence/keyword: “Use a large masonry or block brush. This is not the time for your delicate trim brush; you want big, soft, feathery strokes.” and the overall description of a limewashed living room wall.
Image description: A realistic photo of a modern living room featuring a large limewashed accent wall in a warm mushroom/stone tone. The wall shows visible soft, cloudy variation with no heavy texture, just tonal movement. Against the wall is a simple light-colored fabric sofa, a natural wood coffee table, a jute rug, and a black metal floor lamp. Lighting is soft and indirect to highlight the cloudiness of the limewash. No people, pets, or decorative clutter; the focus is clearly on the wall finish and how it integrates with the furniture.
SEO-optimized alt text: “Living room with warm mushroom-colored limewash accent wall, light sofa, wood coffee table, and jute rug showing soft cloudy wall texture.”
Example source URL (verify 200 OK): https://images.pexels.com/photos/6585612/pexels-photo-6585612.jpeg
Image 2: Faux Plaster Bedroom Feature Wall
Placement location: After the section titled “DIY Faux Plaster Feature Wall: Drama for Under $150.”
Supports sentence/keyword: “For bedrooms and living rooms, the fan-favorite project right now is a single faux plaster feature wall behind the bed or sofa.”
Image description: A realistic photo of a bedroom with a plaster-effect feature wall directly behind the bed. The wall has visible trowel marks and subtle texture in a warm greige or clay tone, with matte finish. A simple upholstered or wood headboard sits against the wall with neutral bedding (white and beige). Bedside tables are minimal, each with a small lamp. No people present. The overall look is calm and cozy, with the eye clearly drawn to the textured wall behind the bed.
SEO-optimized alt text: “Bedroom with faux plaster feature wall in warm greige behind bed, showing subtle trowel texture and neutral bedding.”
Example source URL (verify 200 OK): https://images.pexels.com/photos/6585764/pexels-photo-6585764.jpeg
Image 3: Close-Up of Troweled Plaster Texture
Placement location: Within the faux plaster section, near the steps “Apply the First Coat (a.k.a. ‘The Chaos Layer’)” and “Second Coat: Strategic Imperfection.”
Supports sentence/keyword: “Leave some trowel marks and subtle waves—they’ll read as artisan, not accident.”
Image description: A close-up, realistic photo of an interior wall finished with faux plaster or Venetian plaster. The image shows clear but refined trowel marks, shallow ridges, and subtle variations in tone (e.g., layers of stone or clay color). No furniture, decor, hands, or tools in frame—just the wall surface, well-lit from the side so the texture is obvious and educational.
SEO-optimized alt text: “Close-up of faux plaster wall with visible trowel marks and subtle tonal variation in warm stone color.”
Example source URL (verify 200 OK): https://images.pexels.com/photos/6207815/pexels-photo-6207815.jpeg
