
5 Powerful Bodyweight Exercises This 63-Year-Old Trainer Swears By For Faster Muscle Gains Than Walking
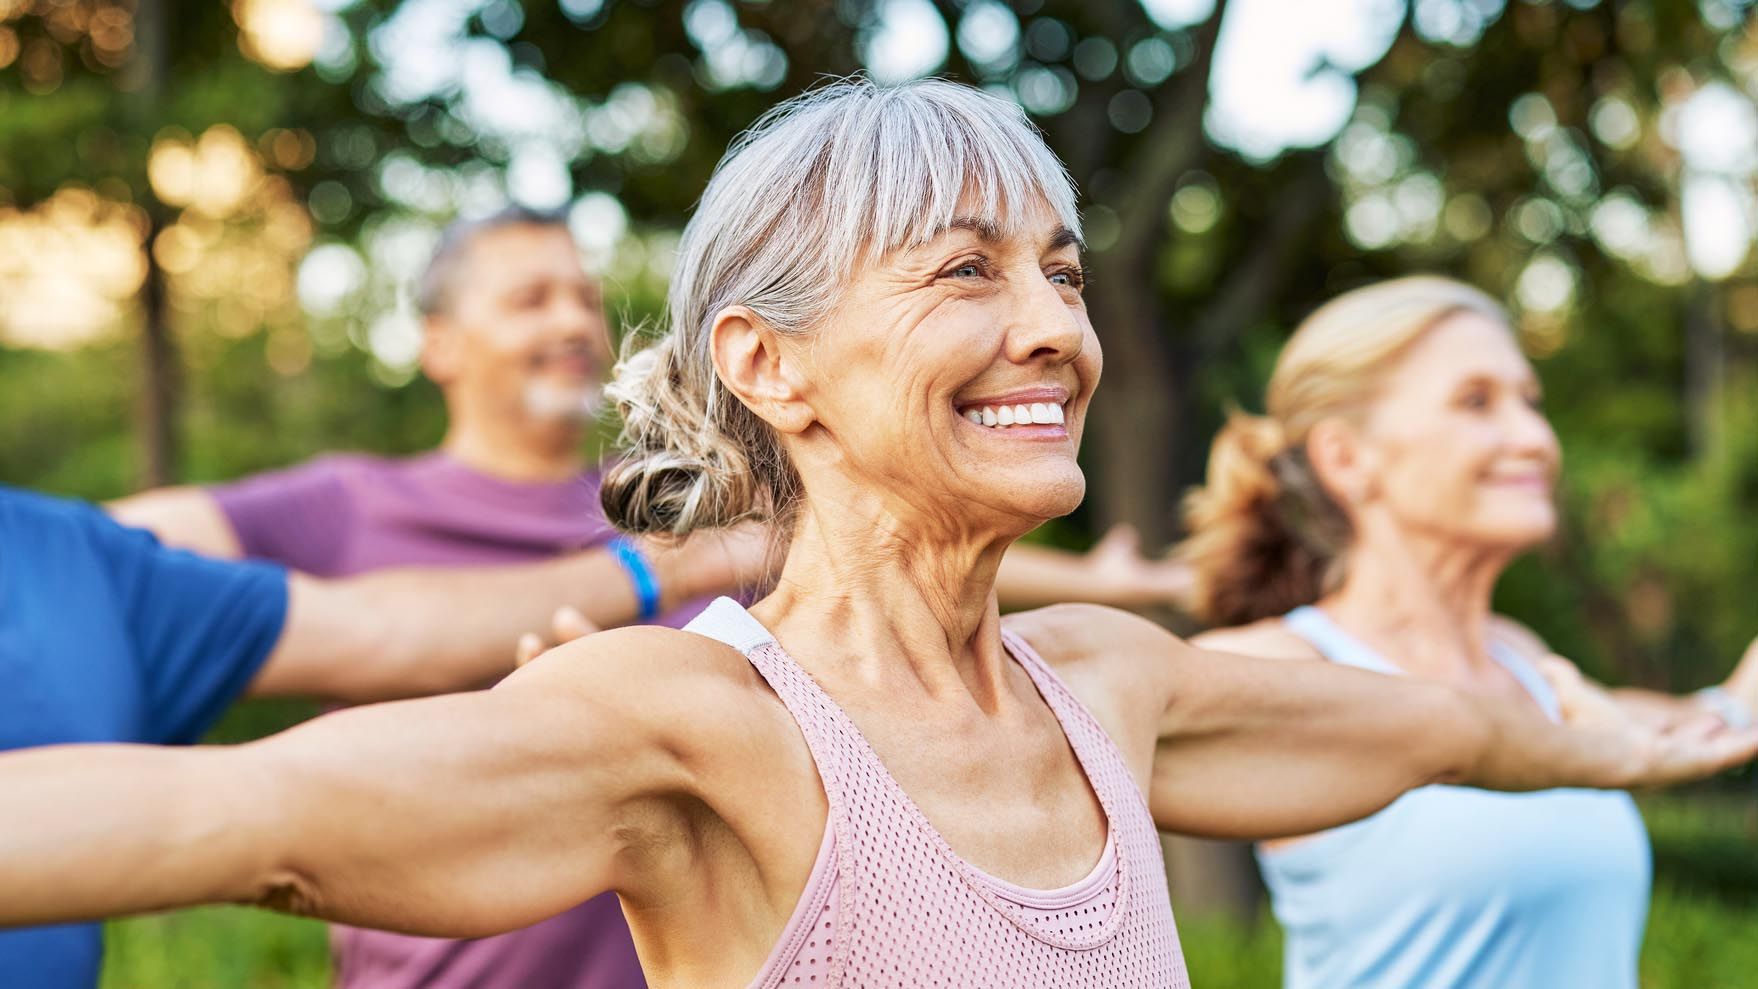
At 63, I’ve seen both sides of aging: clients who stay strong and independent well into their 70s and 80s—and others who slowly lose strength, balance, and confidence. The difference is rarely about “good genes.” It’s about consistent, smart strength training, even when you’re starting late or returning after a long break.
Walking workouts are fantastic for your heart and mood, but they’re simply not enough to build and maintain the muscle you need as you get older. That’s why, as a personal trainer in my 60s, I give my clients a short list of five simple bodyweight exercises that build muscle and strength far more effectively than walking alone—without needing a gym or fancy equipment.
In this guide, I’ll break down each exercise, explain how to do it safely (especially if you’re a beginner or have joint issues), and show you how to turn them into a realistic weekly routine you can stick with.
Why Walking Alone Isn’t Enough as You Age
Walking is excellent for cardiovascular health, stress reduction, and joint mobility. But when it comes to preventing age-related muscle loss (sarcopenia), you need more than steps.
- After about age 30, adults can lose 3–8% of muscle mass per decade if they don’t strength train.
- After 60, that loss can accelerate, affecting balance, walking speed, and the ability to climb stairs or get off the floor.
“For older adults, resistance training is not optional—it’s essential for maintaining independence.”
— Position stand, American College of Sports Medicine (ACSM)
The good news: you don’t need heavy weights to get these benefits. Well-chosen bodyweight exercises can stimulate muscle growth, improve coordination, and support bone health when done consistently and progressively.
What This 5-Move Routine Looks Like
These are the five bodyweight exercises I prioritize for clients in their 50s, 60s, and beyond. Together they work your legs, hips, core, chest, back, and arms:
- Chair Squat
- Incline Wall or Counter Push-Up
- Hip Hinge / Good Morning (for glutes and lower back)
- Step-Up (or March) for Balance and Leg Strength
- Dead Bug (or Modified Plank) for Core Stability
Let’s walk through each movement with beginner-friendly options and ways to make them harder over time.
1. Chair Squat: Your Everyday Strength Builder
If you only did one lower-body exercise, I’d pick the chair squat. It trains the exact movement you use to get out of a chair, off the toilet, or up from a low sofa—core actions for staying independent.
How to do a basic chair squat
- Use a stable chair without wheels; place it against a wall if needed.
- Stand in front of the seat, feet about hip–shoulder-width apart, toes slightly turned out.
- Reach your arms forward for balance.
- Push your hips back as if reaching for the chair, bending your knees and keeping your chest lifted.
- Lightly tap the chair with your hips—don’t fully relax or “plop.”
- Press through your heels to stand back up, squeezing your glutes at the top.
Beginner modifications
- Use your hands: Push off your thighs or the chair until you build more leg strength.
- Higher surface: Start from a higher chair or stack a firm cushion to reduce the range of motion.
- Partial squats: Only lower halfway if knees are sensitive, focusing on smooth, pain-free motion.
To progress over time
- Pause for 2 seconds at the bottom before standing.
- Hold light dumbbells or water bottles once it feels easy.
- Gradually move to free-standing squats without sitting.
2. Incline Wall or Counter Push-Up: Upper-Body Power Without the Floor
Traditional floor push-ups can feel intimidating—even for younger clients. That’s why I start nearly everyone with incline push-ups against a wall, countertop, or sturdy table. They strengthen your chest, shoulders, arms, and core while protecting your wrists and lower back.
How to do an incline push-up
- Place your hands on a wall, countertop, or sturdy table at about shoulder-width.
- Walk your feet back until your body forms a straight line from head to heels.
- Brace your core gently—imagine zipping up tight pants.
- Lower your chest toward the surface, elbows at about a 30–45° angle from your sides.
- Pause briefly, then press back to your starting position.
Beginner modifications
- Start with a wall push-up: stand more upright so less of your body weight is supported by your arms.
- Adjust your feet closer to make it easier; further away to make it harder.
- If wrists are sensitive, place hands on a rolled towel or use a slightly angled surface.
To progress over time
- Gradually move to a lower surface: wall → counter → sturdy coffee table → edge of a bed.
- Add a slow 3-second lowering phase for more muscle challenge.
- Eventually move to knee push-ups or full floor push-ups if appropriate.
3. Hip Hinge / Good Morning: Protecting Your Back With Strong Hips
The hip hinge teaches you to bend from your hips instead of rounding your back—a crucial skill for picking up groceries, laundry, or grandkids safely. This movement strengthens your glutes, hamstrings, and the muscles that support your lower back.
How to do a bodyweight hip hinge
- Stand tall with feet hip-width apart and knees slightly bent.
- Place your hands on your hips or across your chest.
- Keeping your spine long and chest open, push your hips straight back, as if trying to close a car door with your backside.
- Allow your torso to lean forward while your weight shifts into your heels.
- Stop when you feel a gentle stretch in your hamstrings or your torso is about 45° to the floor.
- Drive through your heels and squeeze your glutes to return to standing.
Beginner modifications
- Perform the hinge with your back lightly touching a wall behind you; slide your hips back to tap it.
- Hold onto the back of a chair for extra balance.
- Keep the movement small at first; depth matters less than good spinal alignment.
To progress over time
- Hold a light weight, backpack, or water jug close to your chest.
- Slow down the lowering phase to 3 seconds.
- Later, progress to single-leg hinges for balance and glute strength, if safe for you.
4. Step-Up or March: Strength Plus Balance in One Move
The ability to climb stairs, step onto a curb, or catch yourself if you trip relies on single-leg strength and balance. Step-ups replicate those real-life challenges in a controlled, progressive way.
How to do a basic step-up
- Use the bottom step of a staircase or a very sturdy low platform.
- Stand tall facing the step, feet hip-width apart.
- Place your right foot fully on the step, heel down.
- Press through your right heel to lift your body up, lightly tapping your left foot on the step.
- Control your descent as you step back down with the left foot.
- Complete all reps on one side, then switch legs.
Beginner modifications / alternatives
- Use a railing: Lightly hold a handrail or wall for balance.
- Reduce step height: Start with a very low step or even a thick book to build confidence.
- March in place: If stepping up feels too challenging, stand tall and alternate lifting one knee at a time, holding onto a counter for support.
To progress over time
- Increase step height gradually.
- Add a brief 1–2 second balance hold at the top of each step.
- Hold light hand weights once you feel solid and stable.
5. Dead Bug or Modified Plank: Core Stability That Protects Your Spine
A strong core isn’t about sit-ups; it’s about stability—keeping your spine steady while your arms and legs move. The dead bug is one of my favorite gentle core exercises for older adults. For those who prefer not to lie on the floor, a modified plank at a countertop is a great alternative.

Dead bug (floor-based option)
- Lie on your back on a mat, knees bent, feet flat.
- Gently brace your core as if preparing for a light poke in the stomach.
- Lift your legs so your hips and knees are at 90°, knees over hips.
- Lift your arms straight up toward the ceiling.
- Slowly lower your right arm overhead and left leg toward the floor, keeping your lower back gently pressed into the mat.
- Return to the start and switch sides.
Modified standing plank (non-floor option)
- Place your forearms on a countertop or sturdy table.
- Walk your feet back until your body forms a straight line from head to heels.
- Gently squeeze your glutes and brace your core.
- Hold for 10–20 seconds while breathing steadily.
Beginner tips
- If your lower back arches during dead bugs, make the movement smaller or keep your feet closer to the floor.
- For planks, start with a more upright angle (closer to the wall) to reduce intensity.
- Stop immediately if you feel sharp back or shoulder pain.
How to Turn These Moves Into a Simple Weekly Routine
Many of my clients assume they need long, exhausting workouts to see results. In reality, 15–25 focused minutes, 2–3 times per week, can make a noticeable difference in strength, balance, and confidence—especially if you’re coming from little or no resistance training.
Sample beginner routine (2–3 days per week)
- Chair squat: 2 sets of 8–12 reps
- Incline push-up: 2 sets of 8–10 reps
- Hip hinge: 2 sets of 10–12 reps
- Step-up or march: 2 sets of 8–10 reps per leg
- Dead bug or modified plank: 2 sets of 6–8 slow reps per side, or 2 × 15–20 seconds hold
Rest 30–60 seconds between sets, longer if you feel breathless. On non-strength days, keep your walking habit for heart health and recovery.
How to know you’re working at the right level
- The last 2–3 reps of a set should feel challenging but doable with good form.
- You can talk in short sentences, but singing would be difficult.
- You feel pleasantly worked, not wiped out, within 30 minutes after finishing.
Common Obstacles (and How My Clients Work Through Them)
Over the years, I’ve heard many of the same worries from new clients in their 50s, 60s, and 70s. Here’s how we address them together.
“I’m afraid of hurting myself.”
That fear is understandable—and healthy. We respect it by:
- Starting with smaller ranges of motion and higher surfaces.
- Stopping any movement that causes sharp or worsening pain.
- Progressing only when you feel confident and stable.
“I get discouraged because progress feels slow.”
Early changes often show up in how you feel before they show in the mirror: fewer aches, better sleep, easier stairs. I encourage clients to track “wins” like:
- Getting out of a low chair without using your hands.
- Walking up a hill with less huffing and puffing.
- Feeling steadier on uneven ground.
“I’ve taken long breaks before—what’s the point now?”
One of my 68-year-old clients started after a decade of almost no exercise. Within three months of gentle, consistent bodyweight training, she reported that carrying groceries and getting off the floor to play with her grandkids felt “surprisingly easy” again.
The point isn’t perfection—it’s regaining capabilities that make your daily life richer and less restricted.
What the Science Says About Strength Training and Aging
Research over the last two decades has consistently shown that resistance training is one of the most effective ways for older adults to maintain function and quality of life.
- Regular strength training (2–3× per week) can increase muscle mass and strength in older adults, even into their 80s and 90s.
- It’s associated with better blood sugar control, improved bone density, and reduced fall risk.
- Bodyweight and light-resistance exercises can be as effective as machine training for beginners when done consistently and progressed appropriately.
For more on the benefits of strength training in older adults, see:
Putting It All Together: Start Small, Stay Consistent
At 63, I don’t chase extreme workouts—and I don’t ask my clients to, either. What matters most is consistency and movements that respect your joints while challenging your muscles.
Walking keeps your heart and mind healthy. These five bodyweight exercises help you stay strong enough to live the life you want: carry your own bags, climb stairs without fear, get down on the floor and back up again.
You don’t need perfection to begin. You just need your body, a few minutes, and the willingness to start where you are today.
Your next step:
- Pick two days this week for a 15–20 minute strength session.
- Go through one gentle set of each of the five exercises.
- Write down how you feel before and after—energy, mood, and confidence.
From there, build gradually. Your future self will thank you for every rep you start today.
