
Peel‑and‑Stick Everything: The Zero‑Commitment Glow‑Up Your Walls Have Been Waiting For
Peel-and-stick wallpaper, tiles, and wall panels are exploding in popularity as renters and homeowners chase reversible, budget-friendly decor glow-ups. Today we’re diving into how to use these trending, rental-friendly heroes to transform living rooms, bedrooms, kitchens, and bathrooms without losing your deposit—or your sanity.
If your lease feels more like a decor prison sentence than a contract, peel-and-stick is your shiny set of keys. Under hashtags like #rentalfriendly, #walldecor, and #diyhome, creators are turning beige boxes into personality-packed spaces using nothing more than a measuring tape, a utility knife, and mild delusion confidence.
Think of peel-and-stick as the commitment‑phobe’s version of renovation: all the drama of a makeover, none of the “please don’t keep my security deposit” anxiety. Let’s walk through what’s trending right now and how to pull it off in your own space without bubbles, crooked seams, or tears (yours or the wallpaper’s).
Why Peel‑and‑Stick Is Suddenly Everywhere
Peel‑and‑stick used to be that weird cousin of “real” renovation products. Now it’s the main character. Here’s why it’s trending so hard right now:
- Housing costs are wild. People are renting longer, sharing spaces, and desperately trying to make generic walls feel like home without painting everything “Landlord Beige #42.”
- Short‑form videos love a glow‑up. A 15‑second clip of a sad wall becoming a “wow” wall is instant content gold. And what films better than a time‑lapse of wallpaper going up?
- The quality finally caught up. Today’s peel‑and‑stick patterns look like actual grasscloth, linen, Zellige tile, or fluted panels—not pixelated stickers from your childhood notebook.
- Reversibility is the new luxury. Being able to remove everything on move‑out day without spackle therapy? That’s priceless.
In short, peel‑and‑stick sits right at the intersection of budget living, DIY bravery, and Instagrammable transformation. Let’s talk about how to bring that energy into your own home.
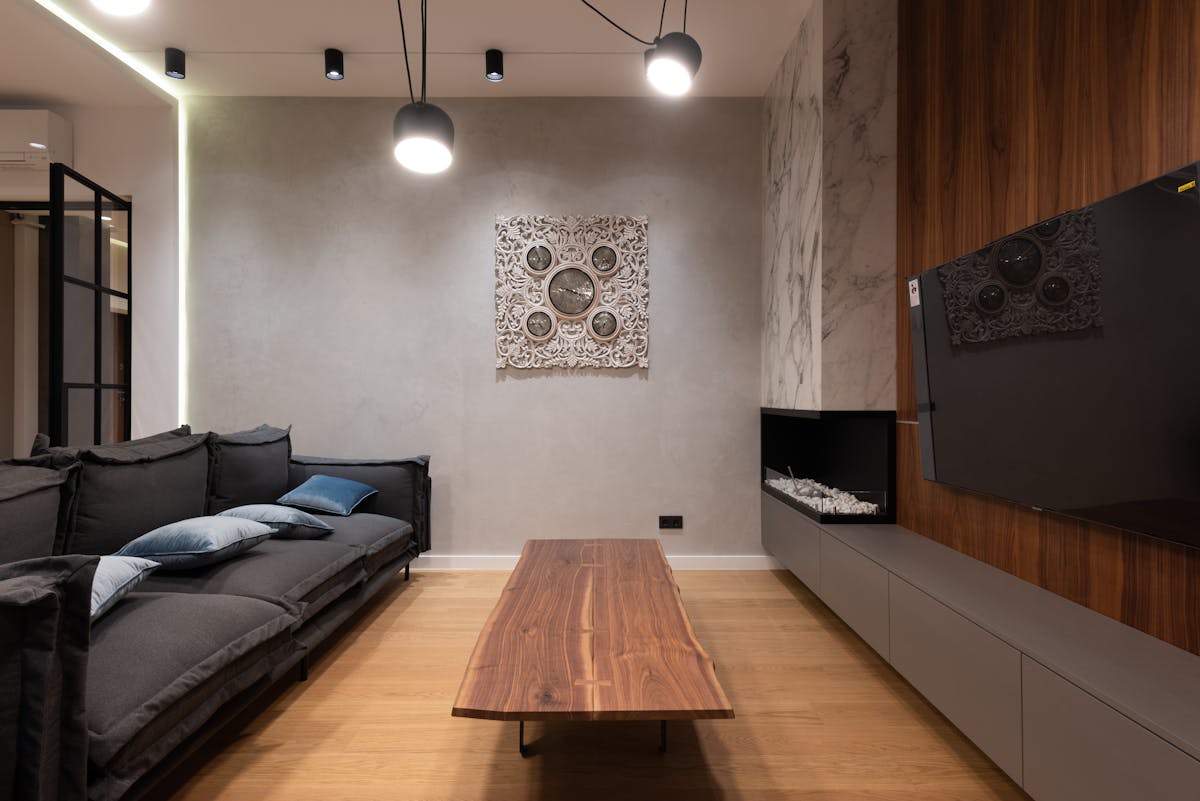
Living Room Glow‑Ups: Peel‑and‑Stick Accent Walls That Actually Look Custom
The living room is peel‑and‑stick wallpaper’s favorite playground. Accent walls behind sofas or TV units are the star of the show right now, especially in subtle, texture‑rich patterns.
Trending Patterns Right Now
- Faux linen and grasscloth looks: Soft, woven textures that add depth without screaming for attention.
- Organic stripes and arches: Gentle curves and hand‑drawn style lines that feel modern but cozy.
- Soft geometrics in neutrals: Think sand, oatmeal, mushroom, and warm greige—not your 2010 chevron flashbacks.
The current vibe: elevated but calm, like your living room sips matcha and journals about its feelings.
How to Nail a Living Room Accent Wall
- Pick the right wall. Typically:
- Behind the sofa
- Behind the TV unit
- Or the wall you see first when you walk in
- Pair with simple styling. Once your wall is dressed up, let it shine:
- Use simple floating shelves with just a few objects.
- Try a curated gallery wall—same frame color, different sizes.
- Keep the furniture calm; the wall is already doing the most.
- Mind the lighting. Texture‑look wallpapers (linen, grasscloth) love warm light. Swap in warm LED bulbs (2700–3000K) so your walls don’t look like they’re lit by a hospital corridor.
Think of your living room accent wall as the outfit, and everything else as the accessories. If the wall is wearing sequins, the sofa doesn’t also need glitter boots.

Bedroom Magic: Fake a Custom Headboard Wall (No Power Tools, No Tears)
Over in Bedroom Land, peel‑and‑stick is busy pretending to be luxury millwork. The current hero move? A peel‑and‑stick headboard wall that makes your bed look built‑in and intentional—even if your nightstand is a stack of books and optimism.
What’s Trending Behind the Bed
- Panel‑look wallpaper: Creates the illusion of framed wall panels—French apartment vibes on a ramen budget.
- Fluted‑look wallpaper: Vertical “ribbed” patterns that mimic trendy fluted wood or plaster walls.
- Peel‑and‑stick wood slats and 3D panels: Lightweight pieces you can apply like giant stickers to get actual dimension, no nails required.
These work especially well in rentals where you can’t install real slats or paneling but you do want your bedroom to stop feeling like a sad mattress warehouse.
Headboard Wall Layout Tips
A few design rules to keep the look polished instead of “I did this at midnight and it shows”:
- Width: Ideally, go at least the width of your bed plus the nightstands. Slightly wider than the bed feels luxurious.
- Height: Bring the pattern up at least 18–24 inches above your headboard, or go all the way to the ceiling for maximum drama.
- Color: Moody greens, taupes, and warm greys are huge right now. They play nicely with white bedding and wood tones.
Pro tip: If you don’t have a headboard, a peel‑and‑stick “panel” rectangle behind the bed instantly fakes one. Just center it and match your bedding to one of the tones in the pattern.
Finish the look with simple bedside sconces (plug‑in, renter‑friendly), and suddenly your once‑basic bedroom looks like it charges $400 a night.
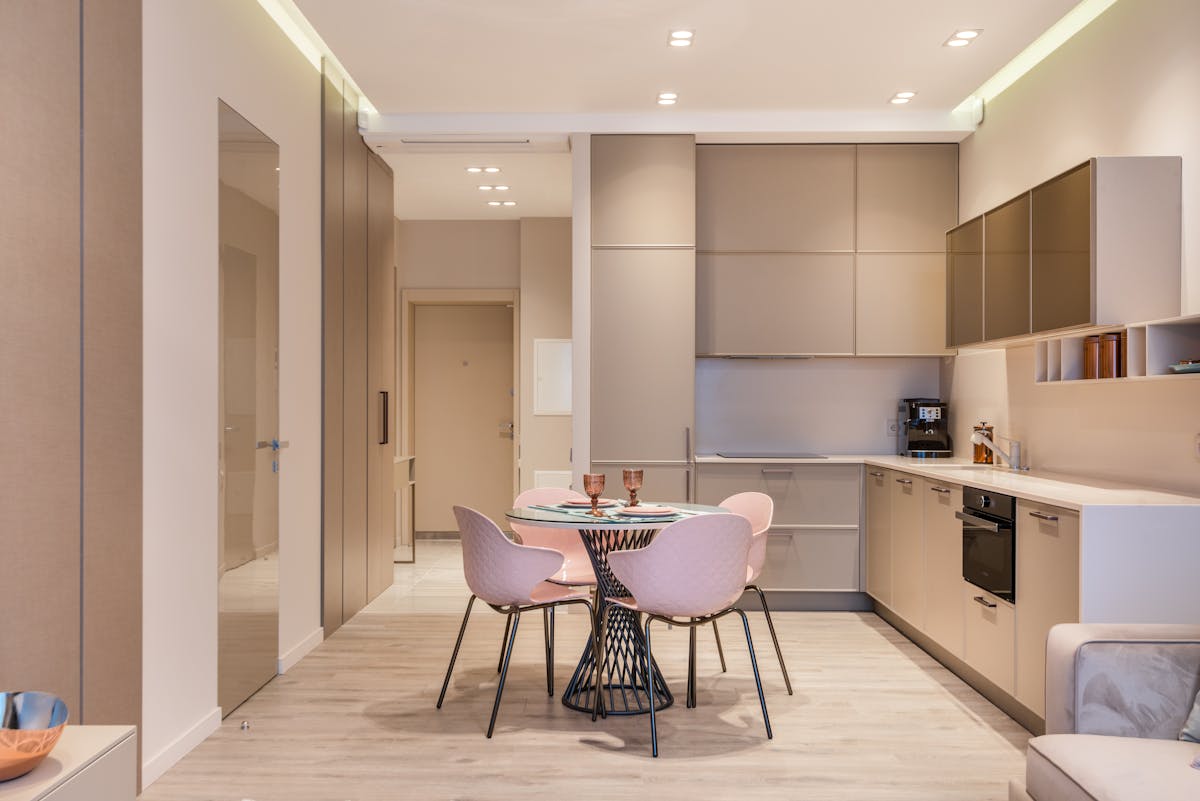
Kitchen & Bathroom: Fake a Remodel with Peel‑and‑Stick Tiles
This is where peel‑and‑stick really starts cosplaying as a full renovation. Small kitchens and bathrooms are being transformed with:
- Subway‑style peel‑and‑stick tiles for clean, classic backsplashes.
- Zellige‑inspired tiles with imperfect, glossy finishes that look artisanal (and photograph beautifully).
- Hexagon tiles for a modern edge that instantly updates dated spaces.
These go right over plain drywall or, in some cases, over existing tile (always check the manufacturer’s instructions) to turn “builder basic” into “soft launch of my cooking show.”
Make It Look Real: The Secret Sauce
Peel‑and‑stick tiles can look surprisingly legit if you treat them like the real thing:
- Prep like a perfectionist.
- Clean surfaces thoroughly (degreaser is your new best friend in the kitchen).
- Make sure walls are smooth, dry, and not flaking paint.
- Lightly mark a level line so the “grout” doesn’t start drifting uphill.
- Mind the edges. Creators are big on caulking the edges where tile meets countertop or walls. A thin bead of caulk in a matching color hides seams and makes the whole installation look built‑in.
- Cut carefully. Use a sharp utility knife and a metal ruler. Dull blades equal chewed corners, and chewed corners scream “this is stickers.”
Durability varies by brand, so don’t expect them to survive a pressure washer or a decade of boiling pasta steam. But for a few years of visual upgrade—especially in rentals—they’re surprisingly mighty.
Peel‑and‑Stick + DIY Art: The $100 Makeover Combo Everyone’s Posting
Scroll through decor feeds and you’ll see this winning formula on repeat:
- A peel‑and‑stick feature wall or backsplash as the backdrop.
- DIY or budget‑friendly art layered in front as the personality.
It’s the secret behind those “I transformed this room for under $100” videos that somehow make you question every decision you’ve ever made with a credit card.
Easy DIY Art Ideas That Actually Look Chic
- Oversized canvas abstracts: Paint simple, large shapes in the same color family as your wallpaper. Imperfect is good; “vibes” over “fine art degree.”
- Framed fabric: Pick a good‑quality fabric or leftover curtain panel, stretch it over board, and frame it. Instant designer moment.
- Printable art: Download high‑res prints from reputable sites, print locally on heavy paper, and frame with simple, uniform frames.
The trick is to let one element be the star. If your wallpaper is bold, keep art calming and minimal. If your wall is subtle, go wild with graphic prints or color.
Design rule of thumb: one diva per wall. If the wallpaper sings, the art hums along in harmony.
Practical Stuff: How Not to Lose Your Mind (or Your Deposit)
Peel‑and‑stick is easier than traditional installs, but it’s still a project. A few hard‑won lessons from the internet hive mind:
Before You Peel
- Order a sample first. Colors can look wildly different in person, especially in low‑light rentals. Test it on your actual wall.
- Check your paint type. Some ultra‑matte or “scrubbable” paints can reject adhesives. If in doubt, test a small patch.
- Measure twice, add 10–15% extra. You’ll want wiggle room for pattern matching and trimming.
While You Stick
- Start from the least visible corner. That way, if your first panel is a little chaotic, it’s not the first thing guests see.
- Use a smoothing tool. A plastic scraper or even a clean credit card wrapped in a soft cloth works to push out air bubbles.
- Work slowly, top to bottom. Peel a bit of backing, stick a bit, smooth a bit. Repeat. No ripping the whole backing off at once unless you enjoy chaos.
When It’s Time to Move Out
Good‑quality peel‑and‑stick should:
- Remove cleanly if you pull it slowly at a low angle.
- Sometimes benefit from a hair dryer on low heat to soften adhesive on stubborn spots.
- Leave your wall looking like its original bland self—just in time for the next tenant.
Always read the manufacturer’s removal instructions, and maybe do a tiny test strip in a hidden corner if your landlord already seems stressed.
Peel‑and‑Stick Courage: Start Small, Dream Big
You don’t have to transform your entire home in one weekend montage. Start with:
- A single living room accent wall behind your sofa.
- A headboard wall that finally gives your bedroom a focal point.
- A tiny kitchen backsplash test zone behind the coffee station.
The beauty of peel‑and‑stick is that it invites experimentation. If you hate it, you can remove it. If you love it, you can build the rest of the room around it like the main character it clearly is.
Your home doesn’t have to wait until you “own a place someday” to feel like you. With the current generation of peel‑and‑stick wallpapers, tiles, and panels, you can treat your rental—or your forever home—like the flexible, evolving space it’s meant to be.
So grab a roll, queue up your favorite playlist, and give your walls the makeover they’ve been subtweeting you about for years. Just remember: measure carefully, smooth slowly, and take lots of before‑and‑after photos. The internet—and your future self—will thank you.
