
How to Fake a Designer Makeover on a Thrift Store Budget (Without Crying Over Receipts)
Inflation is inflating, renovation quotes are terrifying, and yet…your living room still looks like a “before” picture. The good news? High-impact, low-cost DIY makeovers are having a major moment, and they’re basically the superhero cape your home has been waiting for—no contractor, no demolition, and no calling your bank in tears.
Across TikTok, YouTube, and every Facebook DIY group your aunt has invited you to, people are painting old furniture, hacking IKEA pieces into built-ins, faking fireplaces, and giving bedrooms spa vibes with nothing but plywood, peel-and-stick, and pure delusion (the good kind). Today, we’re diving into Budget DIY Home Improvement: High‑Impact, Low‑Cost Room Makeovers—the 2025 edition—so you can turn your home into a “wow” without spending your retirement.
Consider this your witty, slightly bossy, but extremely supportive decor friend, walking you through the best current budget-friendly trends that actually move the needle: painted furniture, renter-friendly walls, faux built-ins, thrift flips, and smart lighting that makes everything look more expensive than it really is.
Step 1: Pick Your “Power Zone” (So You Don’t DIY Your Entire Life at Once)
Before you grab a paintbrush and start aggressively improving everything, choose one power zone—a smallish area that will give you maximum visual payoff:
- Living room focal wall (behind the TV or sofa)
- Bedroom headboard wall
- Entry nook (so guests don’t think you live in a cardboard box)
Ask yourself: “If I only had $150 and one weekend, what space would make my whole home feel more ‘finished’?” That’s your target. High‑impact, low‑square‑footage—that’s the strategy.
Pro tip: Take brutally honest “before” photos. They’re motivating, humbling, and perfect for future bragging rights.
Step 2: Paint Is Your Superpower (No Sledgehammer Required)
If full renovation is a rom‑com fantasy, paint is the realistic best friend who actually shows up. Trending right now: moody, saturated wall colors and clever shapes that fake architecture.
Painted arches: Designer drama with a $25 can
Painted arches behind beds, sofas, or consoles are still huge—and for good reason. They:
- Frame your furniture and make it look intentional
- Add “architecture” in flat, boring rooms
- Require nothing but paint, painter’s tape, and a steady-ish hand
Use a darker or warmer shade than your wall color so the arch reads as a “feature,” not an oops.
DIY picture-frame molding (the grown-up wall outfit)
Box trim and picture-frame molding are ruling search results and reels. Here’s the basic formula:
- Buy inexpensive wood strips or MDF trim from the hardware store.
- Cut them to form rectangles on your wall (you can have the store cut for you).
- Attach with construction adhesive and a few brad nails or nails and wall anchors.
- Caulk the gaps, then paint the entire wall—trim included—in one rich color.
One color over everything = instant “custom, but make it budget.”
This kind of wall detail looks especially elevated in living rooms and bedrooms, turning a basic painted wall into a “did you hire someone?” moment.
Step 3: Fake Built‑Ins and Faux Fireplaces (The Illusion of Money)
True built‑ins are fabulous and also fabulously expensive. 2025’s workaround? “Fake it till you make it built‑ins” made from stock cabinets, IKEA pieces, and MDF.
The IKEA bookcase glow‑up
A wildly popular project: turning simple bookcases into custom-looking units:
- Line up 2–4 matching bookcases or stock cabinets
- Add MDF or plywood across the top to make them look like one piece
- Trim out the sides and top with simple molding
- Caulk, then paint everything the same color as your wall or in a bold accent shade
Suddenly you have “custom millwork” that cost less than a nice dinner out for two.
DIY faux fireplace: The cozy cheat code
Another trending hero: faux fireplaces with electric inserts. No chimney, no gas line, just vibes:
- Build a shallow frame from 2x4s or use an inexpensive ready-made mantel.
- Skin it in MDF or plywood, then add basic trim for depth.
- Pop in a simple electric insert or even a black-painted “firebox” with candles or logs.
- Paint the whole thing to match your wall or contrast as a focal point.
Put this on your living room TV wall and you’ve instantly leveled up the entire space.
Step 4: Thrift Flips – Turning “Why?” into “Whoa.”
Thrift stores and Facebook Marketplace are basically the VIP rooms of budget decor right now. Creators are posting “$100 living room makeover” and “thrift flip bedroom refresh” videos that start with tragic furniture and end with magazine-worthy pieces.
The basic thrift flip formula
Look for solid shapes, not perfect finishes. Then:
- Sand to smooth out old varnish or flaky paint.
- Prime (especially if it’s glossy or orange‑toned wood).
- Paint in a matte or satin finish for a modern look.
- Upgrade hardware with modern knobs or pulls.
Bonus upgrades:
- Add cane panels to doors for texture.
- Glue on trim pieces to fake inset panels.
- Swap chunky legs for sleek, tapered ones.
A tired dresser can become a chic media console; an outdated nightstand can become the star of your bedroom—without dropping big money on new pieces.
Step 5: Bedroom Headboard Hacks That Look Pricey
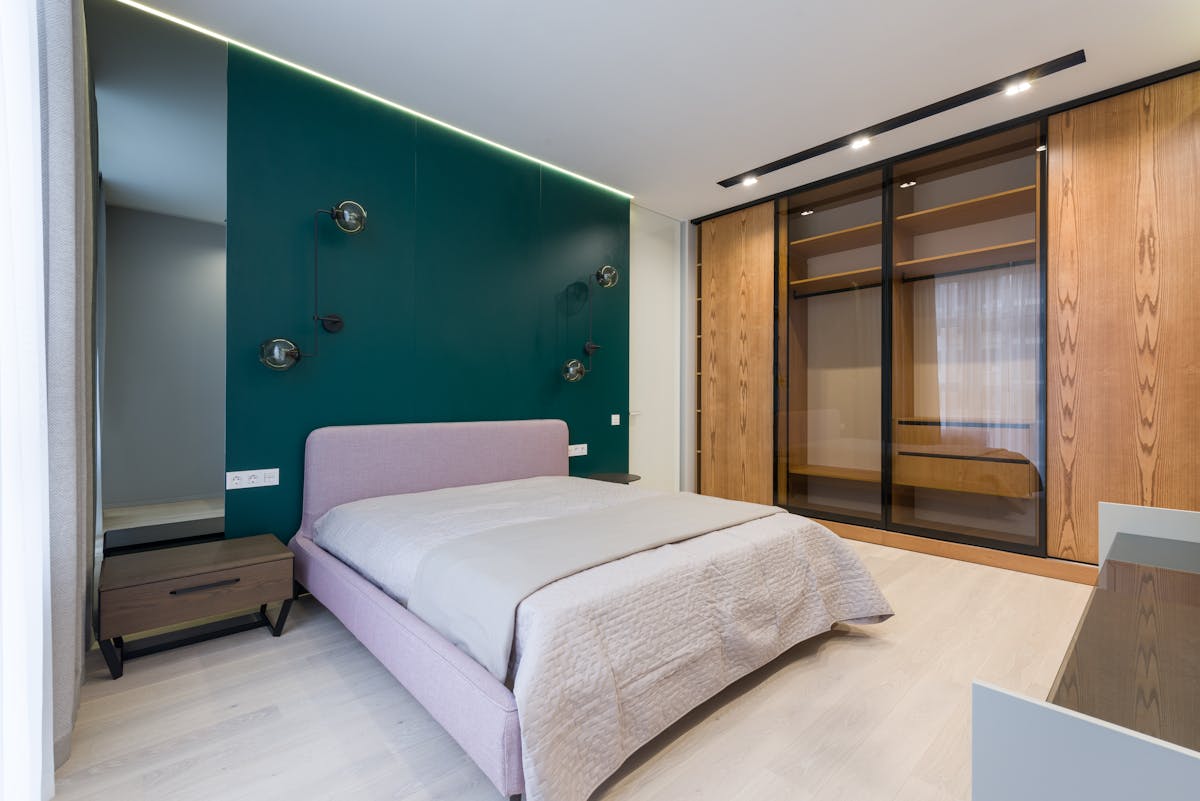
The bed is the Beyoncé of the bedroom—everything else is backup dancers. If your headboard is sad (or nonexistent), your whole room feels unfinished.
DIY plywood + foam headboard
Trending big right now: oversized, upholstered headboards made from humble materials:
- Cut plywood to the width of your bed, or wider for a more dramatic look.
- Attach foam and batting with spray adhesive and a staple gun.
- Wrap in a neutral fabric (linen-look, boucle, canvas) and staple on the back.
- Mount it to the wall with a French cleat or heavy-duty brackets.
It’s a hotel‑suite look on a “I watch DIY videos at 1 a.m.” budget.
Pair this with a painted arch or box molding behind the bed and you’ve got a full bedroom transformation without replacing any major furniture.
Step 6: Renter‑Friendly Tricks That Don’t Lose Your Deposit
Not everyone can knock down walls—or even poke them, really. Enter renter‑friendly DIY, currently dominating searches and short-form videos.
Peel‑and‑stick flooring and backsplashes
Peel‑and‑stick options have leveled up from “sad vinyl square” to “are you sure that’s not real?”:
- Peel‑and‑stick planks over dated rental floors (test a small area first).
- Peel‑and‑stick tile behind rental sinks for a no‑grout backsplash.
Both peel off when you move, leaving your landlord blissfully unaware of your secret glow‑up.
Window wizardry: Curtains high and wide
One of the easiest, cheapest visual upgrades: mounting curtain rods high and wide:
- Hang rods several inches above the window frame (close to the ceiling, if you can).
- Extend rods several inches past each side of the window.
This makes windows look larger, ceilings higher, and your room airier—no renovation, just geometry.
Step 7: Lighting – The Instagram Filter for Your Home
If decor is the outfit, lighting is the good selfie lighting—everything looks better with it. The current trend is all about affordable fixtures plus smarter bulbs.
Upgrade builder‑grade fixtures
Swap out:
- Boob lights (you know the ones) for simple flush mounts.
- Mini pendants over kitchen counters.
- Basic bedside lamps for plug‑in sconces mounted above nightstands.
Many renters use plug‑in sconces with cord covers for a “hardwired” look without touching a single wire.
Dimmers & smart bulbs = instant mood
Smart bulbs and dimmers are everywhere right now, and for good reason:
- Warm, dim light at night makes any room feel cozy and expensive.
- Cooler, brighter light in the morning helps you actually function.
- Color‑changing bulbs can wash ugly walls in a more flattering tone.
Sometimes your room doesn’t need more stuff; it just needs better lighting on the stuff you already have.
Step 8: Budget Without the Panic – Little Costs, Big Changes
High‑impact DIY doesn’t mean high chaos. Keep it calm and cute with a tiny bit of planning:
- Set a cap (for example, “$200 for this room, no exceptions”).
- Prioritize the three categories with the biggest payoff:
- Walls (paint, trim, arches)
- Lighting (fixtures, bulbs)
- Key furniture (sofa area, bed wall, storage)
- Track as you go in a simple note app—paint, hardware, wood, inserts, etc.
Many popular tutorials now include cost breakdowns for a reason: seeing that a “designer look” cost someone $120 instead of $1,200 is wildly motivating.
Your Home, But Make It Main Character Energy
You don’t need a full gut renovation—or a full bank account—to create a space you’re proud of. Today’s trending DIY projects prove that:
- Paint can fake architecture and drama.
- Stock cabinets and bookcases can pretend to be custom built‑ins.
- Thrift store misfits can become statement pieces.
- Smart lighting and renter‑friendly hacks can transform even the strictest lease.
Start with one wall, one piece, or one corner. Take the “before” photo, put on a good playlist, and give your space the glow‑up it deserves—one budget‑friendly, high‑impact project at a time.
Suggested Images (Strictly Relevant)
Below are carefully selected, royalty‑free, high‑quality images that directly support specific parts of this blog. Each image reinforces a clear concept and adds informational value.
Supports: The sentence “Painted arches behind beds, sofas, or consoles are still huge—and for good reason.”
SEO Alt Text: Painted wall arch behind sofa demonstrating budget DIY living room feature wall

Supports: The sentence “Another trending hero: faux fireplaces with electric inserts.”
SEO Alt Text: Budget DIY faux fireplace with electric insert and shelving as living room focal point

Supports: The paragraph “Look for solid shapes, not perfect finishes. Then: Sand, Prime, Paint, Upgrade hardware.”
SEO Alt Text: Thrift flip DIY project sanding and painting a wooden dresser on a budget
