
DIY Textured Walls: The Glow-Up Your Boring Builder Beige Never Saw Coming
Your Walls Called. They’re Bored.
DIY textured wall treatments like limewash, plaster, and wood slat accents are currently the prom queens of #walldecor, #homeimprovement, and basically every “I just did a thing” video on your feed. Why? Because they take bland, builder-beige walls and give them a full-on glow-up—without requiring you to knock down a single wall or sell a kidney for custom millwork.
If your walls currently have the personality of dry toast, consider this your permission slip to butter them up. Today we’re diving into three of the biggest textured-wall trends:
- Limewash: soft, cloudy, old-world vibes with very modern street cred.
- DIY plaster / Roman clay: subtle texture that looks ridiculously expensive.
- Wood slat walls: vertical lines that scream “architectural” on a ramen budget.
We’ll talk what they are, where to use them, how not to mess them up, and how to style them so your home looks designer, not disaster.
Limewash: The Instagram Filter for Your Walls
Limewash (and limewash-style paints) are having a full-blown moment. Think soft, cloudy color, subtle movement, and that “European farmhouse on a budget” look. It’s the paint equivalent of a perfectly rumpled linen shirt: relaxed, chic, and suspiciously photogenic from every angle.
Where Limewash Works Best
- Fireplace surrounds: Instantly turns a basic box into a stone-looking statement.
- Bedroom headboard walls: Cozy, glowy, and very “I sleep eight hours and drink herbal tea.”
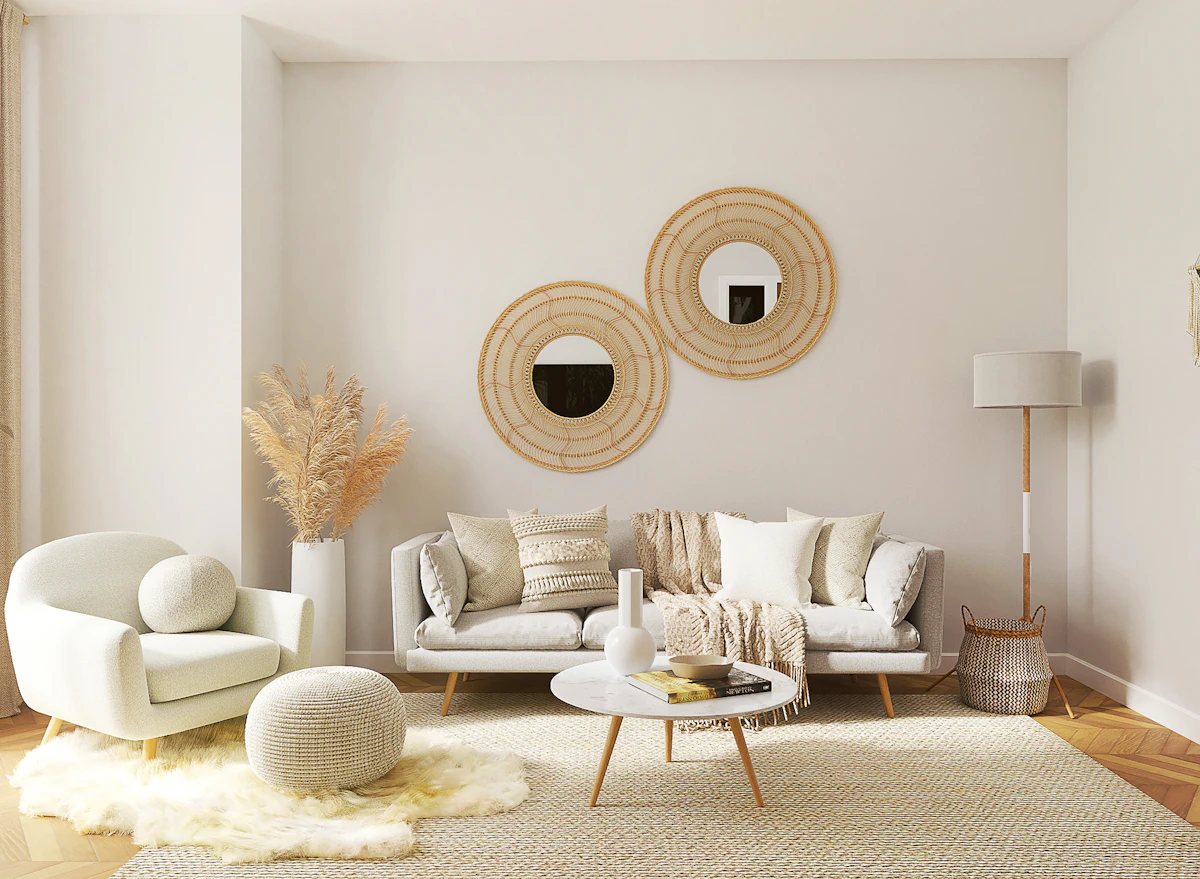
- Living room feature walls: Especially behind a sofa or credenza with layered art.
Trending colors lean warm and desaturated: stone, putty, greige, clay, oat. These shades play nicely with organic modern, Japandi, and cozy minimal styles—basically, anything that features wood, linen, and the occasional smug ceramic vase.
How to Fake a Designer Limewash Look
- Prep the wall: Fill holes, sand lightly, and start with a flat/matte base coat in your chosen color family.
- Mix your magic: Many DIYers use watered-down matte paint (about 70% paint, 30% water) to mimic limewash.
- Use the “cloud dance” technique: With a big brush, apply in overlapping criss-cross or swooping strokes.
- Work in small sections.
- Don’t overblend—you want variation.
- Step back often like the dramatic artist you now are.
- Layer, don’t panic: The first coat is the “ugly stage.” The second and third coats create the depth.
Pro tip: Use two similar shades—one slightly lighter, one slightly darker—and alternate them in soft layers. That’s how you get that expensive, soft-cloud effect instead of “my kid finger-painted this wall.”
Style your limewashed wall with:
- Warm wood tones (oak, walnut, ash).
- Textural fabrics: bouclé, linen, chunky knit throws.
- Simple, low-contrast art so the wall texture still takes the spotlight.
DIY Plaster & Roman Clay: Champagne Walls on a Soda Budget
If limewash is your soft-focus filter, plaster and Roman clay finishes are the full editorial retouch. Creators online are turning basic drywall into subtly textured, light-catching surfaces using joint compound, skim coat, or specialty plaster products—and then casually revealing them with a “so I did a thing” voiceover.
What These Finishes Actually Do
- Add soft texture: Think gentle ripples, not popcorn ceiling trauma.
- Diffuse light: Imperfections become character, not “I skipped primer.”
- Fake expensive materials: With the right paint color, you can mimic stone, concrete, or plaster walls you’d normally see in boutique hotels.
Beginner-Friendly Plaster Wall Steps
- Gather supplies: Premixed joint compound or skim coat, wide drywall knife or trowel, sanding sponge (fine), and patience plus a podcast.
- Prep like a pro: Clean wall, remove dust, and tape off adjacent surfaces.
- Apply thin, varied coats:
- Spread compound in thin, uneven passes.
- Change direction often to avoid obvious lines.
- Let it dry completely; it will dry lighter.
- Lightly sand: The goal is “soft hand-troweled texture,” not “glass.” Keep some highs and lows.
- Paint: Use flat or eggshell paint for that velvety look. Neutrals like warm white, mushroom, or stone are very on-trend.
Faux Stone Fireplace: The Internet’s Favorite Party Trick
One of the most shared projects right now is the faux stone or concrete fireplace surround. People are building out simple frames using foam board or MDF, coating them in plaster, and painting them to look like stone. The transformations are so dramatic you can almost hear your old mantel sobbing in the background.
- Keep the lines simple: Boxy, minimal shapes read as modern stone.
- Use several paint tones: Dab and blend two or three neutral shades to mimic natural variation.
- Style with restraint: A large mirror, a couple of candlesticks, and one sculptural object are enough.

Wood Slat & Fluted Walls: Vertical Lines, Major Main-Character Energy
Wood slat walls and fluted panels have officially gone from designer secret to full-blown micro‑trend. If you’ve scrolled past a bedroom that looks like a boutique hotel or a TV wall that suddenly feels architectural, you’ve probably met their work.
Why Everyone Loves a Slat Wall
- They hide sins: Weird bumps? Old cable jack? That mysterious patch you “fixed” in 2017? Gone.
- They add instant architecture: Especially in builder-grade homes with flat walls and minimal trim.
- They help with sound: Bonus if you live with gamers, musicians, or very enthusiastic children.
Where to Put a Slat Wall
- Behind the TV: Clean, modern backdrop that hides wires like a magician.
- Behind the bed: Acts as a headboard and art in one vertical swoop.
- Entryway: A narrow slat panel with hooks and a bench = instant “I have my life together” zone.
- Media rooms: Dark, moody slat walls in deep green, charcoal, or walnut are trending hard.
Budget-Friendly Slat Wall How-To
- Choose your material: Pine, MDF, or ripped-down plywood are the go-tos for budget builds.
- Decide your spacing: 1x2s with 1/2 inch gaps are a popular, balanced look.
- Pre-finish if you can: Stain or paint slats before installing to save your back and your patience.
- Attach to the wall: Use a brad nailer and level. Start from the center or a visible edge and work outward.
- Finish like a pro: Fill nail holes with color-matched filler and touch up stain or paint.
Trend alert: Dark slat walls—especially deep green, near‑black charcoal, and rich walnut stains—are taking over bedrooms and media rooms. Pair them with layered lamps and warm textiles so they read “moody cozy,” not “vampire bunker.”
Which Trend Fits Your Home Personality?
Think of your home like a group chat: each room has its own vibe, and not everyone needs the same level of drama.
If Your Home Is…
- Light, airy, and full of plants:
Limewash in soft stone or clay tones will lean into that organic, sunlit aesthetic. - Modern with clean lines:
Plaster or Roman clay in warm neutrals will soften the sharp edges without losing the sleek look. - Cozy but a little bland:
A single slat wall—behind the TV or bed—adds depth without visual clutter. - Small but mighty (hello apartments):
Choose one focal wall. Textured treatments pack a punch in tight spaces.
Quick Reality Checks Before You Start
- Renting? Slat walls can be made removable with a plywood backer screwed into studs. Limewash-style paint can be painted over later.
- Low ceilings? Vertical slats can visually stretch the room. Avoid heavy horizontal lines.
- Very dark room? Go for lighter limewash or plaster instead of dark slats, unless you’re fully committed to the cave aesthetic.
Once the Wall Is Cute: Styling That Seals the Deal
A textured wall is like great skincare: lovely on its own, but even better with the right finishing touches.
Lighting: The Secret Weapon
- Add direction: Wall sconces and lamps create shadows that highlight texture beautifully.
- Avoid harsh overhead-only lighting: It can flatten or overemphasize imperfections.
- Warm temperature wins: Aim for 2700K–3000K bulbs to keep everything cozy and flattering.
Art & Decor on Textured Walls
- Limewash: Go for simple frames, larger scale pieces, and neutral palettes.
- Plaster: Try sculptural pieces, organic shapes, or even tone-on-tone canvases.
- Slat walls: Minimal art (or none) works great. Let the lines be the star, then layer in textiles and furniture.
And remember: negative space is your friend. Every inch of wall does not need a thing. Sometimes the flex is just having a gorgeous wall… and confidently walking away.
Your Wall Glow-Up Game Plan
If you’re still staring at your walls like, “Okay, but where do I start?” here’s a no‑overwhelm checklist:
- Pick one wall only. Feature wall first, entire room later if you’re obsessed.
- Choose your texture: Limewash for soft vibes, plaster for luxe subtlety, slats for bold lines.
- Set a weekend: Most beginners can finish a small project in 1–2 days.
- Gather tools ahead of time: No one enjoys mid-project hardware store sprints while covered in joint compound.
- Take “before” photos. You will want the dramatic reveal. The internet demands it.
Your home doesn’t need a full renovation to feel custom; it just needs one brave wall and a little texture therapy. So tape off those edges, turn on your favorite playlist, and give your walls the main-character moment they’ve been patiently waiting for.
When the compliments start rolling in—“Did you hire a designer?” “Is this a hotel now?”—just smile mysteriously and say, “No, I just finally listened to my walls.”
